Developed in Python, PgAdmin4 is a popular frontend management tool for the PostgreSQL database system. It provides all the features you need to manage your PostgreSQL databases from a web UI. PgAdmin 4 replaces PgAdmin III which was developed in the C++ language and supports PostgreSQL 9.2 and later releases. If you are not a fan of managing databases on the PostgreSQL shell, then PgAdmin4 is the go to management tool. In this guide, we will focus on how to install PgAdmin4 on Rocky Linux 8.
Prerequisites
Before you begin, ensure that you have PostgreSQL installed. We already have a detailed guide on how to install PostgreSQL 13 on Rocky Linux.
Once installed, you can proceed to the following steps.
Step 1: Add the PgAdmin 4 repository
The first step is to disable the PostgreSQL common repositories. This will allows us to grab the latest PgAdmin4 packages.
$ sudo yum-config-manager --disable pgdg-common
AppStream repository for Rocky Linux does not provide PgAdmin4 packages by default. Therefore we will add the PgAdmin repository by downloading and install it straight from the PostgreSQL official site as follows.
$ sudo rpm -i https://ftp.postgresql.org/pub/pgadmin/pgadmin4/yum/pgadmin4-redhat-repo-2-1.noarch.rpm

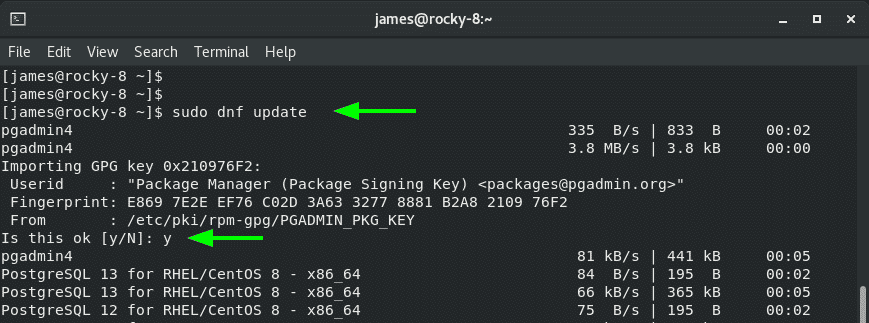
Once the repository is added, update the repositories to sync the newly added PostgreSQL repository.
$ sudo dnf update
When prompted, press ‘y’ to import the GPG key.
Step 2: Install PgAdmin 4
Installing PgAdmin is quite easy from this point. Simply execute the command:
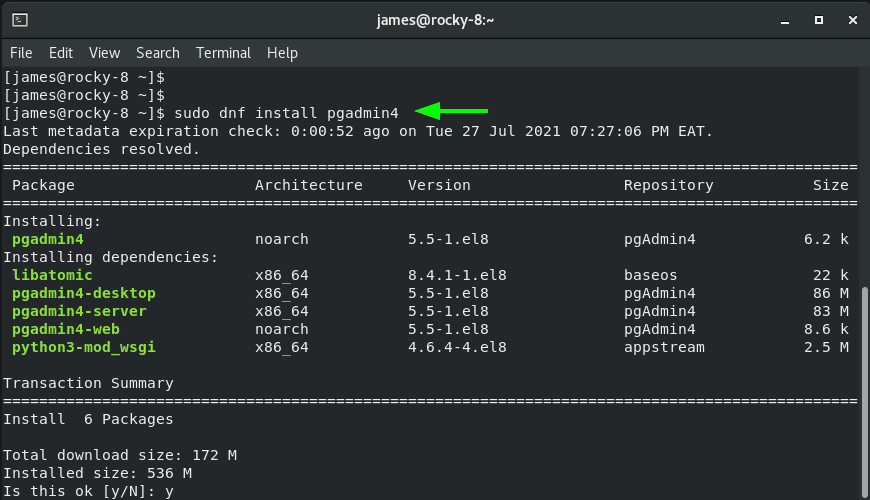
$ sudo dnf install pgadmin4
This installs PgAdmin 4 and other PgAdmin4 dependencies as shown.
Step 3: Start the Apache webserver
Since PgAdmin 4 is powered by a web server and is accessed from the front-end, i.e web browser, we need to ensure that the Apache webserver is up and running. So, start the webserver and enable it on boot time
$ sudo systemctl start httpd
$ sudo systemctl enable --now httpd

Step 4: Configure PgAdmin4 web service
PgAdmin4 provide a shell script that creates a new user account for authenticating on a web browser, sets up PgAdmin4 in web mode, and restarts the Apache webserver to effect the changes.
Therefore, run the script as follows.
$ sudo /usr/pgadmin4/bin/setup-web.sh
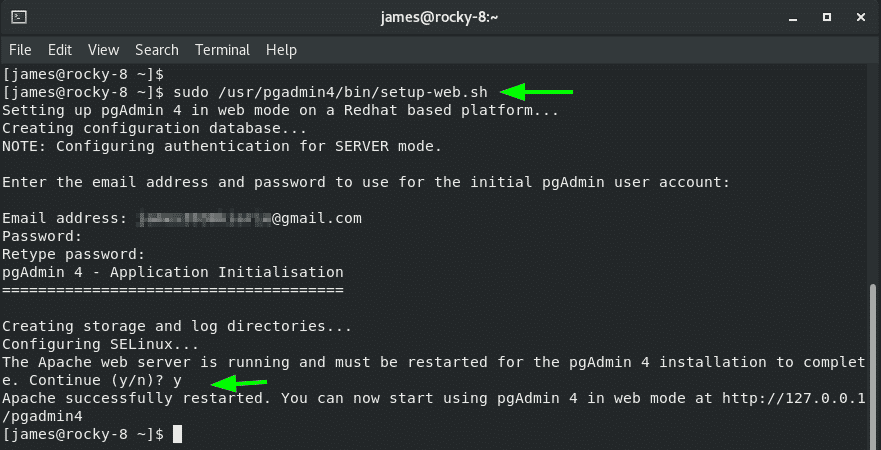
Finally, access the PgAdmin4 interface from the browser using the URL indicated.
http://server-ip/pgadmin4
Provide the login credentials, i.e. the email and the password that you configured, and click on ‘Login’.
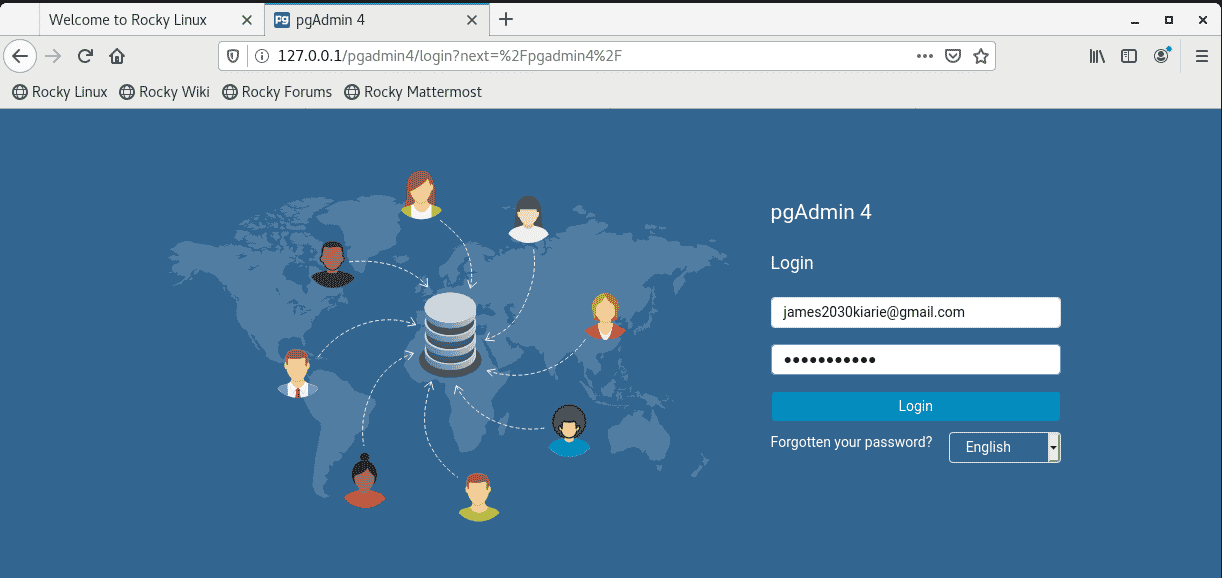
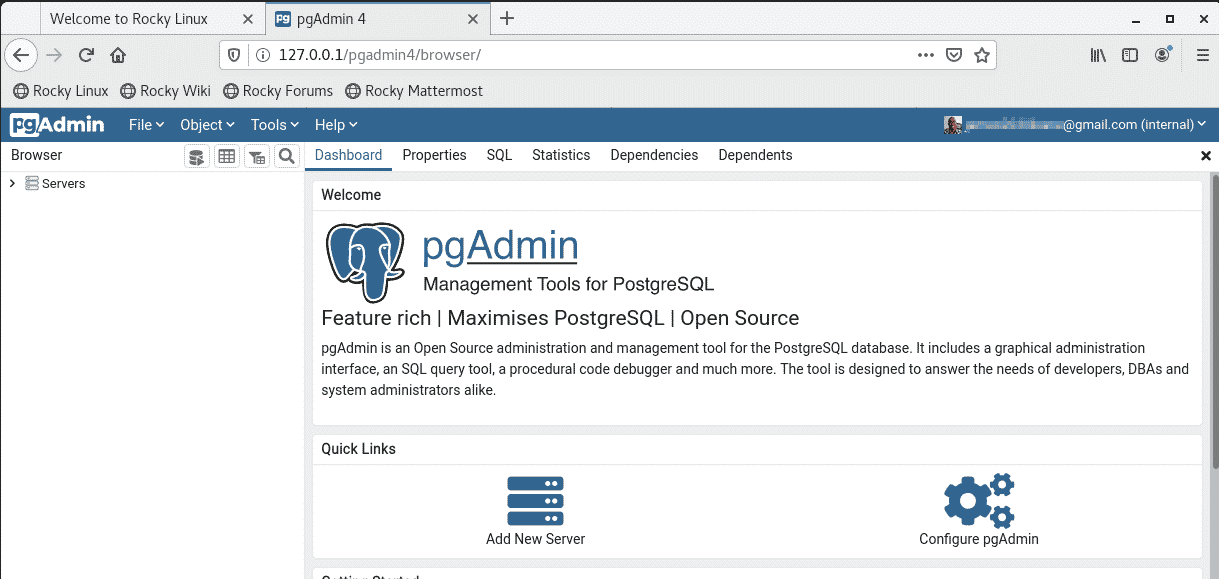
This presents the PostgreSQL dashboard as is visible from the image below. From here, you can connect or add a new database server and manage your databases and tables.
Conclusion
We have tried to stick to the installation part only so that you can easily get started with PgAdmin4. Hopefully, you can now comfortably install PgAdmin 4 without an issue.


