Introduction:
ownCloud is an efficient cross-platform software used for file hosting services. Originally, ownCloud works pretty much like Dropbox, however, there are such plugins available with the help of which you can make it function like Google Drive. In this article, we want to share with you the steps of installing ownCloud on a Linux Mint 20 system.
Installation Method of ownCloud on Linux Mint 20:
For installing ownCloud on Linux Mint 20, we will have to perform the following three steps:
Step # 1: Installing ownCloud on Linux Mint 20:
First, we will start off with the installation of ownCloud on Linux Mint 20 by running the command shown below:
$ sudo apt install owncloud-client
![]()
Step # 2: Confirming the ownCloud Installation:
Once ownCloud has been installed successfully, we can confirm its installation by executing the following command:
$ owncloud --version
![]()
Soon after executing this command, the version of ownCloud will appear on the terminal as shown in the image below:

Step # 3: Launching ownCloud on Linux Mint 20:
Finally, we can launch ownCloud on our Linux Mint 20 system by running the following command:
$ owncloud
![]()
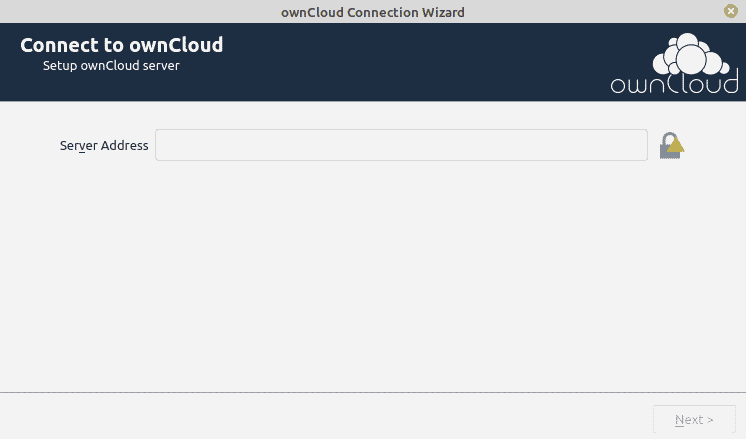
The welcome window of ownCloud is shown in the image below:

Uninstallation Method of ownCloud from Linux Mint 20:
To uninstall ownCloud from Linux Mint 20, we will just run the following command:
$ sudo apt-get purge --autoremove owncloud-client
![]()
Conclusion:
By following this method, you can instantly install ownCloud on your Linux Mint 20 machine and use it for creating and using your own file hosting services that can provide you with the functionality of Dropbox and Google Drive.


