Introduction
Timeshift is a marvelous piece of software. It creates backups on demand. It has the ability to create multiple backups on predefined schedules. A user can choose directories and folders of their choice to backup and so on. In this article, we will learn how to install Timeshift on the Fedora distribution. I am using Fedora 34 which is the latest Fedora edition for desktop use.
Installing via CLI
It is possible to install Timeshift via Gnome Software, but it is always better on Linux to install any package using CLI. You would need the following command to install Timeshift on Fedora:
sudo dnf install timeshift
![]()
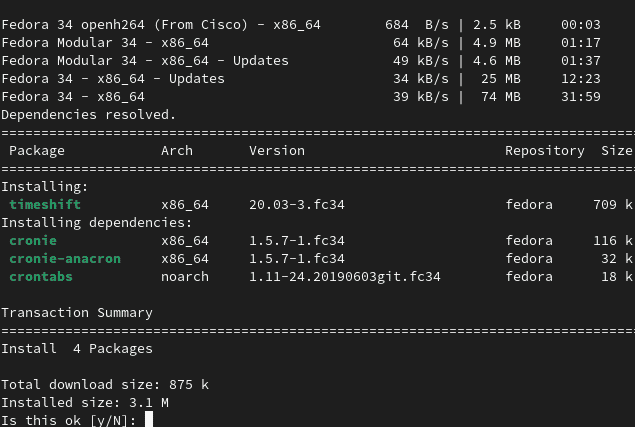
Once installed you can find it in your dashboard as shown below:

You can either launch it via dashboard or CLI, both work. When you will launch Timeshift on Fedora for the first time, it will look like something below:
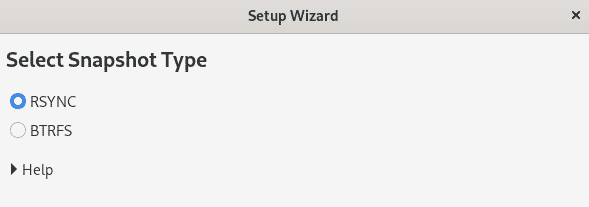
Select defaults and click okay. There you are. You have installed Timeshift on your latest Fedora 34.
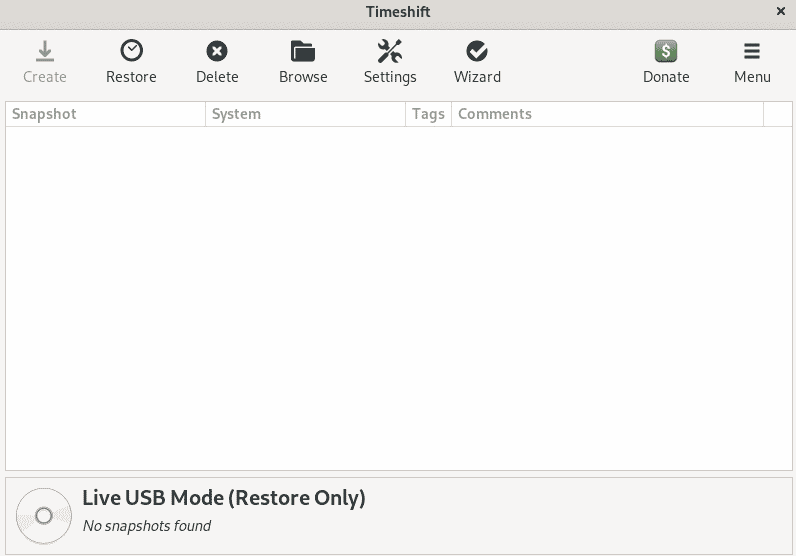
How to Take The Backup?
Step 1: Settings
Select the settings button in the top menu bar. You will get into the Settings menu once clicked.

Step 2: Backup Type
We will not change the type of snapshot and will leave the default selected which is RSYNC in our case.

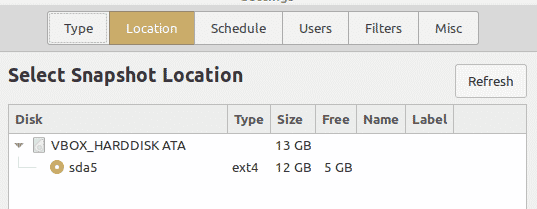
Step 3: Backup Location
I have only one disk at the time of writing this guide as shown on the following screen. You might have more than one disk, or it could be an external disk for your backups. You can always choose and use whatever location you want. Timeshift does not limit the number of disks.
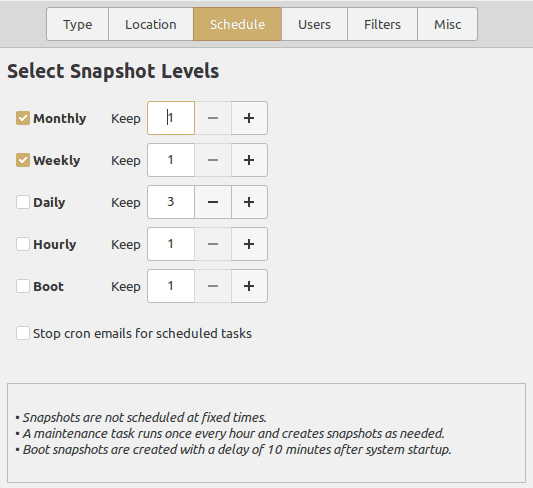
Step 4: Schedule the number of backups
Now we will schedule a few backups in need. I only prefer one weekly and one monthly backup on my Fedora 34 as it is not a production system. You can select boot back up if you are running important applications on your system. Leave the cron emails option unchecked.
Step 5: Filters
We will leave Users and Misc options as they are. They do not need any change. The remaining option is to filter which directories are to be backed up. In my case, I will choose the default selection. You can exclude and include whatever you like.

Step 6: Creating First Backup
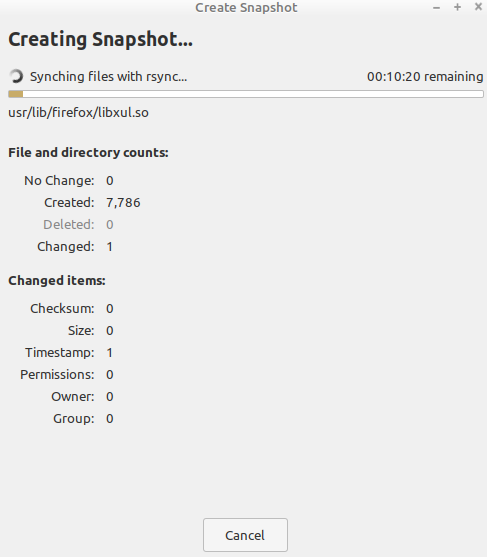
We are done with our configurations. We will take our first backup now. Go back to the menu and click “Create” to create the first backup of your system. Timeshift will begin creating the first snapshot as shown below:
Uninstall TimeShift on Fedora
To uninstall Timeshift, you will need to run the following command and it will be gone forever.
sudo dnf remove timeshift
![]()
Conclusion
In this guide, we worked with advanced settings. It includes scheduling and taking multiple backups on Fedora 34 using Timeshift utility. Timeshift will continue taking snapshots of our system on a weekly and monthly basis now. Write to us in the comments if you have any questions.


