Joomla is a free and open source platform Content Management System (CMS) written in PHP. It enables you to create dynamic web pages and applications with ease. It includes an easy-to-use design that allows you to get the most out of its features and functionality.
What you need to install Joomla
Before you proceed, you need to have LAMP installed on your instance. Check out our latest guide on how install LAMP server on Rocky Linux 8
Now, let’s hit the ground running.
Step 1: Install Additional PHP Modules
After LAMP stack is installed, proceed to install the below PHP modules with the command:
$ sudo dnf install php php-gd php-pear php-xml php-soap php-mbstring php-intl php-ldap php-curl php-mysqlnd php-json php-zip php-opcache
Now head over and modify the php.ini file:
$ sudo vim /etc/php.ini
Change the following parameters:
memory_limit = 256

output_buffering = Off

max_execution_time = 300

date.timezone = Asia/Dubai
Once done, be sure to save the changes on your command-line editor.
Step 2: Create a database for Joomla
With the installation of PHP and the configuration of the php.ini configuration file out of the way, we are going to create and configure a database for Joomla.
So, login to MariaDB server
$ sudo mysql -u root -p
Next, create the Joomla db:
$ CREATE DATABASE joomladb;
Then , create a database user and grant all the privileges to the joomla user and database.
$ GRANT ALL PRIVILEGES ON joomladb.* TO 'joomlauser'@'localhost' IDENTIFIED BY 'Pass@2023!
After that is done, save and exit MariaDB.
Step 3:Download and configure Joomla
Download the latest Joomla archive file from the official site using the below wget command:
$ wget https://downloads.joomla.org/cms/joomla4/4-0-5/Joomla_4-0-5-Stable-Full_Package.zip?format=zip -O joomla.zip
Next, unzip the file as shown:
$ sudo unzip joomla.zip -d /var/www/html/joomla
Next, grant ownership to the Joomla folder located in the webroot directory to Apache user.
$ sudo chown -R apache:apache /var/www/html/joomla/
Next, configure the directory permissions as follows and provide global users access rights to read and execute the contents of the Joomla web files.
$ sudo chmod -R 775 /var/www/html/joomla/
With the permissions and ownerships on the Joomla directory in place, we can now setup a virtualhost file.
Step 4:Set up an Apache virtual host file for Joomla
Now we need to configure the Apache virtual host for Joomla. For that, we will configure a virtual host file that will tell the server where to access the website files.
$ sudo vim /etc/httpd/conf.d/joomla.conf
Next, append the following lines to the file. For the ServerName directive, feel free to use the server’s Public IP or domain name.
<VirtualHost *:80>

 ServerAdmin [email protected]

 DocumentRoot "/var/www/html/joomla"

 ServerName mysite.example.com

 ErrorLog "/var/log/httpd/mysite.example.com-error_log"

 CustomLog "/var/log/httpd/mysite.example.com-access_log" combined

<Directory "/var/www/html/joomla">

 DirectoryIndex index.html index.php

 Options FollowSymLinks

 AllowOverride All

 Require all granted

</Directory>

</VirtualHost>
Save the virtual host and restart Apache web server to apply the changes to the virtualhost file.
$ sudo systemctl restart httpd
Great, the last step is to finalize the installation of Joomla from a web browser.
Step 5: Wrap up Joomla installation from the web browser
Launch your preferred browser and browser the address:
$ http://server-ip or domain_name
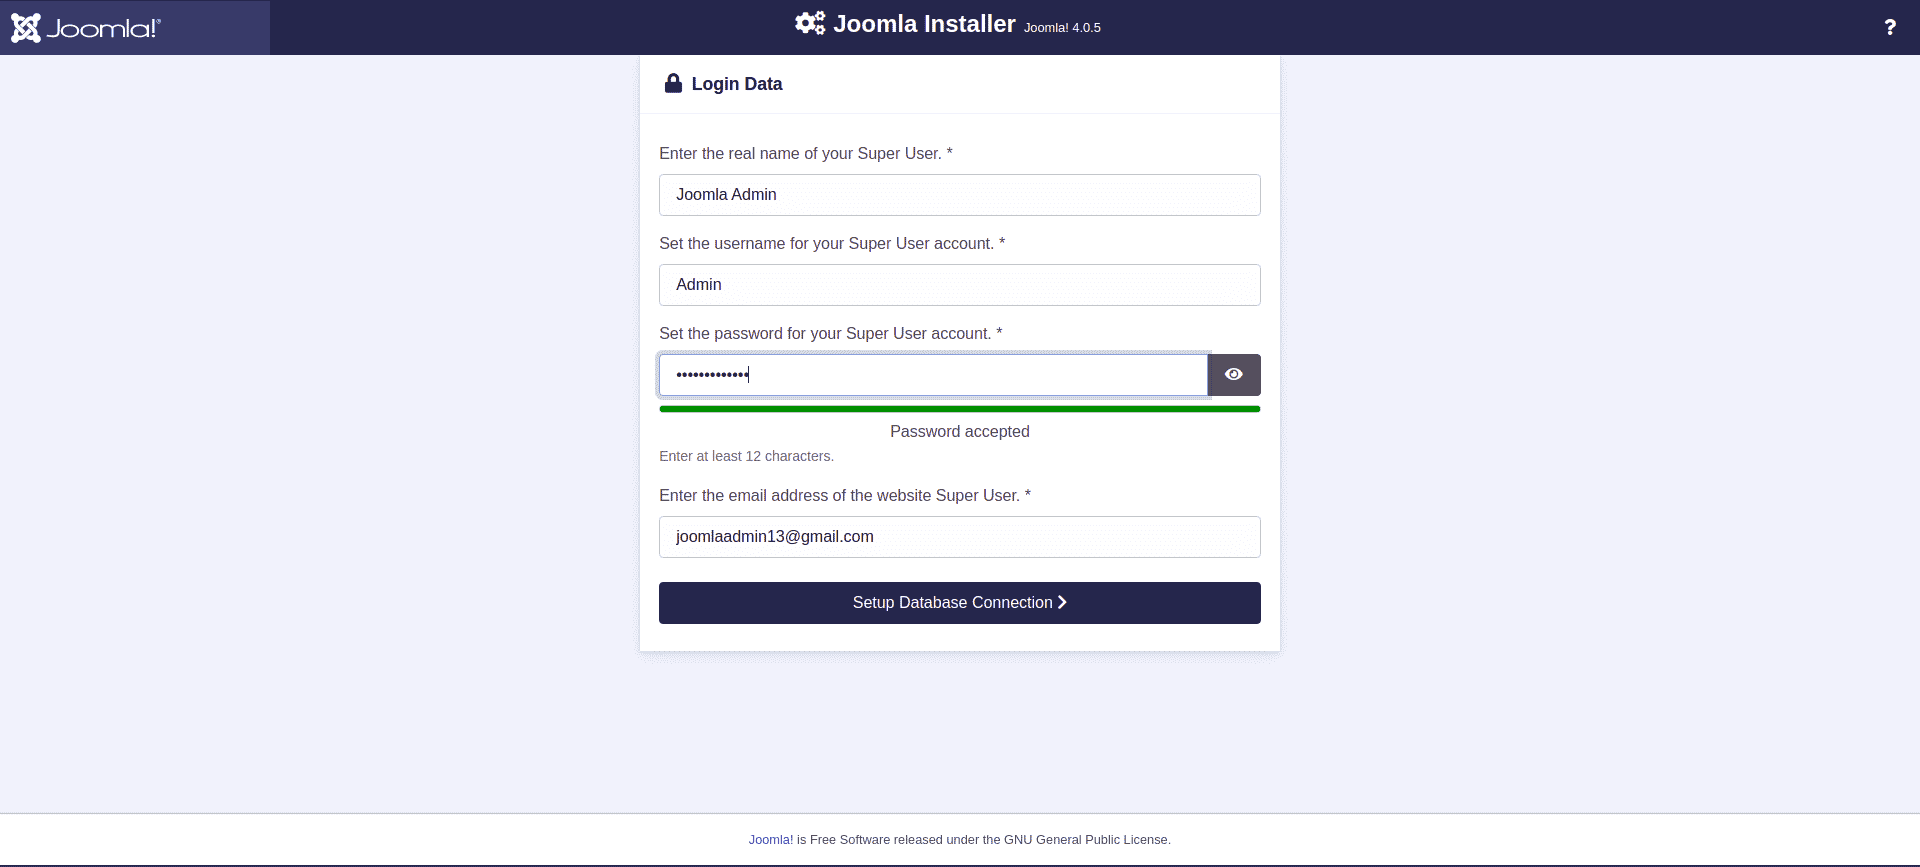
You will be taken to the following page. Provide the required information then click ‘Set up Database Connection’.
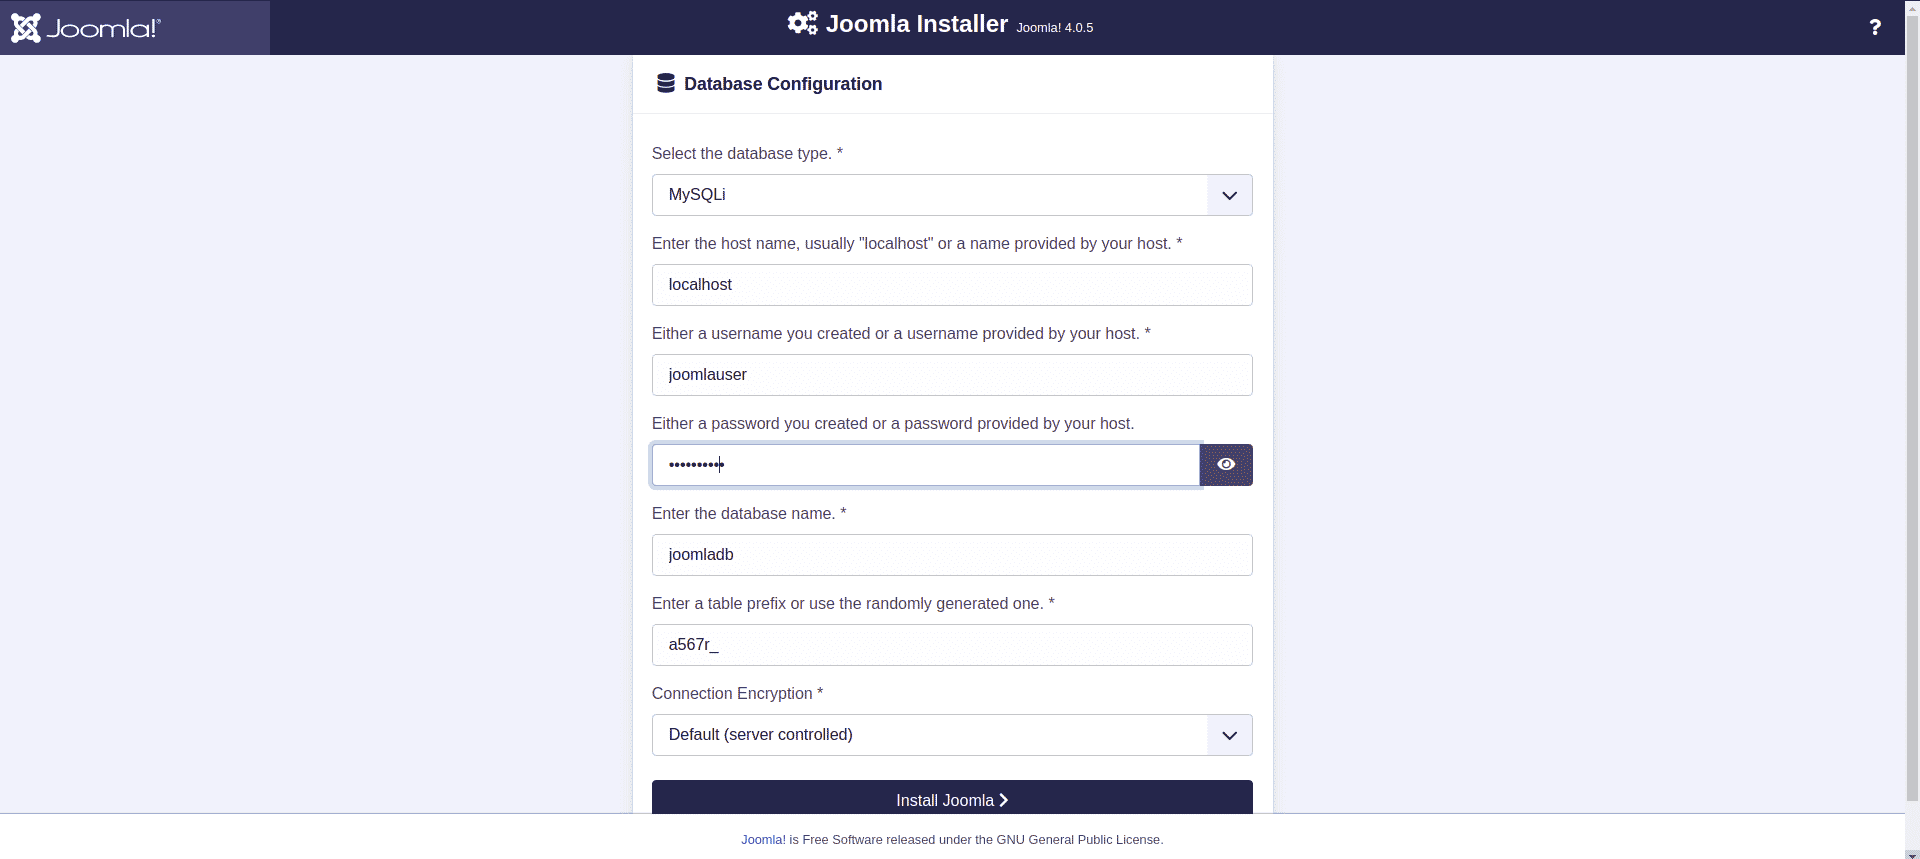
Next, fill out your database details and click ‘Install Joomla’.
Wait for the installation process to complete. If the installation is complete and successful, you will see the output below:
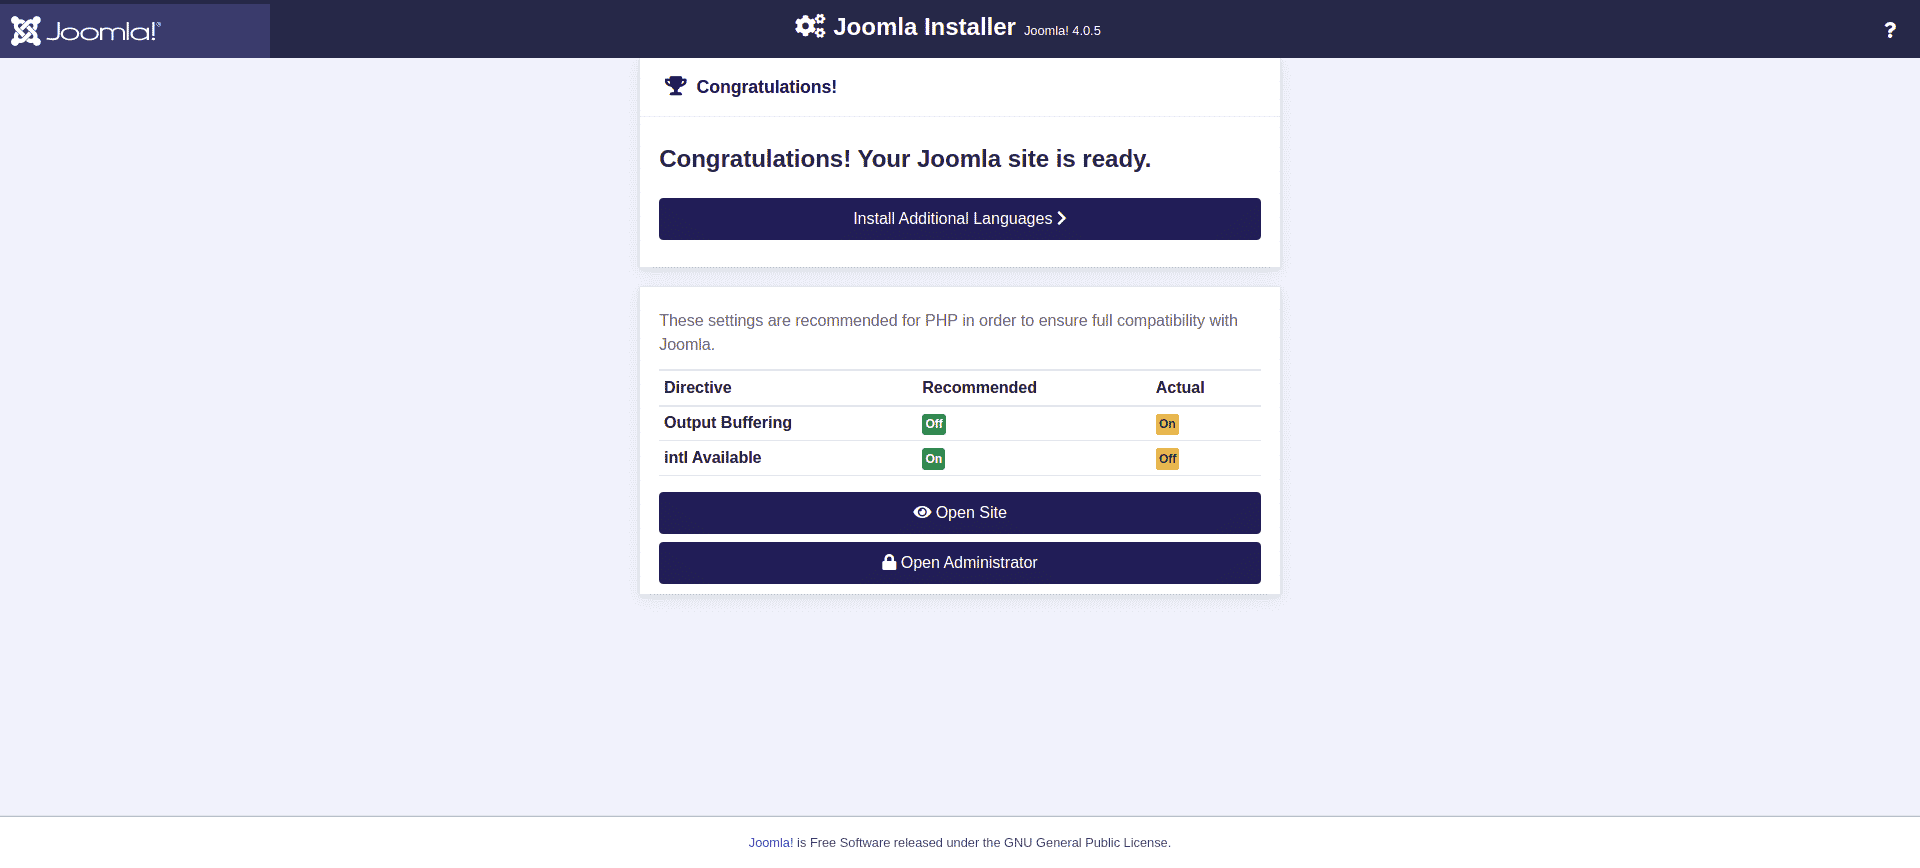
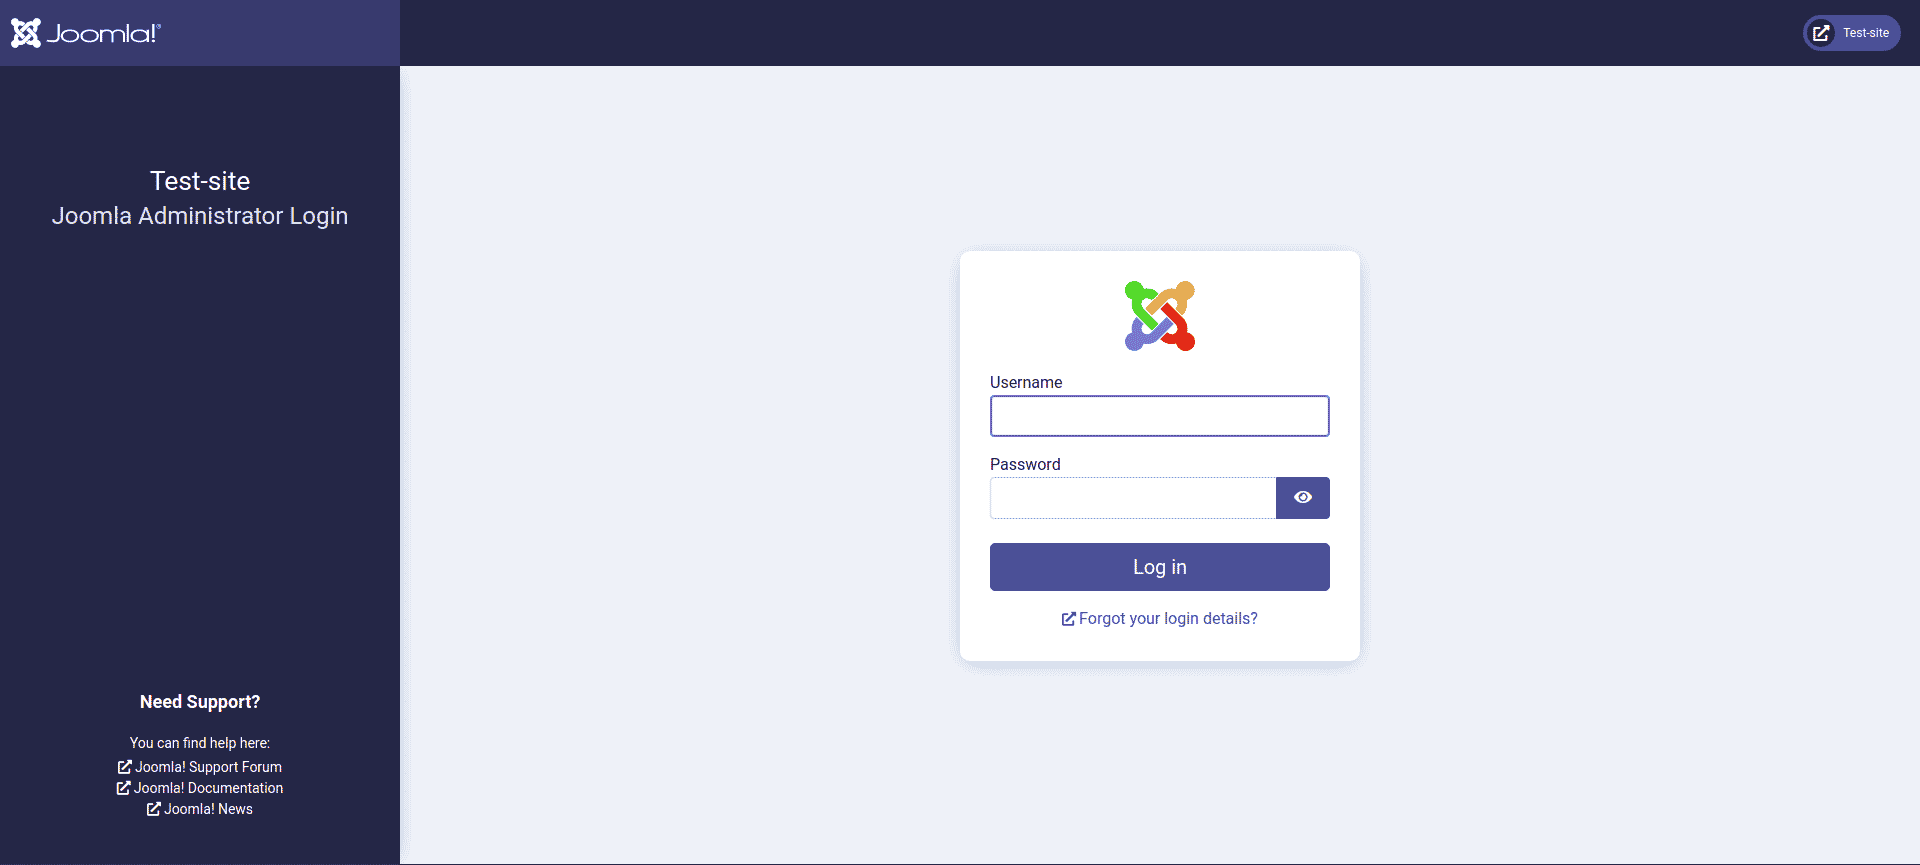
Then pick ‘Open Administrator’ as your login option. Finally, the Joomla login page will come to view as shown. Provide your logn credentials and hit that ‘Login’ button.
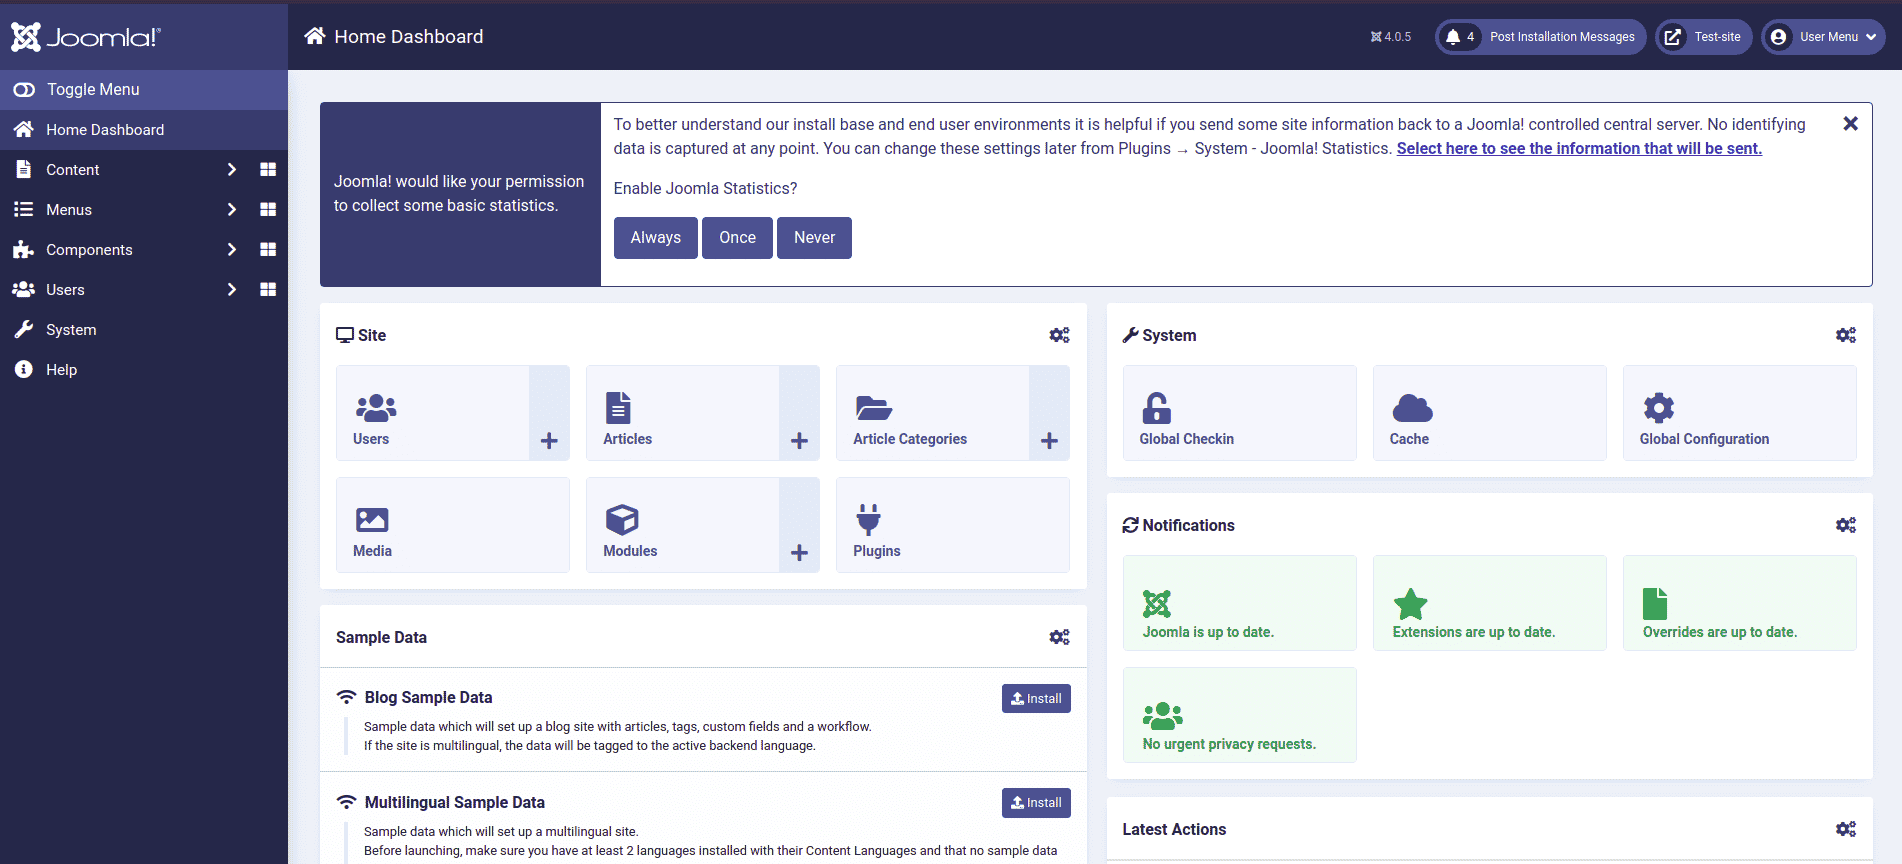
Finally, Joomla’s dashboard will be displayed as follows:
And that’s it. We have managed to successfully install Joomla on Rocky Linux 8.


