MySQL Workbench is a multi-platform GUI tool for interacting with MySQL relational databases. It offers a user-friendly interface for carrying out tasks involved with databases. It is used by developers, database admins for creation and modification of physical data model, SQL development, and server administration.
This guide will take you through two approaches to install MySQL
workbench on Fedora.
Option 1: Install MySQL from the YUM repository
To install MySQL from YUM repository, follow the steps below.
Step 1: Update Fedora system
Right off the bat, refresh Fedora’s system repositories and update the packages
$ sudo yum update
Step 2: Download MySQL Workbench Yum Repository
MySQL is not available in the default Fedora OS repository. As such, it’s imperative that you install it before anything else.
So, heav over to the MySQL downloads page and download the repo for Fedora.
For Fedora 32, run:
$ wget sudo dnf -y install https://dev.mysql.com/get/mysql80-community-release-fc32-1.noarch.rpm
For Fedora 33, run:
$ wget https://dev.mysql.com/get/mysql80-community-release-fc33-2.noarch.rpm
For Fedora 34, run:
$ wget https://dev.mysql.com/get/mysql80-community-release-fc34-2.noarch.rpm
For Fedora 35, run:
$ wget https://dev.mysql.com/get/mysql80-community-release-fc35-1.noarch.rpm
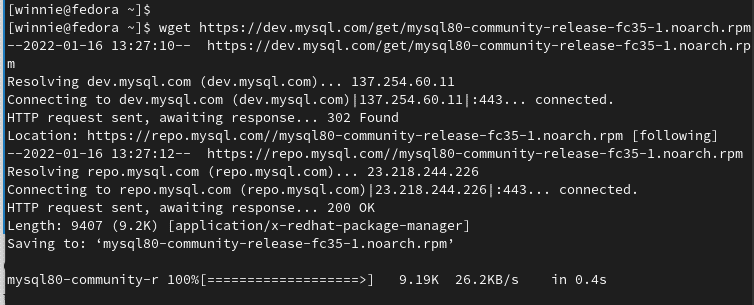
After the RPM file download, run the following command to install MySQL.
$ sudo rpm -Uvh mysql80-community-release-*

Next, install MySQL workbench with the command:
$ sudo yum install mysql-workbench
Option 2: Install using snapd
Alternatively, install MySQL Workbench on Fedora using snapd. As a requirement, confirm that you have snap enabled on Fedora
To install snapd, run the command:
$ sudo dnf install snapd
Then, enable snapd as follows:
$ sudo systemctl enable --now snapd.socket
After that, install MySQL workbench from snap store with the following command:
$ sudo snap install mysql-workbench-community
Using MySQL Workbench
After the installation, launch MySQL workbench with the command:
$ mysql-workbench
You will see the following output:
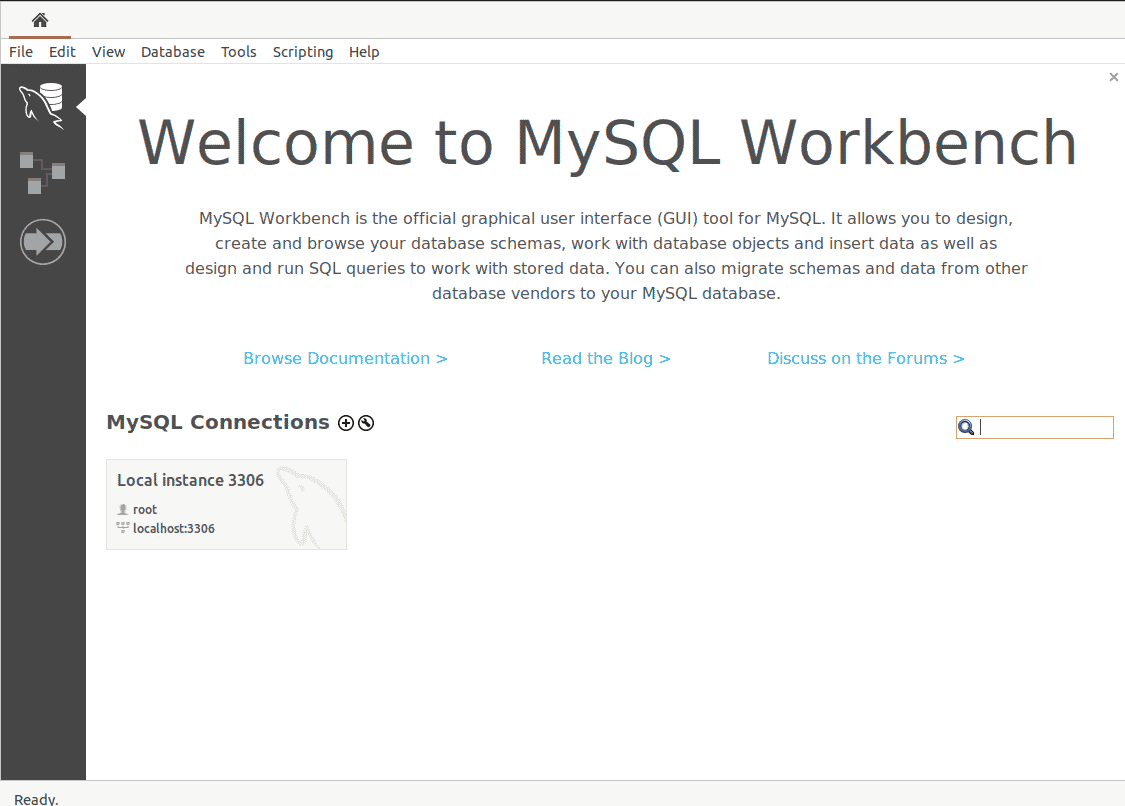
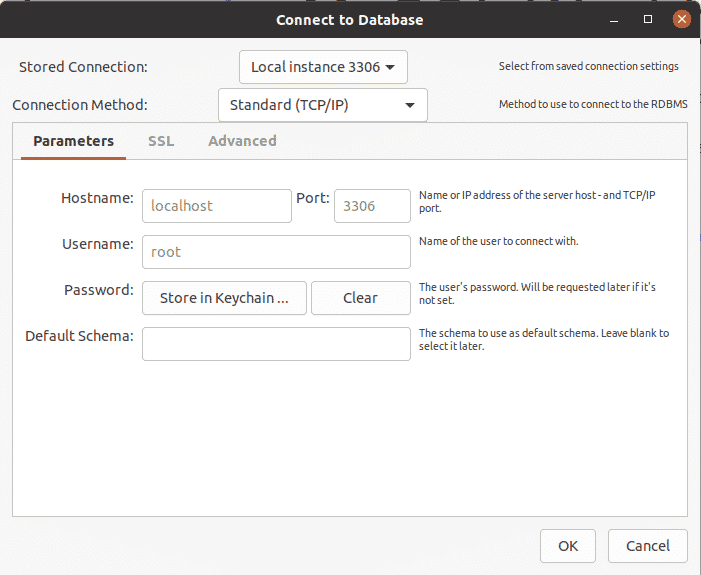
Next, connect to your database, you can either connect on localhost or another instance by clicking on + at the bottom left on your screen. Provide the details as shown below.
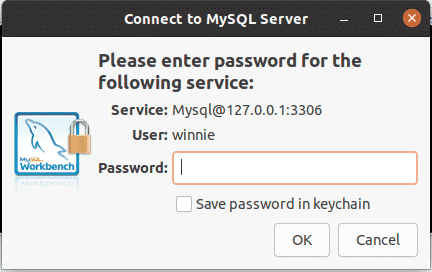
If you are connecting to a local database, fill in the password.
The MYSQL workbench dashboard will pop up as demonstrated.
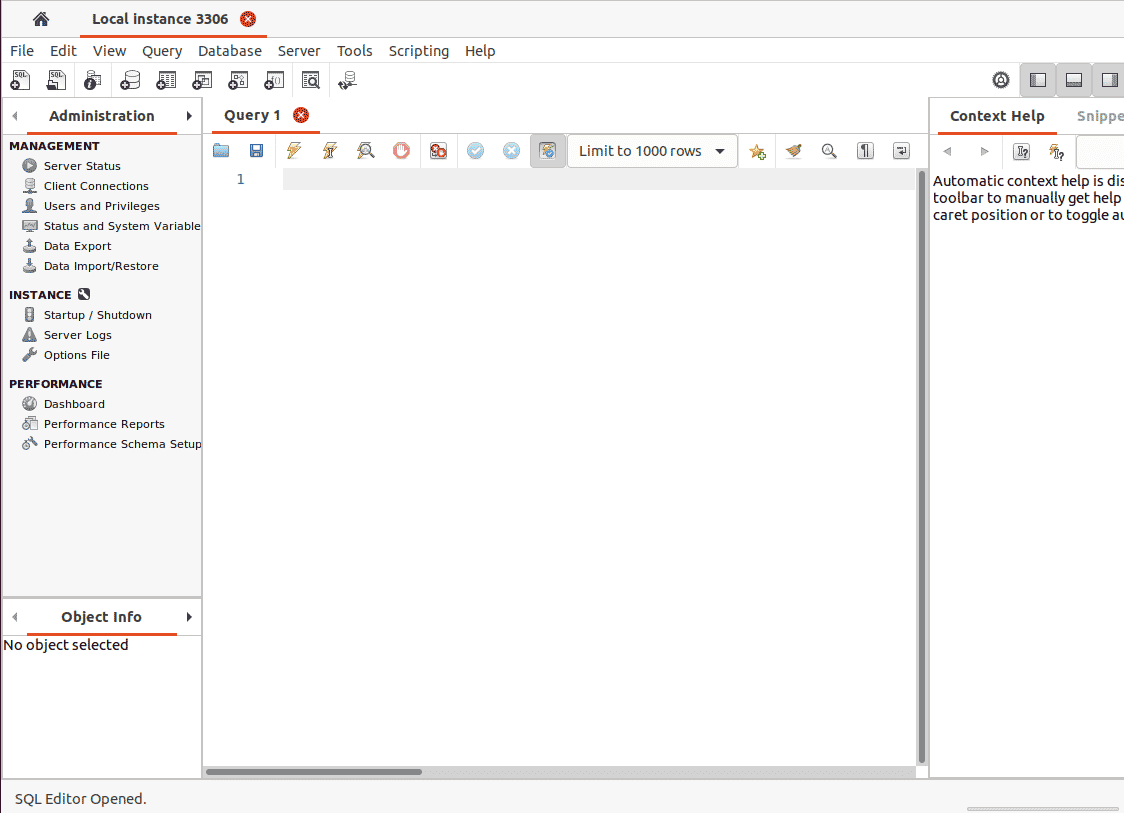
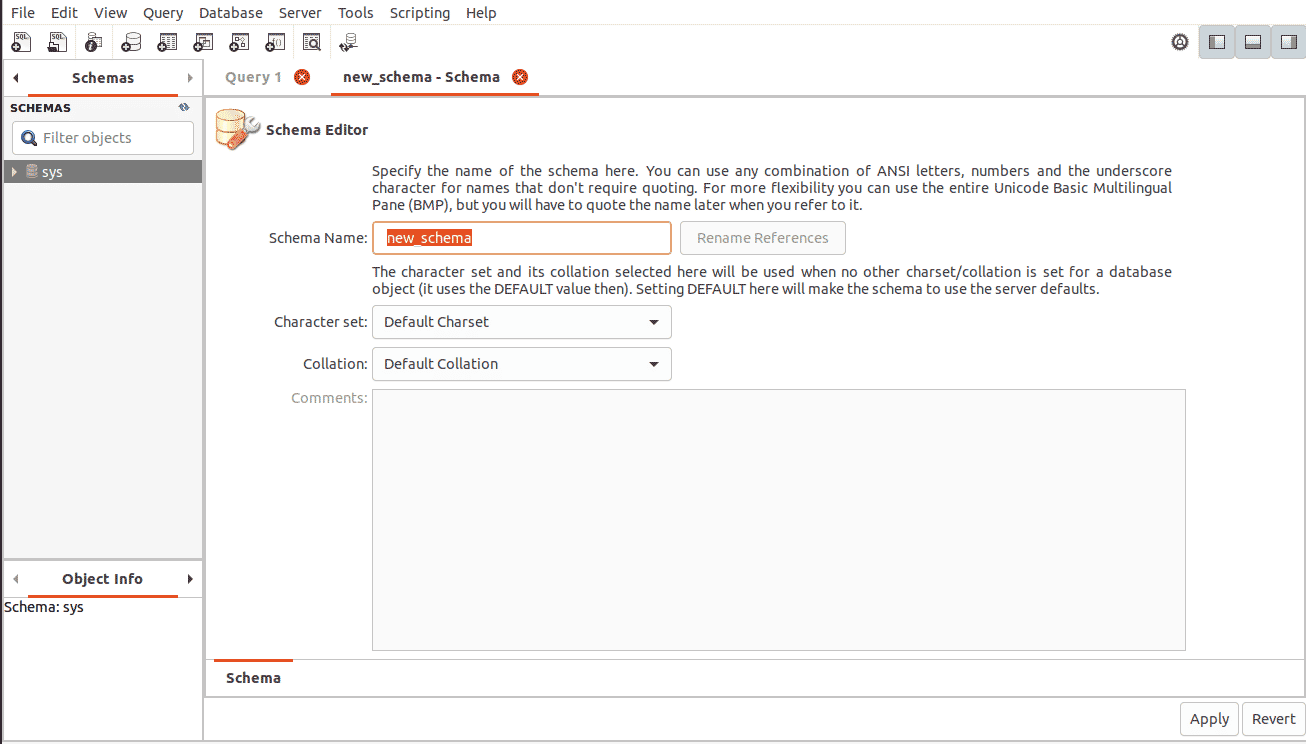
On this dashboard, you can manage users and privilege, create schemas and even monitor database performance.
Conclusion
Now you can manage your SQL databases using MySQL workbench on Fedora.


