Django is a free and open-source, python web development framework that provides a number of tools to enhance software development. Django’s primary goals are simplicity, re-usability, rapid development, and scalability. Instagram, Pinterest, Mozilla, and Knight Foundation are among the well-known websites built with Django.
In this guide, we will install and learn how to use Django in AlmaLinux and Rocky Linux 8.
Step 1: Install Python and PIP
Since Django is a python based framework, we first need to install Python and PIP on our system. Pip is a command-line utility that is used to install python packages. Run:
$ sudo dnf install python36 python3-pip

After the installation is complete, confirm the installed python version with the command:
$ python3 -V

Also, check the pip version with the command:
$ pip3 -V

Step 2: Install Django on Rocky Linux 8 | AlmaLinux 8 via PIP3
Next, let’s install Django using the pip package manager. To achieve this, execute:
$ sudo pip3 install Django
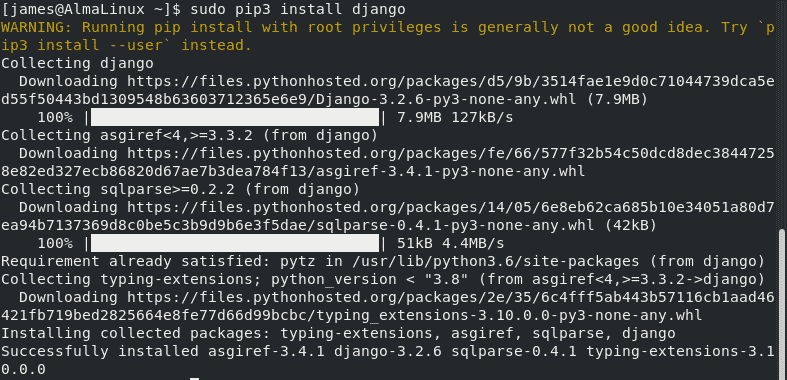
After Django is successfully installed, check the version installed with the command:
$ django-admin --version

The Django version at the time of installation is 3.2.6
Step 3: Create a Django Sample Project
After you have successfully installed Django on Rocky Linux 8 | AlmaLinux 8, we are now ready to build our first project.
First, let’s create a new directory for our project.
$ sudo mkdir –p /home/project/django
Next, go into the directory and start a new project using use Django-admin command followed by startproject and the name of your application which is “project1” in this case.
$ django-admin startproject project1
After this, navigate to the newly created app “project1”:
$ cd project1
Inside our project directory there exists a manage.py Python file. We need to migrate the pending changes as shown below.
$ sudo python3 manage.py migrate
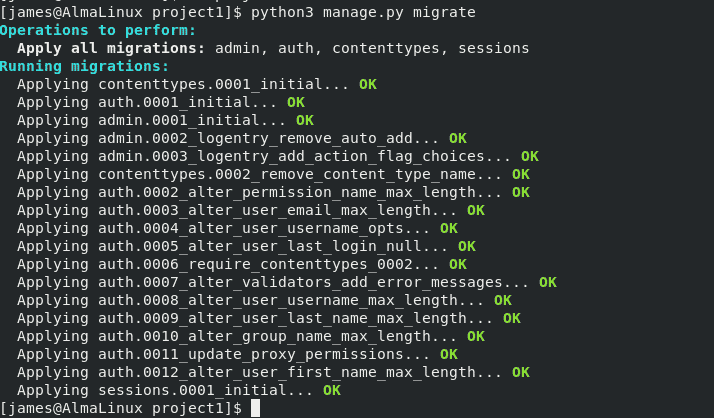
All migrations have been successfully applied.
Step 4: Create a Django superuser account
You now need to create a superuser account in order to access the ‘admin’ panel. Run the command:
$ sudo python3 manage.py createsuperuser

You will need to provide a username, email address, and password for the superuser.
Step 5: Configure Firewall Rules for Django
Django listens on port 8000 by default. We, therefore, need to allow port 8000 through the firewall as shown below:
$ sudo firewall-cmd --add-port=8000/tcp --zone=public --permanent
$ sudo firewall-cmd --permanent --add-port=80/tcp
$ sudo firewall-cmd --reload

The commands will output success.
To verify that the port is allowed through the firewall, run:
$ sudo firewall-cmd --list-ports

From the output, port 8000 is listed.
Next, we need to modify the settings.py file inside our project folder to allow django to be accessed by external users. We can either specify a server’s IP address or assign the [‘*’] in the allowed_hosts field. When using [‘*’], the application can be accessed from any network.
Open the settings.py file with an editor and add [‘*’] in the ALLOWED_HOSTS field.
$ sudo nano project1/settings.py
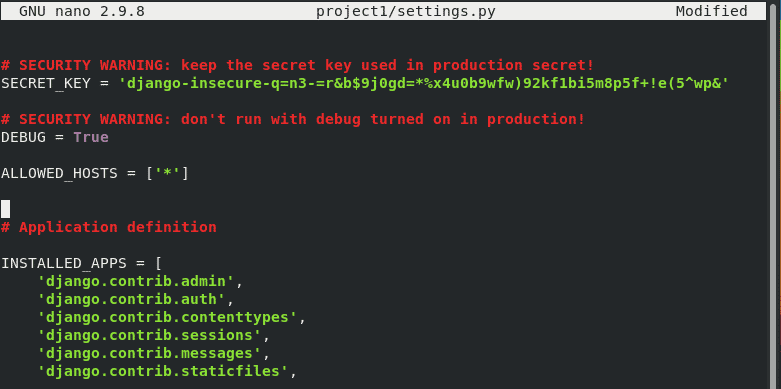
Once done, save the changes and exit.
Step 6: Start the Django Application
We are now ready to launch the Django application after successfully completing all of the above configurations. To start the app, use the commands shown below.
$ sudo python3 manage.py runserver 0.0.0.0:8000
Next, we can access the Web Interface using the URL http://server-IP:8000. You will see the webpage below:
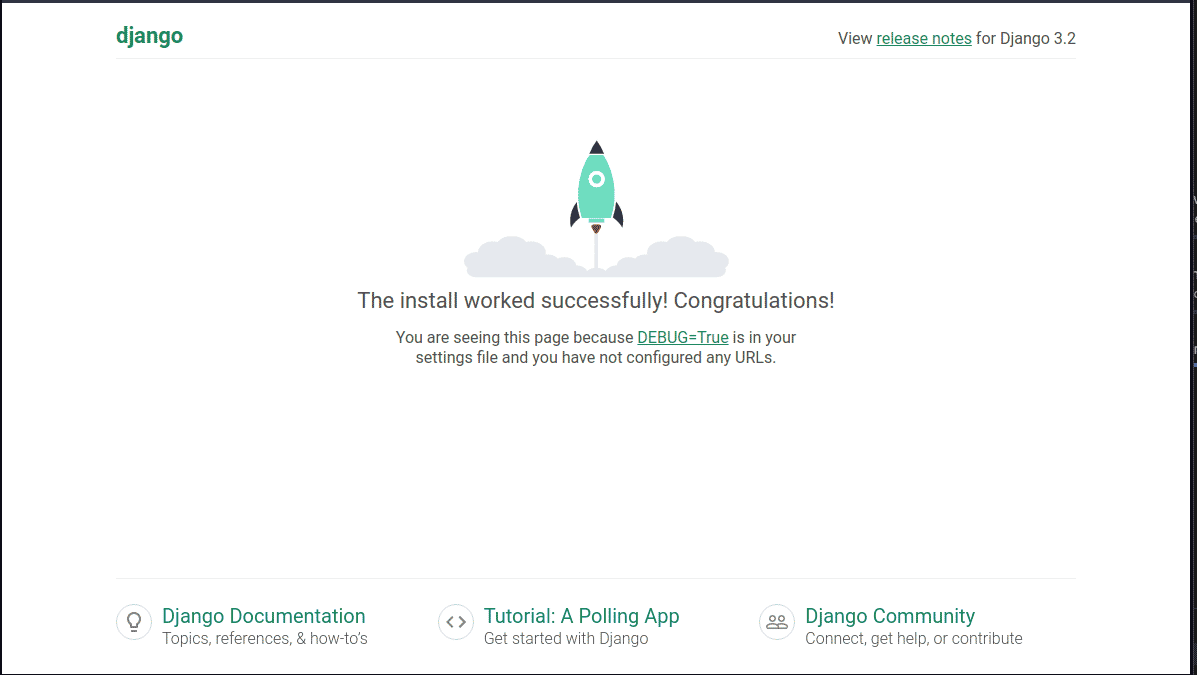
To access the admin dashboard, add /admin to the end of the URL.
$ http://server-IP:8000/admin
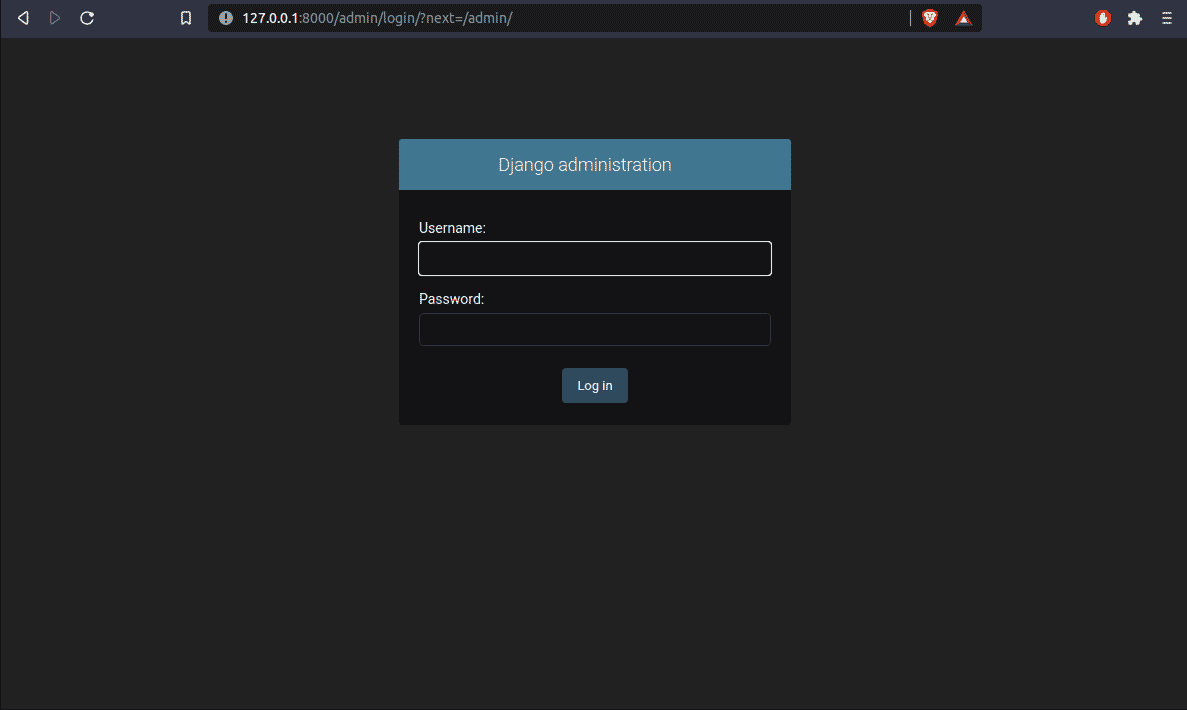
Provide the credentials you used when creating the superuser account and press the ‘Login’ button to log in.
Conclusion
You are now ready to start creating Django projects on your Rocky Linux / AlmaLinux system.


