Commonly referred to as Postgres, PostgreSQL is a free and open-source, advanced, and stable relational database management system that has been around for over 20 years since its release in 1996. Synonymous with its blue elephant logo, PostgreSQL is widely used among professionals and regular users who are trying to find their way in Relational Database Management Systems (RDMS). PostgreSQL is hugely popular, and according to a survey conducted by StackOverflow in 2019, it comes second to MySQL with a market share of 36.3%. Some of the Tech giants that use PostgreSQL include Apple, Reddit, Spotify, Skype, and Instagram to mention a few.
One of the aspects that makes PostgreSQL so popular especially among developers is its supports for a vast number of programming languages including Python, Java, C/C++, Go, Javascript, Perl, and Ruby. It also ships with powerful features which include:
- User-defined types
- Asynchronous replication
- Table inheritance
- Nested transactions
- Multi-version concurrency control (MVCC)
- Advanced locking mechanism
- Foreign key referential integrity
The latest release is PostgreSQL 13 which was released in September 2020. It provides a number of improvements which include:
- Incremental sorting.
- Improved query planning whilst leveraging enhanced statistics.
- Faster response times in queries that use partitions or aggregates.
- Performance gains for indexes.
- Parallelized vacuuming of indexes.
In this tutorial, we focus on the installation of PostgreSQL 13 on Rocky Linux 8.4.
Step 1: Update Rocky Linux repositories
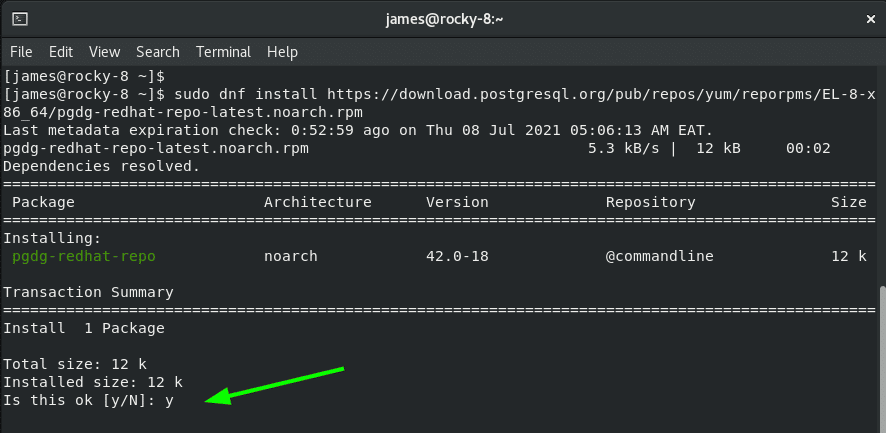
The default version of PostgreSQL in Rocky Linux repositories is version 10. However, the latest version is PostgreSQL 13 and this is what we intend to install. To maneuver around this obstacle, we will download the latest YUM repository from PostgreSQL and add it to our system as follows.
$ sudo dnf install https://download.postgresql.org/pub/repos/yum/reporpms/EL-8-x86_64/pgdg-redhat-repo-latest.noarch.rpm
Step 2: Disable default module
As pointed out earlier, the default PostgreSQL module is version 10. Before proceeding any further, we need to disable it so that we can install the latest version.
To disable the default module, issue the command:
$ sudo dnf -qy module disable postgresql

Step 3: Update the system
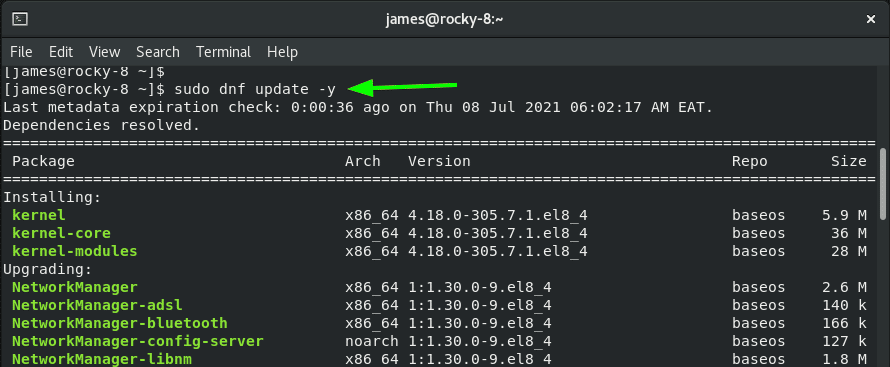
To synchronize with the newly added PostgreSQL repository, update your Rocky Linux 8 instance as shown.
$ sudo dnf update -y
Step 4: Install PostgreSQL 13 server and client on Rocky
With the latest PostgreSQL repository in place, install the PostgreSQL client and server as follows.
$ sudo dnf install postgresql13 postgresql13-server
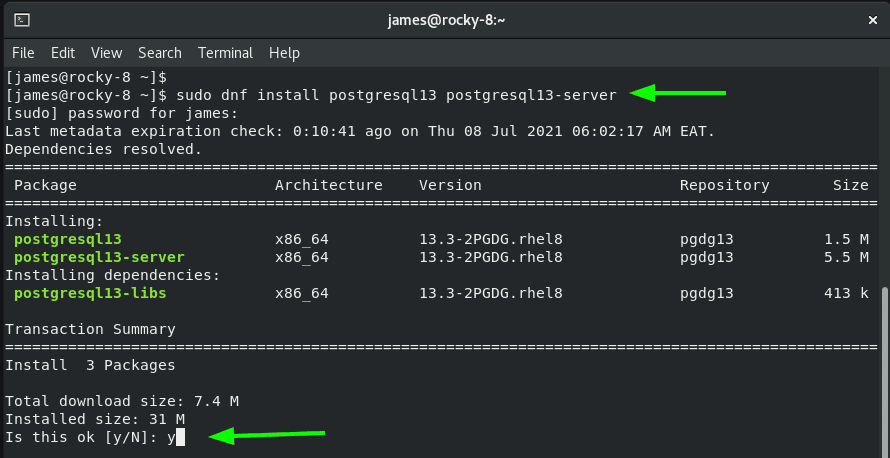
Once the installation is complete, you should see the following output.
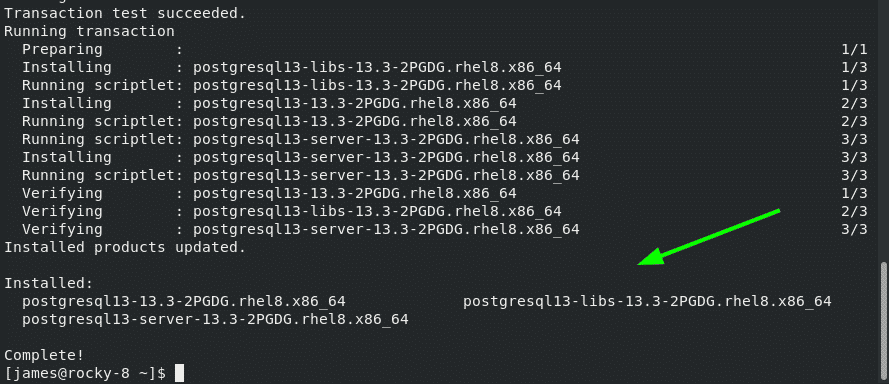
To verify the version installed, execute:
$ psql -V

Step 5: Initialize the database
Thus far, we have installed the PostgreSQL server and ensured that it is running. Next, we will initialize the initdb database which will create a new PostgreSQL cluster that comprises multiple databases & tables. To initialize the database, run the command:
$ sudo
/usr/pgsql-*/bin/postgresql-*-setup initdb

Step 6: Enable and start PostgreSQL service
Once the database has been initialized, proceed and enable PostgreSQL to start on boot.
$ sudo systemctl enable postgresql-13
Once enabled, start PostgreSQL.
$ sudo systemctl start postgresql-13

To verify that indeed PostgreSQL is active and running, invoke the command:
$ sudo systemctl status postgresql-13
The output below confirms that the PostgreSQL service is running.

Step 7. Connecting to PostgreSQL
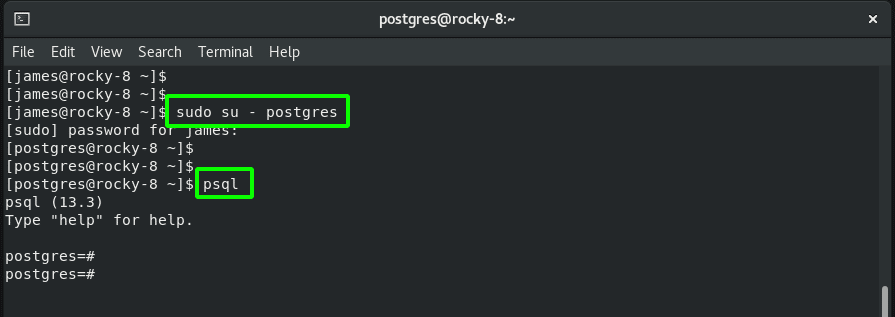
During installation. PostgreSQL creates a new user called postgres. We will leverage this user to gain access to Postgres prompt.
So, run the command:
$ sudo su - postgres
To access PostgresSQL prompt, execute:
$ psql
From here, you can proceed and create your database and tables and perform all the database management operations you deem fit.
To exit from the prompt, simply run:
$ \q
TO revert to your user account, type ‘exit’.
$ exit

Conclusion
That was a walkthrough of PostgreSQL 13 installation on Rocky Linux 8.4. We do hope you now have the wherewithal to install the RDMS on your system without any trouble.


