With remote work being the norm especially in the post-pandemic era, staying connected has never been more important. The world has seen a steady rise of video calling applications that help colleagues and friends stay connected from wherever they are in the world. One of the applications that has proven useful in helping users keep in touch is Zoom.
Zoom is a cross-platform and proprietary video-conferencing application that allows users to securely and reliably hold video conferencing sessions, chats, webinars, and other online events in a convenient way. It works on Linux, Windows, Mac, and even Android smart devices. Zoom client is intuitive and easy to use. Zoom service provides a free basic plan that offers 40 minute video calls with up to 100 participants. Beyond 100 participants, you will have to settle for the pricing model that suits your needs. There are three main pricing models namely: Pro, Business, and Education.
In this guide, we will embark on the installation of the Zoom client on AlmaLinux / Rocky Linux 8.
Step 1: Update the system and install EPEL
To get things rolling, we are going to upgrade packages and refresh the repositories as shown.
$ sudo dnf update
Once complete, install the EPEL repository on the system. EPEL provides extra or additional software packages for RHEL-based distros. So, run the command:
$ sudo dnf install epel-release

Step 2: Download Zoom binary file
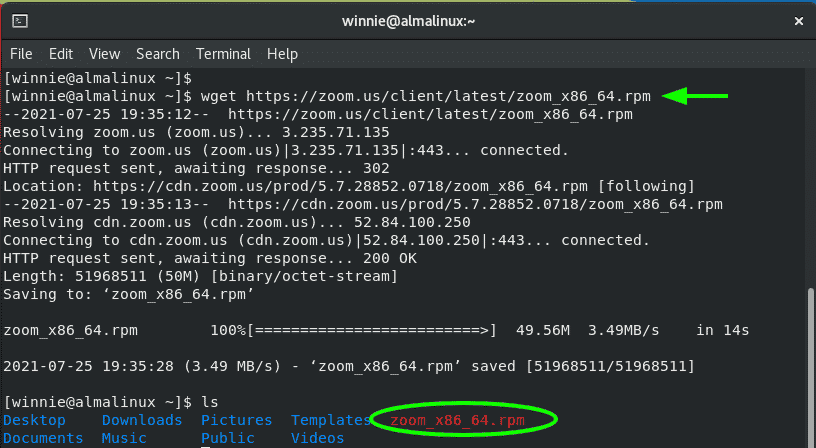
The next step is to download the Zoom’s RPM binary file from the Official site. Using the wget command, grab the Zoom’s binary file for 64-bit architecture as follows.
$ wget https://zoom.us/client/latest/zoom_x86_64.rpm
Step 3: Install Zoom on Rocky Linux 8
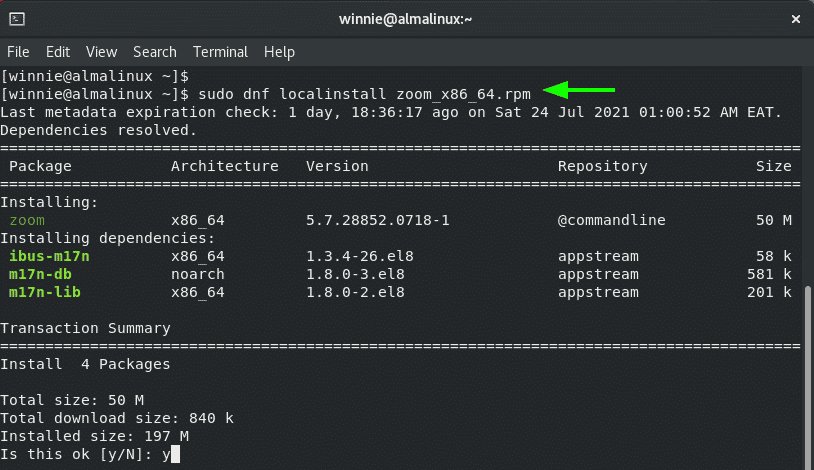
With the binary package in place, execute the command below to install the Zoom client.
$ sudo dnf localinstall zoom_x86_64.rpm
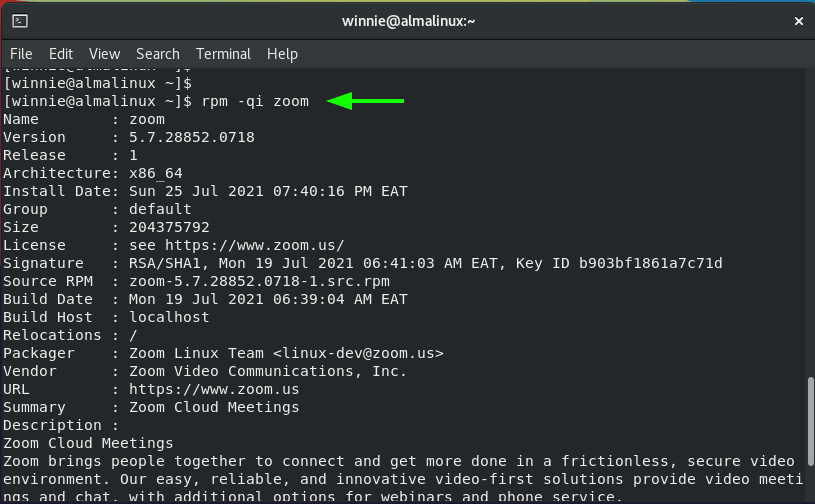
When Zoom’s installation is complete, you can confirm the version installed alongside other details such as architecture, build date and a brief description etc using the rpm command shown:
$ rpm -qi zoom
Step 4: Launch Zoom
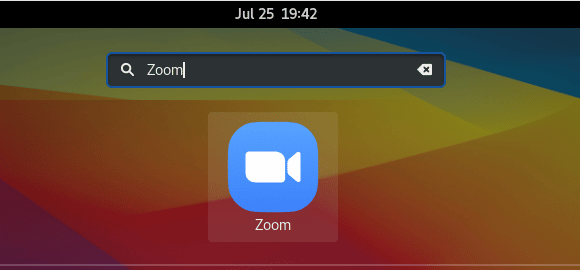
To start using the Zoom client, search using the Application manager. Click on the Zoom client icon as indicated.
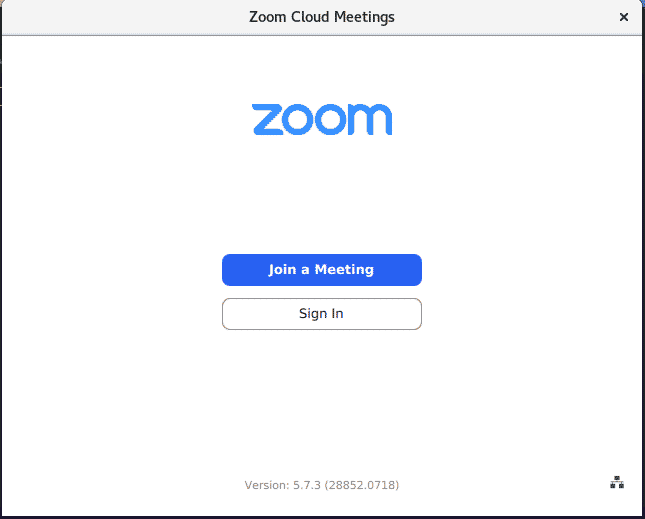
This launches the GUI shown which provides two options: Join a meeting or ‘Sign in’. To join a meeting, click on the ‘Join a meeting’ button, otherwise click on ‘Sign in’ to sign in using your credentials.
Conclusion
In this guide, we have walked you through the Zoom client’s installation procedure. You can now proceed and start or join meetings with the security and reliability that Zoom provides.


