Apache is the most popular web server developed by Apache Software Foundation. It offers several features that make it very useful for websites. Apache HTTP server is supported on all operating systems including Linux, Windows, MacOS, FreeBSD, etc. It is also a part of the web service stack-LAMP stack.
In this post, we will explain how to install Apache on Linux server. The commands discussed in this article have been tested on Ubuntu 20.04 LTS (Focal Fossa). The same commands are also valid for Debian distribution.
Prerequisites
- Ubuntu or Debian machine
- User with sudo privileges
Apache Installation
Apache is available in the official repositories of Linux Ubuntu. Therefore, we can easily install it using the apt-get install command. Following are the steps to install Apache on Linux.
Step 1: Update System Repositories
First, update the system repositories using the following command in Terminal:
$ sudo apt-get update
Enter sudo password.

Step 2: Install Apache
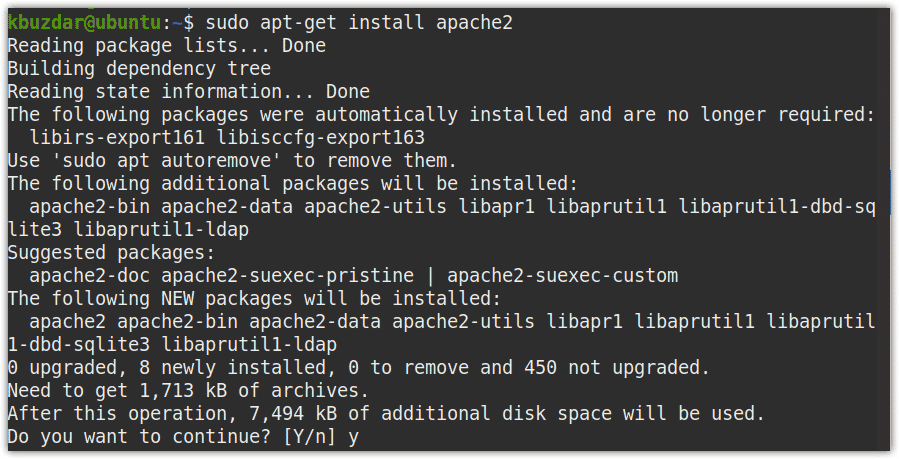
Now in order to install Apache, issue the following command in Terminal:
$ sudo apt-get install apache2

When prompted for confirmation, hit y, after which the installation of Apache will be started on your system. Depending on your network connection, the installation of Apache may take some time.
Step 3: Verify Installation
Once the installation of Apache is completed, you can verify it using the following command in Terminal:
$ apache2 -v
The following output confirms the Apache has been installed with version 2.4.41.

You can also view the status of Apache service to verify if it is properly running. Issue the following command in Terminal to do so:
$ systemctl status apache2
The active (running) status in the following output shows that the Apache service is active and running.

In case, the service is not started automatically, you can start it using the below command:
$ sudo systemctl start apache2
Access Apache Default Webpage
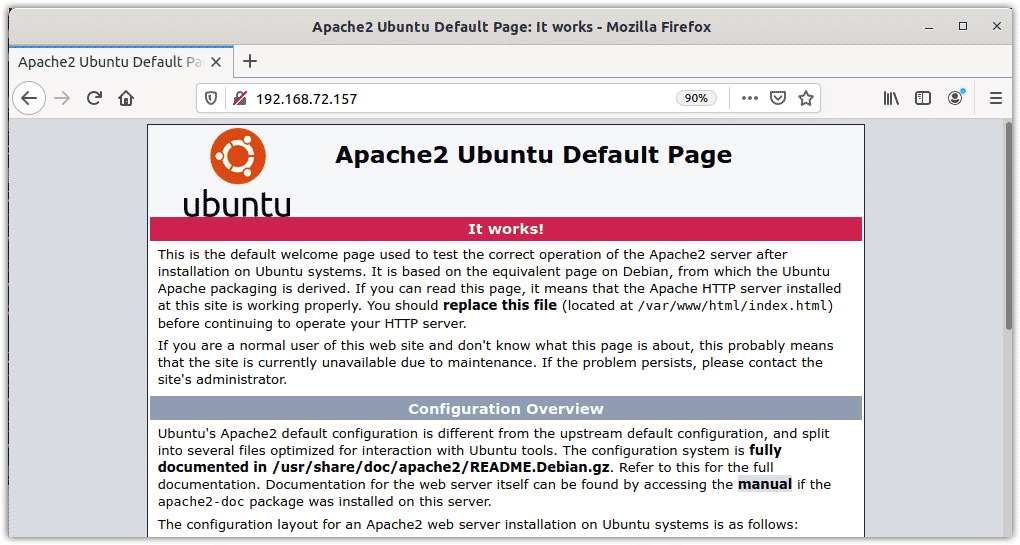
You can also confirm if the Apache service is successfully running by accessing the Apache default webpage. To do so, type your system’s hostname or IP address in the location bar of any browser.
http://<host_name or ip_address>
The following page shows that Apache has been successfully installed on your system.

If you want to access the Apache from another system on the network, you will need to configure a rule in the firewall which has been discussed in our post about Apache configuration.
Remove Apache
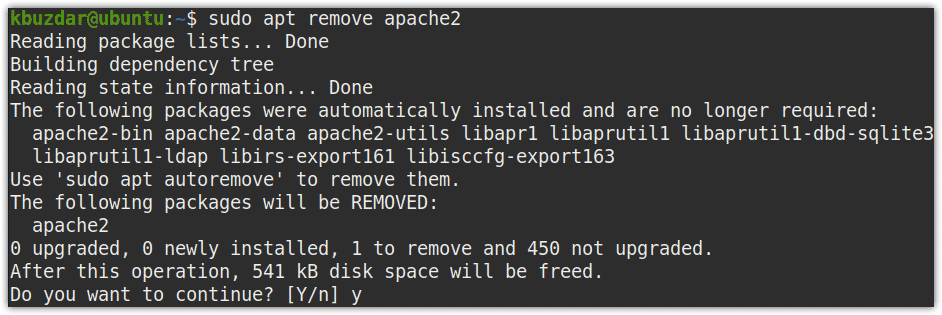
In case, you no longer need Apache server on your system, you can easily remove it using the below command:
$ sudo apt-get remove apache2

When prompted for confirmation, hit y, after which the system will remove Apache.
That is all there is to it! In this tutorial, you have learned how to install Apache on Linux server. It takes just a few simple steps to install Apache web server in Linux machine. In our next article, we will look at configuration for the Apache server and host a small application.


