Filezilla is an open-source and easy-to-use FTP client that is used to transfer files to and from an FTP site. Through Filezilla, you can also copy, rename, and delete files on the remote FTP server. Filezilla is a multiplatform solution supported on Linux, Windows, and MacOS. It supports FTP, SFTP, and FTPS protocols.
In an earlier post, we discussed how to install FileZilla on Debian system. In today’s post, we are going to explain how to install FileZilla on Ubuntu OS. You can install FileZilla on Ubuntu using the following three different ways:
- Installing FileZilla on Ubuntu via apt (Command Line)
- Installing FileZilla on Ubuntu via tar.bz2 archive (Command Line)
- Installing FileZilla on Ubuntu via Software Center (GUI)
Note: We have explained the installation procedure on Ubuntu 20.04 LTS. You will need sudo or root privileges in order to install FileZilla on your Ubuntu system.
Installing FileZilla on Ubuntu via apt
FileZilla is available in the package repository of Ubuntu OS. Therefore, to install FileZilla, you can simply use the apt command as follows:
$ sudo apt install filezilla
Enter sudo password, then it will ask you to confirm if you want to continue the process. Press y to carry on.
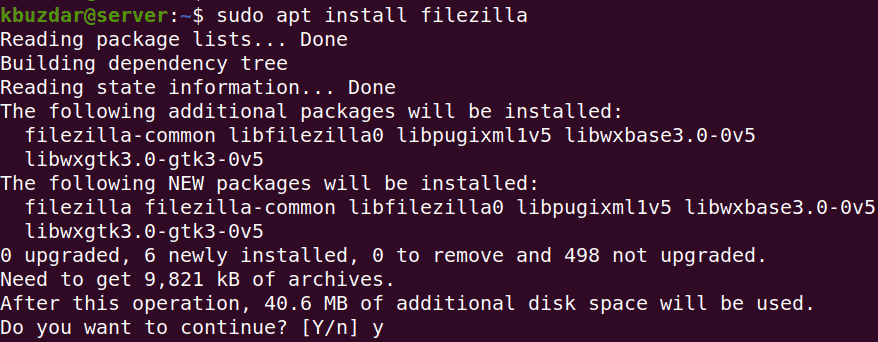
To verify if the installation is completed and to check the installed version, use the below command in Terminal:
$ filezilla --version
The following output confirms FileZilla version 3.46.3 has been successfully installed.

To launch FileZilla from the command line, simply type filezilla in Terminal:
$ filezilla
Installing FileZilla on Ubuntu via tar.bz2 archive
Follow the steps below in order to install FileZilla via tar.bz2 archive:
1. Download FileZilla client for Linux from FileZilla‘s official website. Based on your system architecture, download either a 32-bit or 64-bit package. The downloaded FileZilla file will be in tar.bz2 format. Here, we have downloaded the latest version of FileZilla 3.52.2.
2. Once FileZilla tar.bz2 file is downloaded, move to the Downloads directory.
$ cd Downloads/
Then extract the tar.bz2 archive using the following command:
$ sudo tar vxf FileZilla_3.52.2_x86_64-linux-gnu.tar.bz2

3. Copy the extracted directory to /opt using the following command in Terminal:
$ sudo cp -r Filezilla3 /opt/
![]()
3. Move to the /opt directory as follows:
$ cd /opt/
Then change the ownership of the extracted FileZilla directory as follows:
$ sudo chown -R root:root FileZilla3/

4. Now the installation of FileZilla is completed, you can launch it using the following command in Terminal:
$ /opt/FileZilla3/bin/filezilla
Installing FileZilla on Ubuntu via Software Center
For users who are not comfortable with the command line can install FileZilla graphically. Here is the procedure to do so:
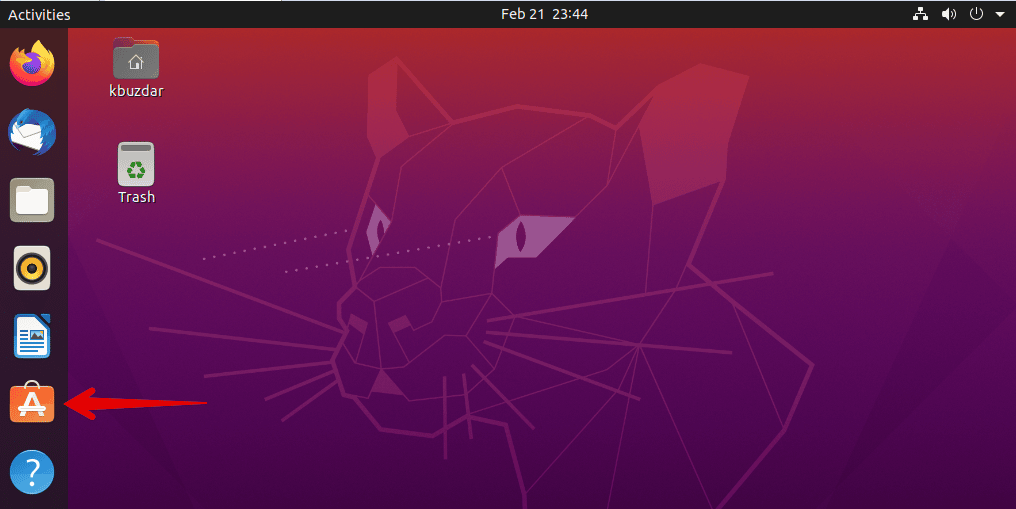
1. Open Ubuntu Software Center in your system. To do so, click its icon in the left panel of your desktop or press the super key and then search and launch it from there.
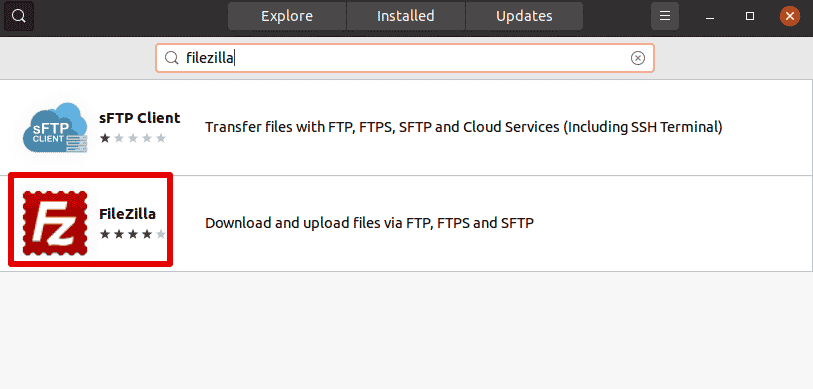
2. In the Software Center window, click the search button located on the left-most corner. Then in the search bar, type filezilla and press Enter. When the search result appears, click the FileZilla application as seen highlighted in the following screenshot.
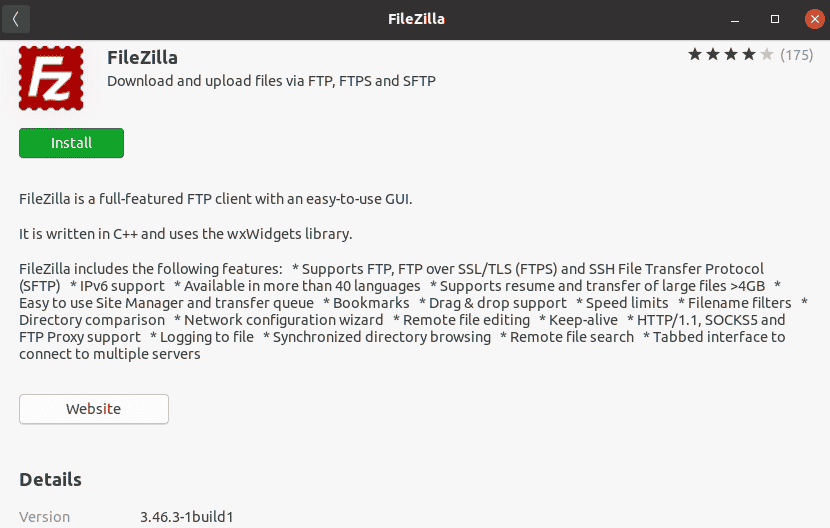
After clicking the application, the following view will appear. Click Install button to install FileZilla on your system. It will install the FileZilla version 3.46.3 on your system.
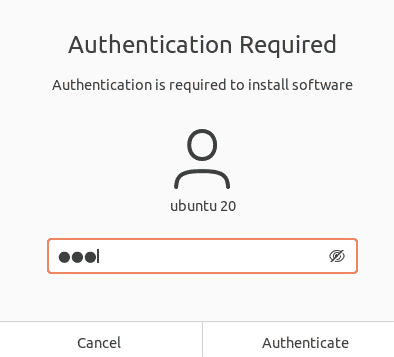
Now you will be asked to provide your password for authentication. Enter your password and click Authenticate.
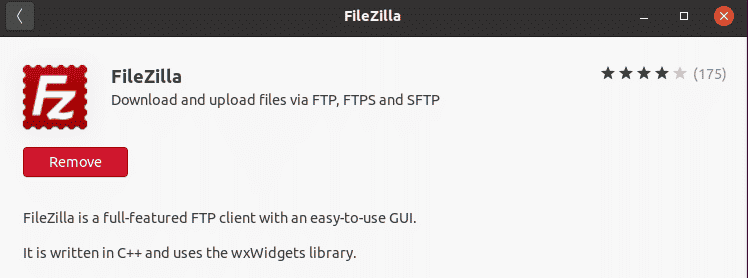
Now the installation will be started and once completed you will see the following view on your screen.
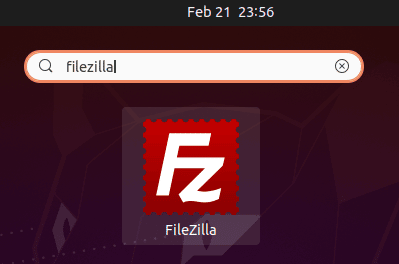
Now in order to launch FileZilla, hit the super key and type filezilla in the search bar. From the search results, click the FileZilla icon to launch it.
Connect to a Remote FTP Server using FileZilla
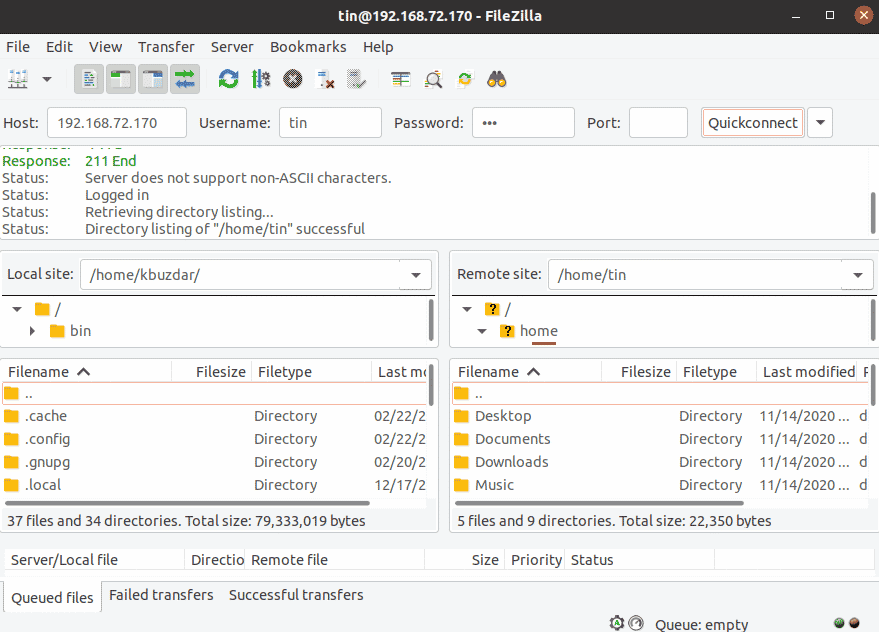
It is very easy to connect to a remote FTP server using FileZilla. All you need is to launch the FileZilla application. Then provide hostname or IP address, username, password, and the port number to which the FTP server is listening (default port 21). Then click Quickconnect.
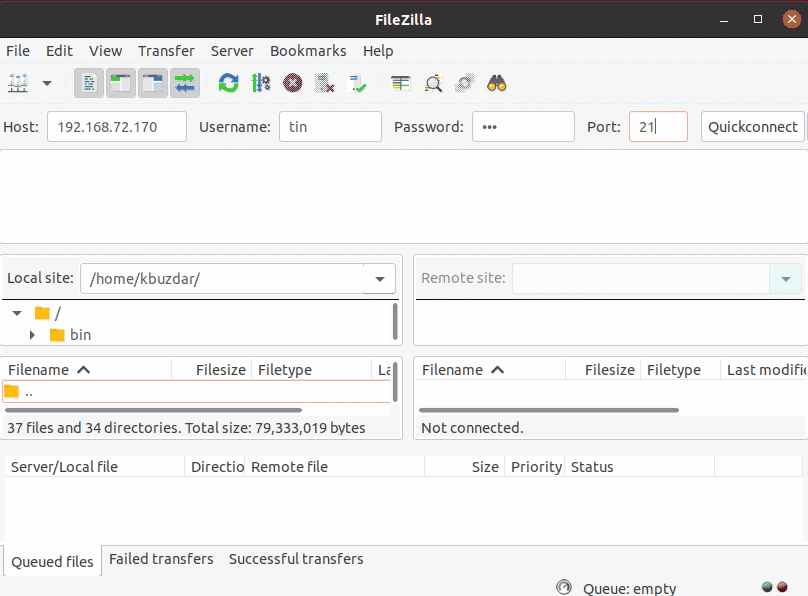
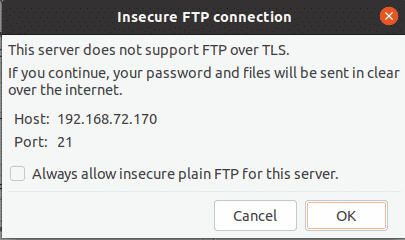
Now a dialog may pop up informing you that your FTP connection is not secure or the server’s certificate is not recognized. If you are okay with it, click OK to continue.
If everything is fine, you will be connected to your FTP server and will be able to transfer files to and from the server respectively.
Remove FileZilla from Ubuntu
In case, you need to remove FileZilla from your Ubuntu system, you can easily do so using the following command in Terminal:
$ sudo apt remove filezilla
To remove FileZilla along with its configuration files, use the following command instead:
$ sudo apt purge filezilla
That is all there is to it! Using any of the three methods described here, you can easily install FileZilla on Ubuntu 20.04 LTS system. In the end, we have also covered how to remove FileZilla in case you need to so.
