Introduction
Asterisk is a popular open-source that allows you to create communications applications such as VoIP gateways and conference servers. It is a useful choice for call centers, small businesses, and governments worldwide,…
Based on VoIP protocol, Asterisk allows us to make TCP/IP calls for free. It is a useful open-source. And we will guide you on how to install Asterisk on Ubuntu 20.04 as you go through it below. Hope you understand.
Update the package
Run the apt command to update:
$ sudo apt update
Output:

Then run:
$ sudo apt install wget build-essential git autoconf subversion pkg-config libtool
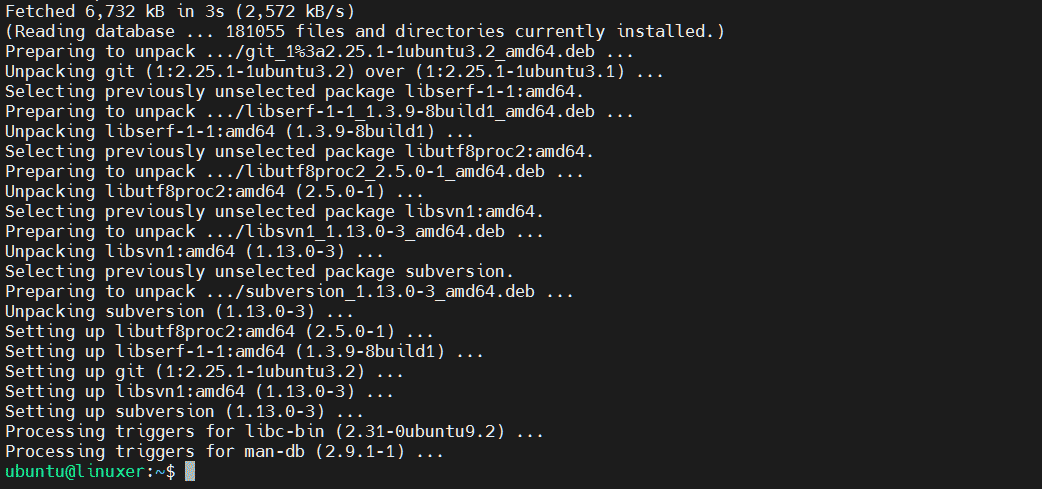
Output:

Install DAHDI and LibPRI
Asterisk communicates with digital and analog phones by DAHDI. Asterisk communicates with ISDN connections by the LibPRI library. The installation of these 2 is required.
Navigate to /usr/src directory and install DAHDI:
$ cd /usr/src/
Then run:
$ sudo git clone -b next git://git.asterisk.org/dahdi/linux dahdi-linux
Output:

Then navigate to dahdi-linux and run:
$ cd dahdi-linux

$ sudo make

$ sudo make install
Output:

Then run the following commands:
$ cd /usr/src/

$ sudo git clone -b next git://git.asterisk.org/dahdi/tools dahdi-tools

$ cd dahdi-tools

$ sudo autoreconf -i

$ sudo ./configure

$ sudo make install

$ sudo make install-config

$ sudo dahdi_genconf modules
To build LibPRI:
$ cd /usr/src/

$ sudo git clone https://gerrit.asterisk.org/libpri libpri

$ cd libpri

$ sudo make

$ sudo make install
Install Asterisk
Navigate to /usr/src directory and clone the Asterisk source:
$ cd /usr/src/

$ sudo git clone -b 18 https://gerrit.asterisk.org/asterisk asterisk-18
Output:

Then navigate to asterisk-18:
$ cd asterisk-18/
Download the MP3 sources:
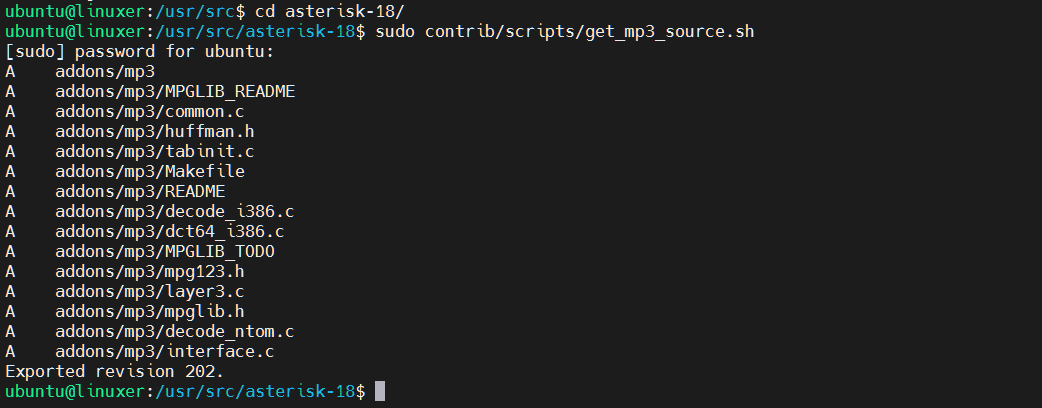
$ sudo contrib/scripts/get_mp3_source.sh
Output:

Run the install_prereq script:
$ sudo contrib/scripts/install_prereq install
Output:

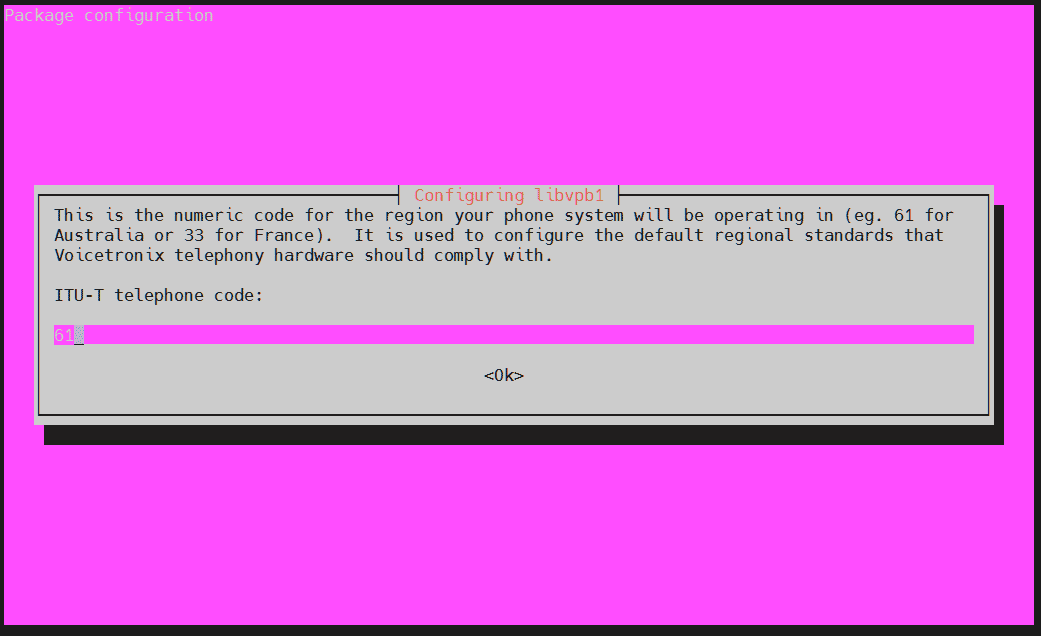
Type your ITU-T telephone code and press Ok.

Then run:
$ sudo ./configure

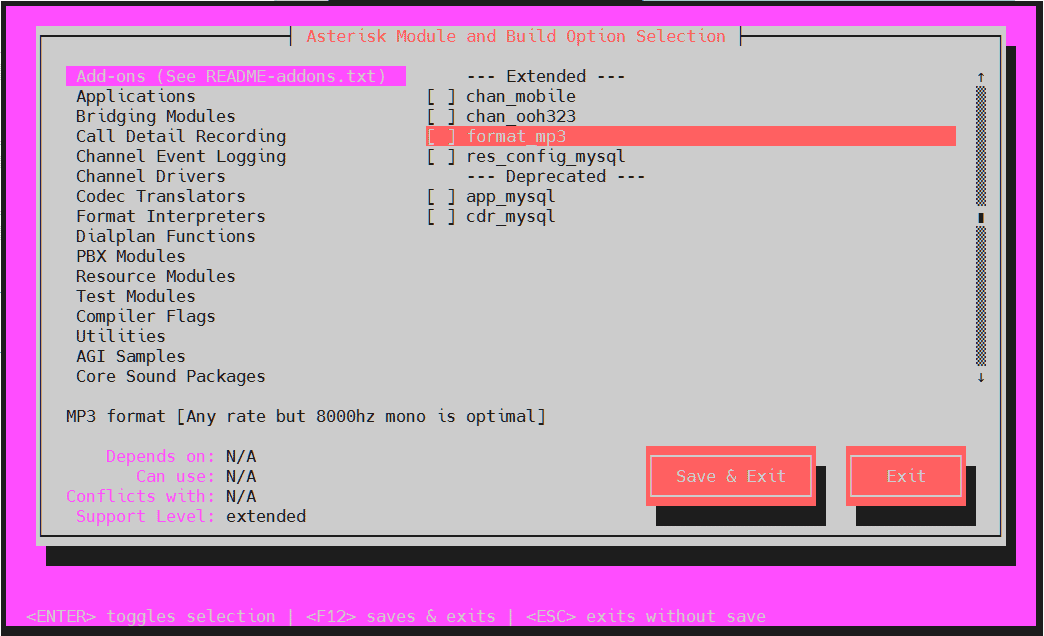
$ sudo make menuselect
Output:

Select format_mp3 and Save & Exit.
Start compiling:
$ sudo make -j2
Output:

Once done, install Asterisk:
$ sudo make install
Install either the generic configuration files:
$ sudo make samples
Lastly, install the Asterisk init script:
$ sudo make config
Updated shared libraries cache:
$ sudo ldconfig
Create Asterisk User
Create a user name asterisk:
$ sudo adduser --system --group --home /var/lib/asterisk --no-create-home --gecos "Asterisk PBX" asterisk
Output:

Configuring Asterisk:
$ nano /etc/default/asterisk

Add asterisk to the groups:
$ sudo usermod -a -G dialout,audio asterisk
Run the following commands to set permissions:
$ sudo chown -R asterisk: /var/{lib,log,run,spool}/asterisk /usr/lib/asterisk /etc/asterisk

$ sudo chmod -R 750 /var/{lib,log,run,spool}/asterisk /usr/lib/asterisk /etc/asterisk
Start Asterisk
Run the following command to start the Asterisk service:
$ sudo systemctl start asterisk
Check connection Asterisk:
$ sudo asterisk -vvvr
Output:

To enable Asterisk service:
$ sudo systemctl enable asterisk
Configure Firewall
By default, SIP uses UDP port 5060:
$ sudo ufw allow 5060/udp
Then run:
$ sudo ufw allow 10000:20000/udp
Output:

Conclusion
Above is the tutorial about how to install Asterisk on Ubuntu 20.04.
Thanks for reading!


