I3 is a C-based tiling window manager that comes with a BSD license, is geared for professionals and programmers, and offers a lot of unique features. Window stacks are supported by this little window manager, which arranges them in a tabbed style like a web browser. Furthermore, even if you have numerous displays, the i3 can be used without issue to maximize the performance of your system. Unlike other window managers, virtual desktop surfaces are also accessible; you don’t need to define the number of them.
You can create a new work area at any time by pressing a button; but, if there are no more open windows on it when you transition to another virtual desktop, i3 will deactivate it. As a result, there are fewer open virtual work surfaces, which saves system resources.i3 competes with a variety of other window managers in its position as a window manager for Unix-like operating systems.
Steps to install i3 on Ubuntu
The steps listed below can be used to install i3 Window Manager on any Ubuntu-based system.
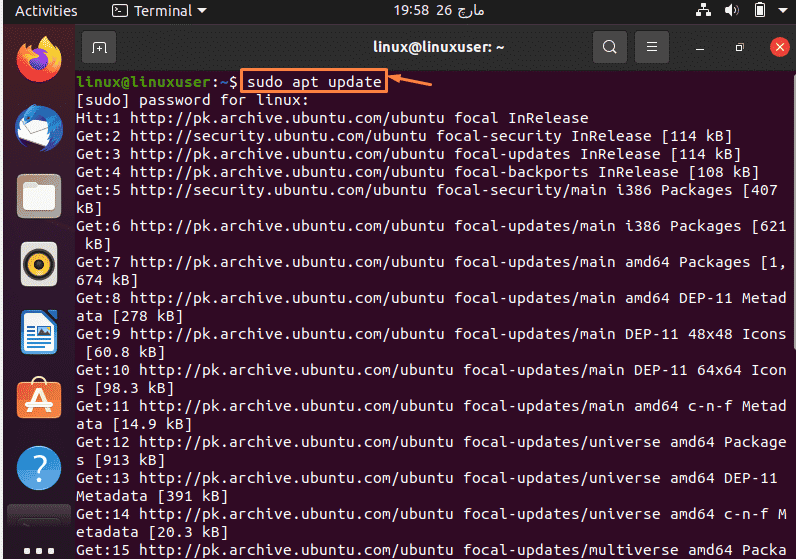
Step-1: How to Update the System on Ubuntu
Use the system update command to install the most recent versions of the system and app packages, as well as to clear the repository cache.
$ sudo apt update |
Step-2: How to Install the i3 Window Manager on Ubuntu
The items we’ll need to install i3 are already in Ubuntu’s basic base repository. As a result, you just have to run the below-mentioned command:
$ sudo apt install i3 |
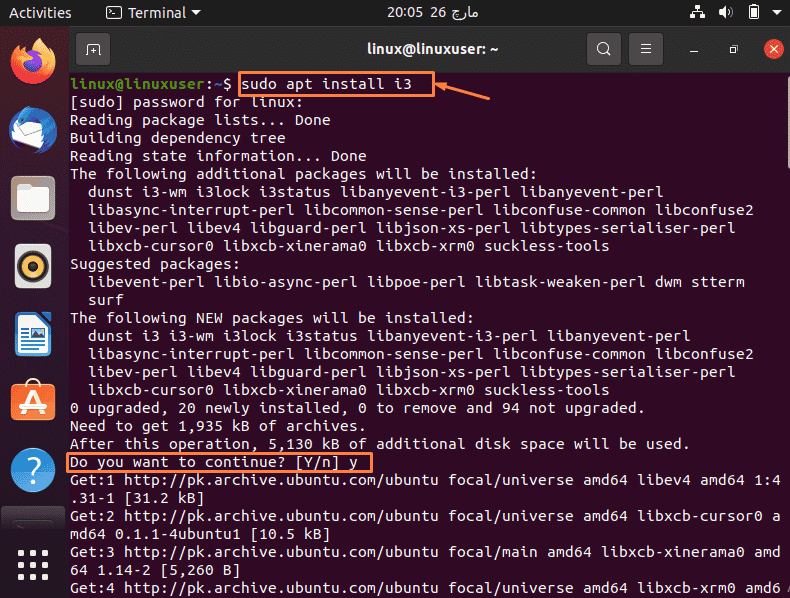
During installation, it will give you the option to either continue or dismiss the installation and to continue the installation, press “y”.
Step-3: How to Switch to i3 Window Manager on Ubuntu
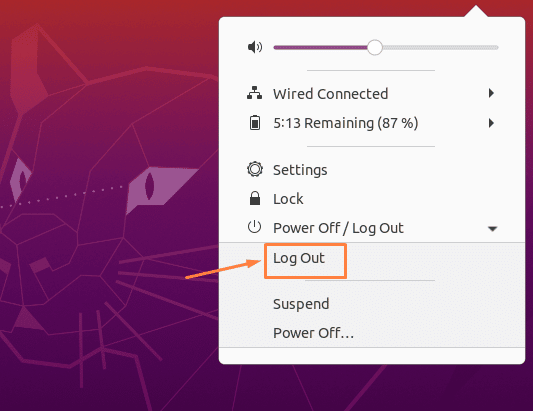
When the installation completes, log out of your system. Then, to log in, click on your username, but before that, just click on the “Gear” symbol provided at the right bottom. Select “i3” from the drop-down menu.

Step-4: How to Set the i3 Configuration File on Ubuntu
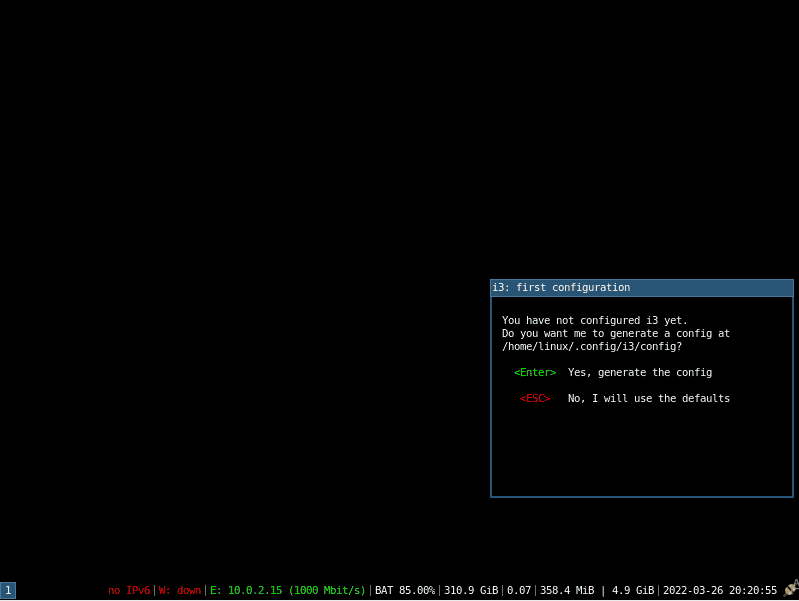
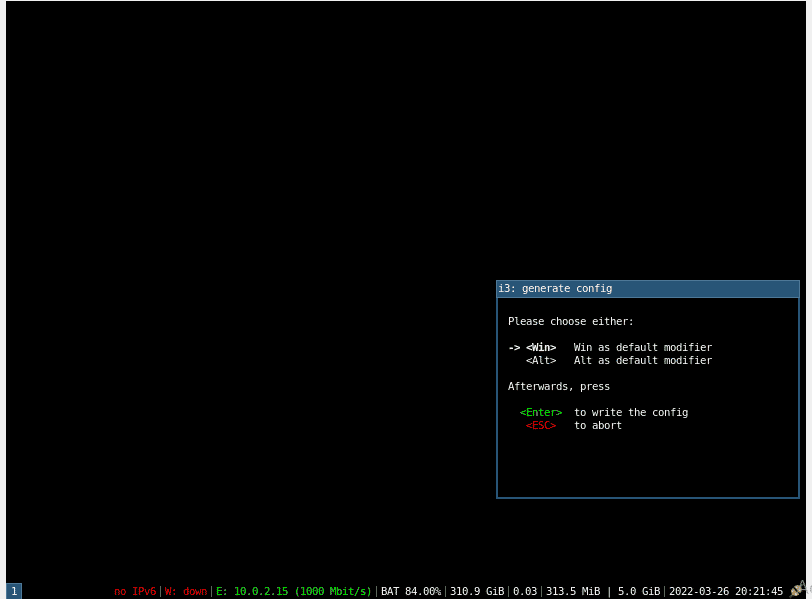
Users who prefer high-graphical desktops may find the initial screen to be less interactive. Those who choose to try i3, however, will see a text-based option to construct an i3 configuration once logged in. By default, all you have to do is press “Enter” to save the file to your home directory.
Step-5: How to Select a Modifier Key
The default modifier key, often known as the $mod key, will appear next. In i3, it may be used to manage apps and other settings. Win and Alt are the two keys that can be selected and set as defaults. The Win key will be picked by default; to continue, you can simply press the Enter key.
Step-6: How to use i3 Window Manager on Ubuntu
After the preceding steps, there isn’t much further to do. Now that we’ve completed all of the basic configurations, we can start using the i3 Desktop on Ubuntu.
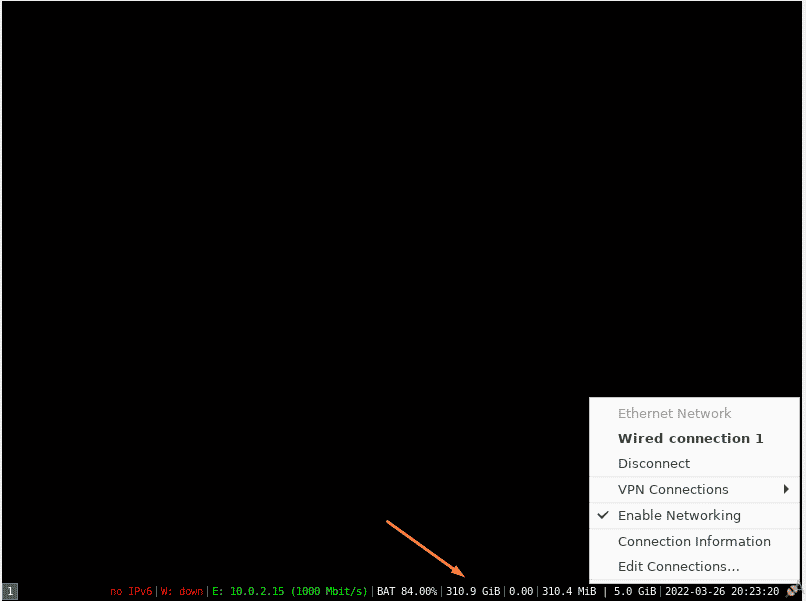
The only item on the i3 tile manager is a short strip with various system statistics, such as battery life, disc space, IP address, and so on.
Step-7: How to Launch the i3 Application on Ubuntu
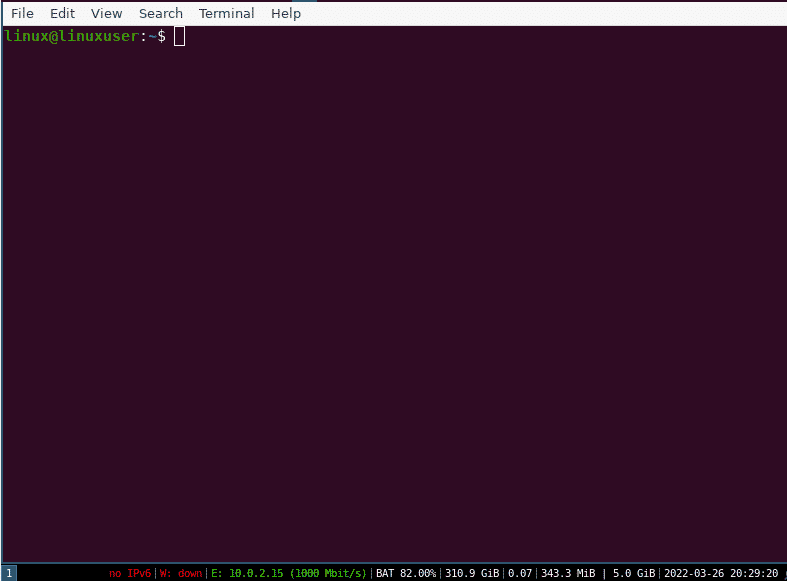
Now, let’s look at how to use the i3 tiling manager to start apps and change other settings. This can be accomplished by using a keyboard key in conjunction with the “mod” key that is specified during the Window manager’s setup. For example, if you change the Modifier key to Win, then the shortcut to launch command Terminal on i3 is win+Enter.
Conclusion
The main goal of this article is to provide some basic information regarding the i3 window manager. In addition, the basic methods for installing i3 in Ubuntu Linux are described in this article. This article also includes instructions on how to set up i3 and launch an application. This article also includes the output results of these steps.


