Introduction
MAAS is an acronym for Metal As A Service. It is an open-source tool from Canonical that helps you deploy data centers from raw metal servers.
MAAS is supported on Ubuntu, CentOS, Windows, and RedHat operating systems. This tool is very useful for normal enterprises in managing virtualized infrastructure. This tutorial will guide you on how to install MAAS on Ubuntu 20.04 as you go through below.
Installing MAAS as snap package
Step 1 – Update packages by apt command:
$ sudo apt update

Step 2 – Let’s install MAAS:
$ sudo snap install maas
Output:

Initializing MAAS
For production, we need to Initialize MAAS. Firstly, we must check for updates:
$ sudo apt update -y
Output:

Then we will install PostgreSQL:
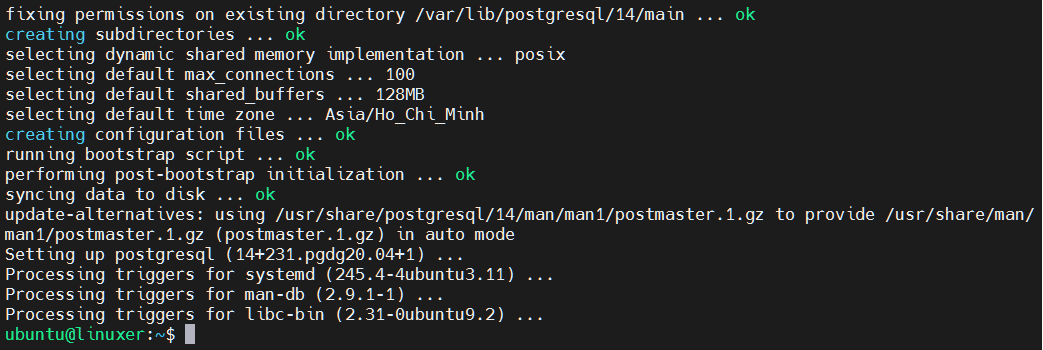
$ sudo apt install -y postgresql
Output:

Secondly, we will create a database for MAAS. Here the database is called maas, user named maasuser, the password is maas123:
$ sudo -u postgres psql
create user maasuser with encrypted password ‘maas123’;
create database maas;
grant all privileges on database maas to maasuser;
\q

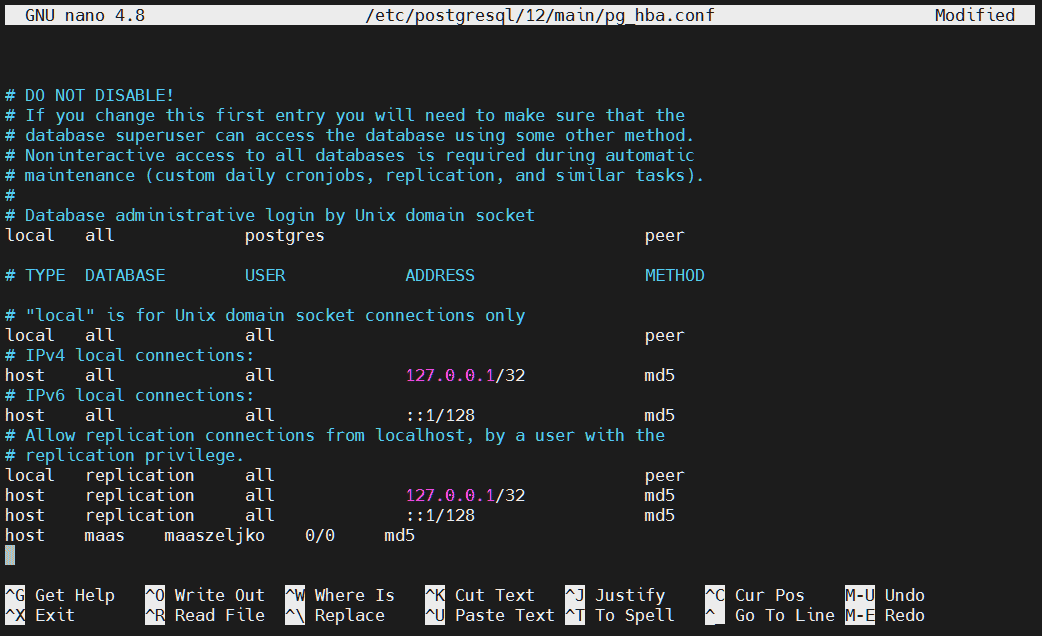
Thirdly, we need to edit the file /etc/postgresql/10/main/pg_hba.conf:
$ sudo nano /etc/postgresql/10/main/pg_hba.conf
Then add the following line:
host maas maaszeljko 0/0 md5

Save it and exit.
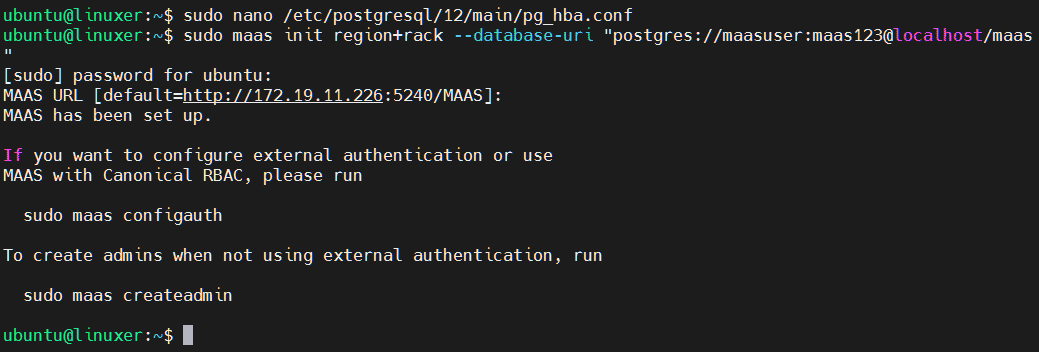
Now we will start initializing MAAS:
$ sudo maas init region+rack --database-uri "postgres://maasuser:maas123@localhost/maas"
Replace maasuser with your username just created, maas123 by your password.

To create the admin account for the web interface, run:
$ sudo maas createadmin

To check MAAS service status, run:
$ sudo maas status
Output:

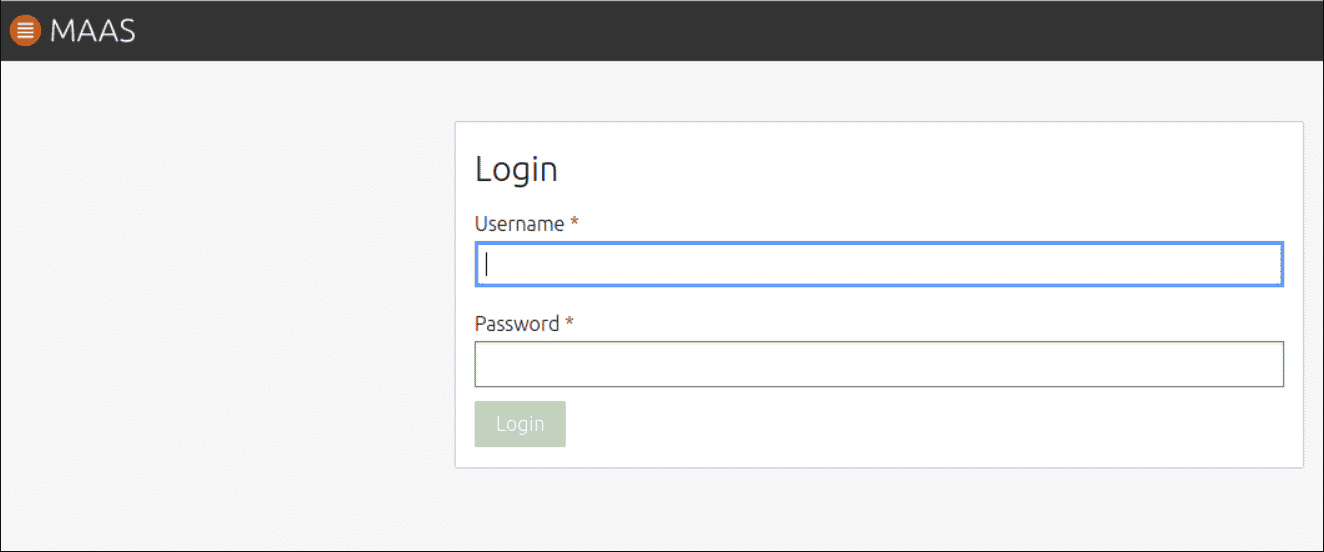
Testing connection
Open your browser and access your MAAS URL 
Conclusion
In this article, we guided you on how to install MAAS on Ubuntu 20.04.
Thanks for referring!


