One of the issues that impact the performance of web applications is high database loads. A high load increases the latency and causes slowdowns in your web applications. On production servers, this is highly undesirable and can make you lose potential customers. One of the ways of speeding up your applications is investing in a solid caching system. Memcached is an open-source high-performance distributed caching system that helps speed up your web applications by alleviating the database load. It stores data objects in dynamic memory, which is a temporary memory storage location – instead of applications always accessing the data afresh from the database. The cached data alleviates the workload and make it much easier for the application to retrieve the required data.
In this guide, we walk you through the installation of Memcached on Ubuntu 20.04 LTS.
Step 1: Install Memcached
Installing Memcached is quite easy and straightforward. This is largely due to the fact that it is available in Ubuntu 20.04 repositories, and it’s, therefore, possible to install it via the APT package manager.
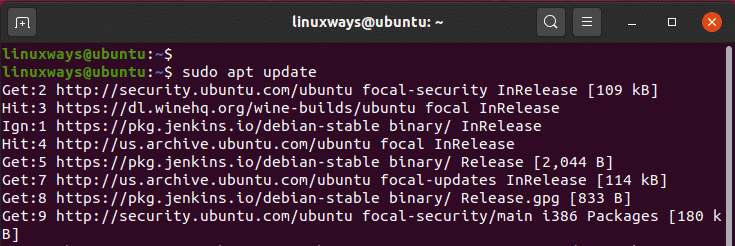
But first, let update the package lists on our system:
$ sudo apt update

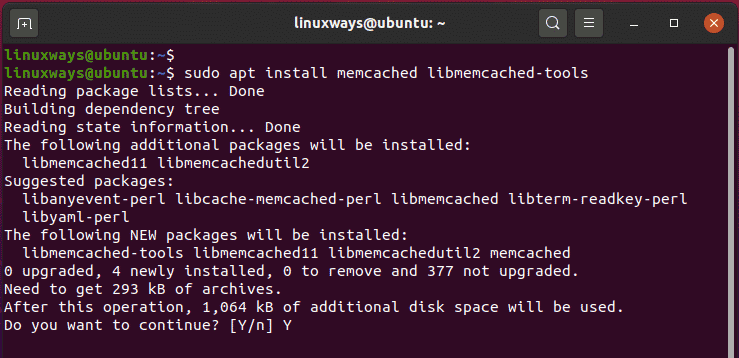
Next, we are going to install the Memcached package along with a CLI utility known as libmemcached-tools as follows:
$ sudo apt install memcached libmemcached-tools
When prompted, hit ‘Y’ to get along with the installation of Memcached.

Step 2: Check the status of Memcached
By default, Memcached listens on port 11211. You can verify this by using the netstat command as shown:
$ sudo netstat -pnltu

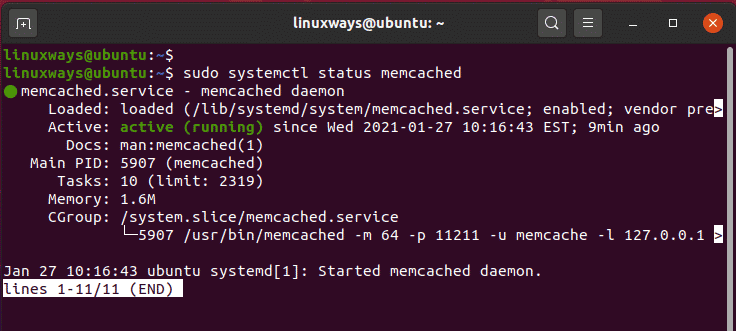
Additionally, you can use systemd to confirm if the Memcached daemon is running:
$ sudo systemctl status memcached

From the output above, we can clearly observe that the Memcached service is active and running. If by any chance, Memcached is not running, you can start the service as shown.
$ sudo systemctl start memcached
To make it autostart on boot time, enable Memcached as follows:
$ sudo systemctl enable memcached
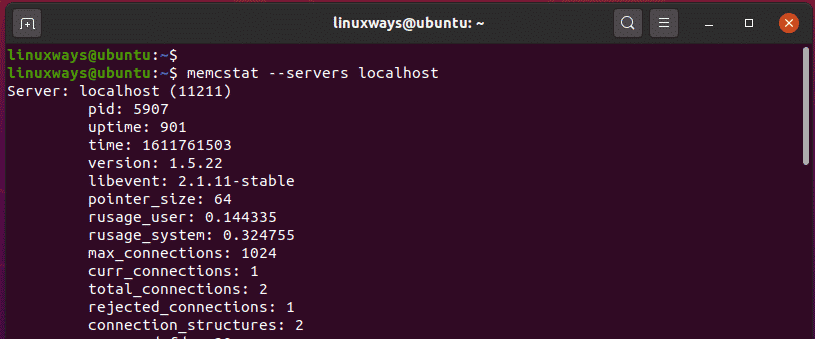
To view server statistics, execute:
$ memcstat --servers localhost
You will get a flurry of information such as the PID, uptime ( seconds ) time, version and so much more.

Step 3: Configure Memcached
If Memcached is sitting on the webserver where your web application is running, no configuration is needed since Memcached, by default, is set to run on the localhost system.
However, if Memcached is installed on a separate server, some added configuration is needed for the webserver to make a remote connection to the Memcached server.
Let’s assume that the client IP – where the web application is hosted – is 192.168.2.10 and the Memcached server IP is 192.168.2.20.
Firstly, we need to edit the Memcached configuration file which is the /etc/memcached.conf file.
$ sudo vim /etc/memcached.conf
Scroll and be sure to locate this line:
-l 127.0.0.1

Replace the localhost address with Memcached server IP
-l 192.168.2.20

To effect the changes, restart Memcached as follows:
$ sudo systemctl restart memcached
Thereafter, allow traffic from the client IP to the Memcached server through the UFW firewall.
$ sudo ufw allow from 192.168.2.10 to any port 11211
Step 4: Use Memcached server
Memcached requires a language-specific client for our web application to communicate with it. Thankfully, Memcached supports a wide range of popular programming languages such as PHP and Python. A good number of web apps run on PHP and Memcached is a popular caching system used by web developers to boost the performance of web applications.
To enable Memcache support for PHP, invoke the command:
$ sudo apt install php-memcached
For Python support, use the pip package manager to install the required tools as shown:
$ pip install python-memcached
$ pip install pymemcache
Conclusion
Memcached has proved to be a very reliable caching system since its inception in 2003 and continues to be a favorite among developers in speeding up web applications. We do hope that this guide provided valuable insights on how you can install Memcached on Ubuntu 20.04.
James, a passionate technical writer and certified Linux Administrator with over 4 years of experience in working with Linux servers. Over the years, I have expanded my knowledge and writing to other areas such as cloud computing, virtualization, and DevOps.I take great pride in always updating my skills to keep up with the latest trends in technology. I enjoy taking evening jogs, swimming, reading books, and listening to investigative TV Shows.


