
Introduction
When working with the Git version control system, you have many choices such as Github, Bitbucket, or Gitlab. If you want to avoid depending on third-party providers, you can run your own Git server.
Setting up a Git server by yourself allows you to no longer be restricted by public providers’ free plans such as maximum repository size, creating unlimited private repositories, and so on.
This tutorial will show you the way to set up a Git server on your Ubuntu 20.04 machine.
Installing Git server
Firstly, update your packages list by running:
$ sudo apt update
To install Git, run the following command:
$ sudo apt install git
Verify that Git was successfully installed on your system:
$ git version
Output:

It’s highly recommended that you should create a new Linux user for managing the Git repositories, run:
$ sudo useradd -m -r -U -d /home/git-repos git
The home directory of git user is located at /home/git-repos. To increase security, we’ll create an ssh key to log in to the git user.
Switch to the log-in session of git user by running:
$ sudo su - git
To create the SSH directory and file for holding the authorized ssh key for git user, run the following commands:
$ mkdir -p ~/.ssh
$ chmod 700 ~/.ssh
$ touch ~/.ssh/authorized_keys
$ chmod 600 ~/.ssh/authorized_keys

Once, the server was successfully set-up, it’s time to create a new git repository:
$ git init --bare ~/linuxways.git
Output:

Configuring Git repository
Now, you have to add your local user’s public SSH key to the authorized_keys file of the git user.
If you already have generated an SSH key for your local user, you can skip the following step:
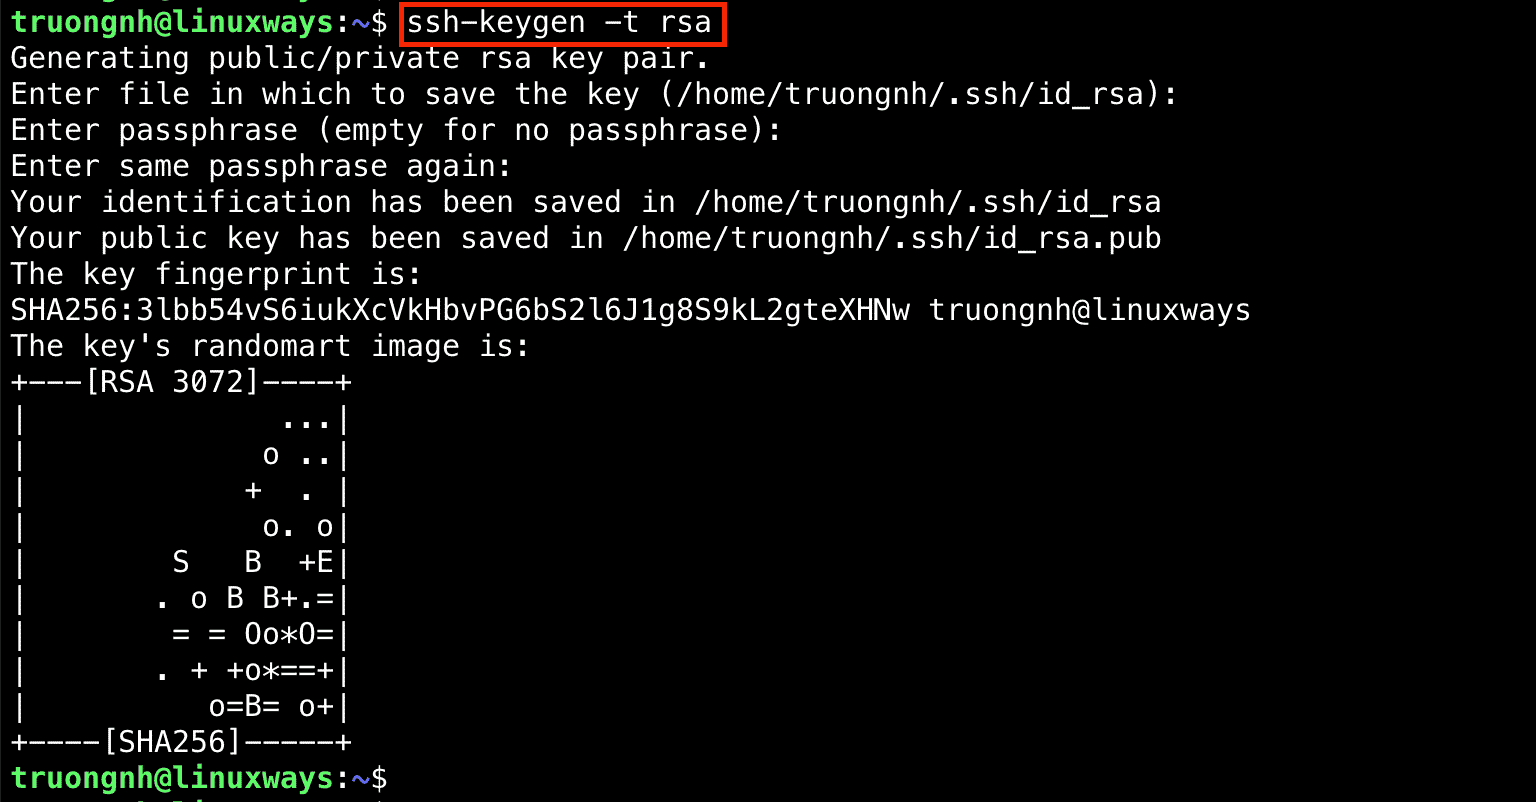
$ ssh-keygen -t rsa
Output:
Now, you can retrieve your public SSH key by running:
$ cat .ssh/id_rsa.pub
Output:

Copy the above public SSH key then paste it into the authorized_keys file of the git user.
On your local Ubuntu 20.04 machine, assuming that you already had an unversioned directory, for example, ~/go. Change the current directory to it:
$ cd ~/go
$ git init .
Next, you have to add a git remote to track your local repository on Git server:
$ git remote add origin git@git-server-ip-address:linuxways.git
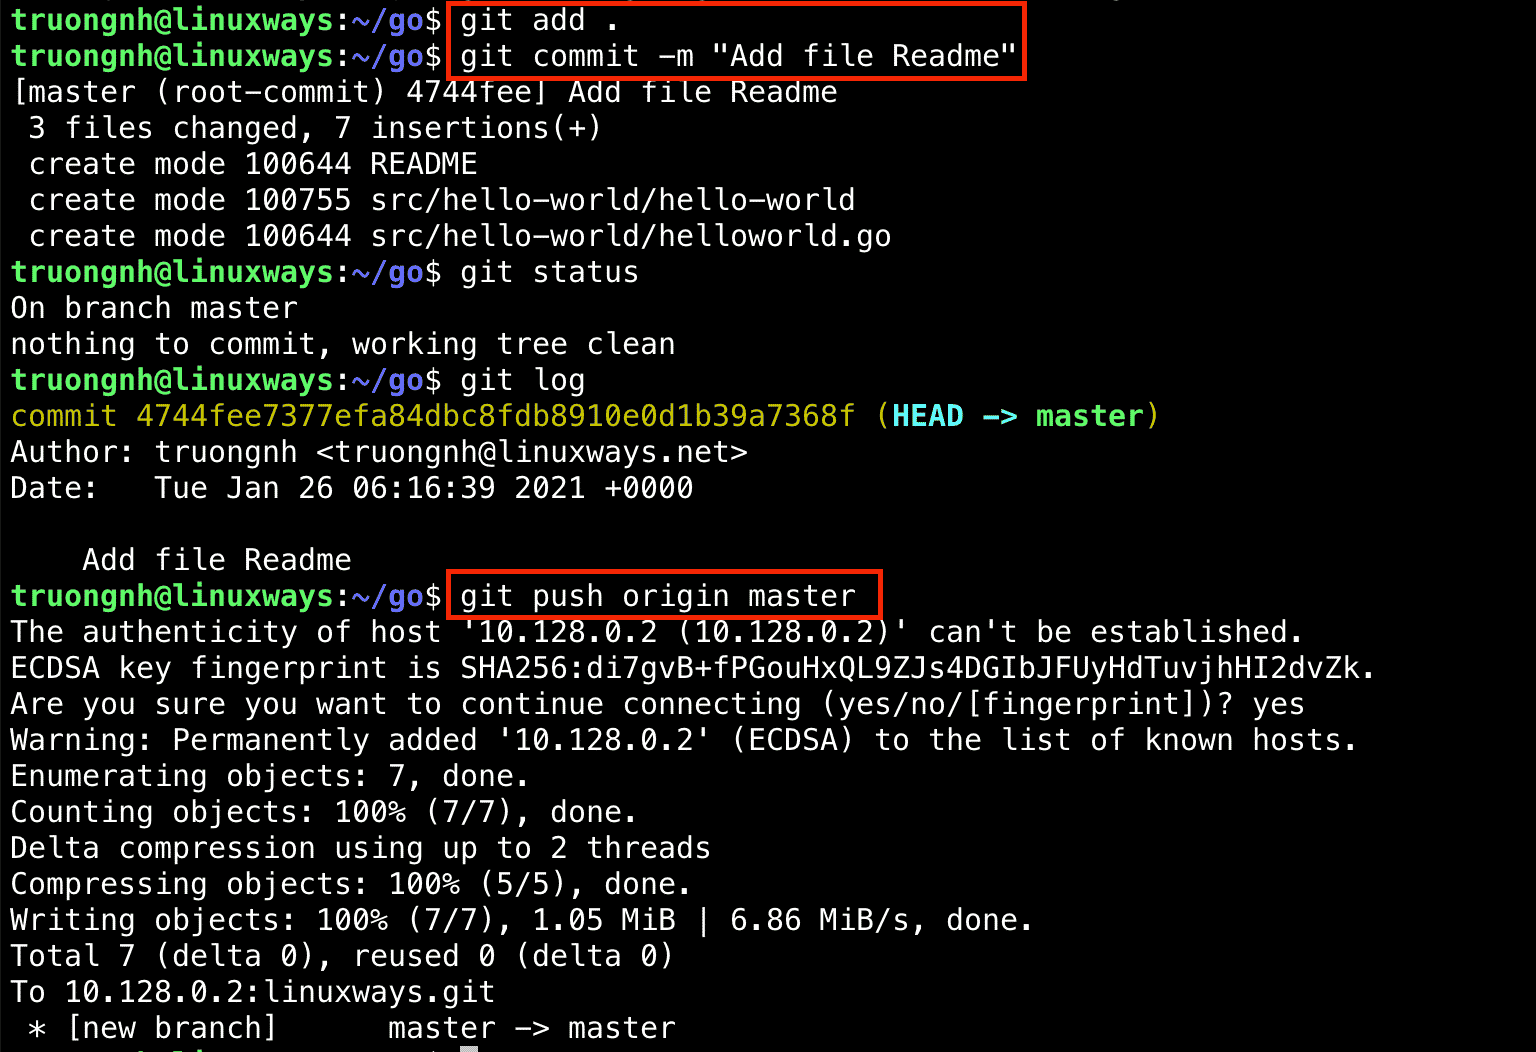
Verify that your Git server was successfully installed and configured, run the following command:
$ cd ~/go
$ touch README
$ git add .
$ git commit -m "Add file Readme"
$ git push origin master
Conclusion
In this tutorial, we’ve described the detailed steps of installing and configuring a Git server.
If you encounter any problems, please let me know.

System Engineer with 6 years of experience in software development, specializes in Embedded Linux, C/C++, Python, Go, and Shell Scripts. He has a solid background in Computer Networking, OpenStack, Kubernetes, Docker/Container, CI/CD, and Google Cloud as well. Now, he is Head of GDG Cloud Hanoi – a non-profit community of cloud developers who meet/share ideas on everything Google Cloud Platform related.


