Mono is an open-source and free exertion original exertion of Microsoft’s. NET. This open-source platform is intended designed for developing cross-platform applications. It builds and executes applications to follows the ECMA/ISO Standards.
We will show you in this article, how to install Mono with all dependencies on Ubuntu 20.04 system.
Prerequisites
You should have privileges to execute the sudo command or root account credentials.
Mono installation on Ubuntu 20.04 Distribution
Mono is not present in the default Ubuntu 20.04 standard repository. However, you can install mono packages from the mono’s official repository. Follow the below-mentioned steps to install Mono from its official repository on Ubuntu 20.04 system:
Step 1: Install required mono dependencies
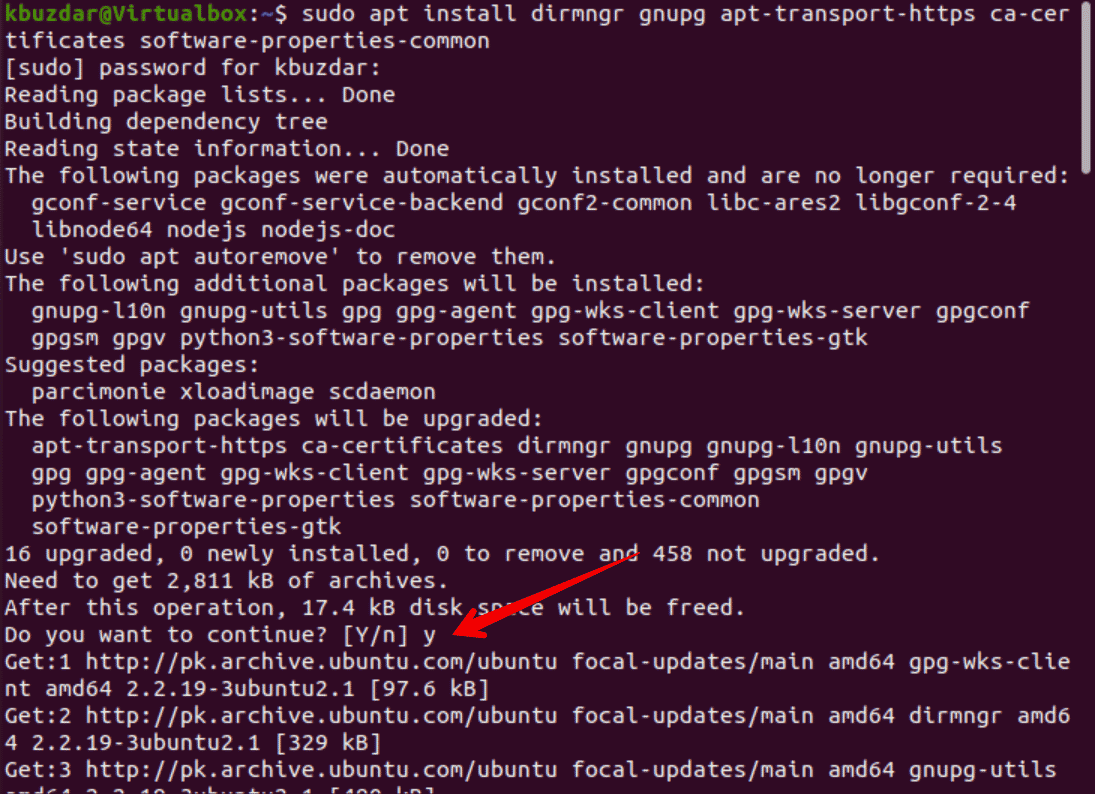
First, update the apt packages list of your Ubuntu system then, use the following command to install all mono dependencies by adding a new repository over HTTPS:
$ sudo update apt
$ sudo apt install dirmngr gnupg apt-transport-https ca-certificates software-properties-common
Step 2: Extract repository’s GPG key
Once the new repository is added to your Ubuntu system, you need to extract the GPG key and then placed them on your Ubuntu server. So, run the below-mentioned command to extract the repository’s GPG key:
$ sudo apt-key adv --keyserver hkp://keyserver.ubuntu.com:80 --recv-keys 3FA7E0328081BFF6A14DA29AA6A19B38D3D831EF

Step 3: Add Mono repository
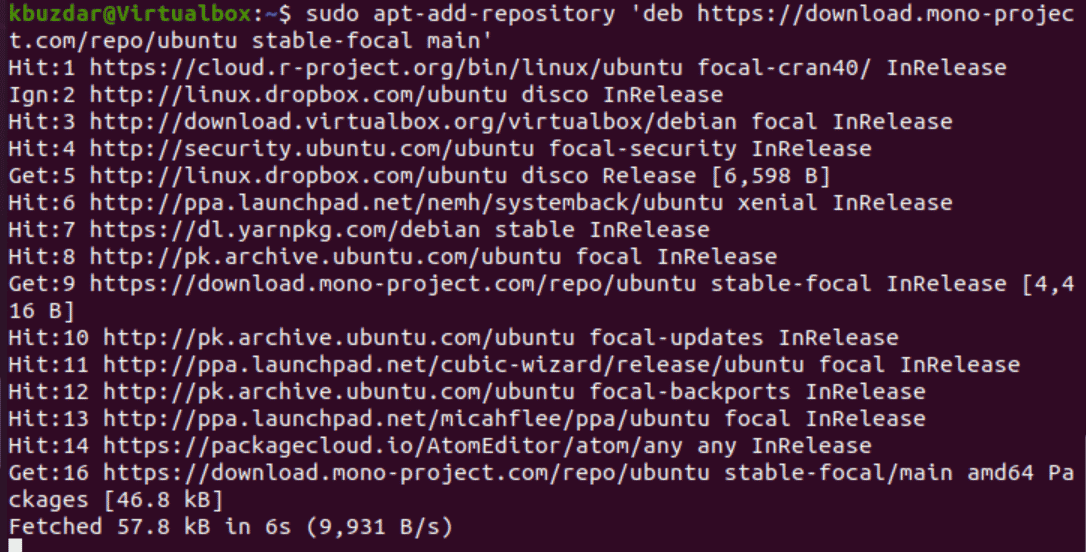
After extracting the GPG key, add the mono repository to your Ubuntu system by using the following command:
$ sudo apt-add-repository 'deb https://download.mono-project.com/repo/ubuntu stable-focal main'
Step 4: Install Mono on Ubuntu 20.04
Now, install the mono-complete meta-package by running the below-mentioned command. This package will automatically install all required mono runtime dependencies, libraries, and development tools on your system.
$ sudo apt install mono-complete
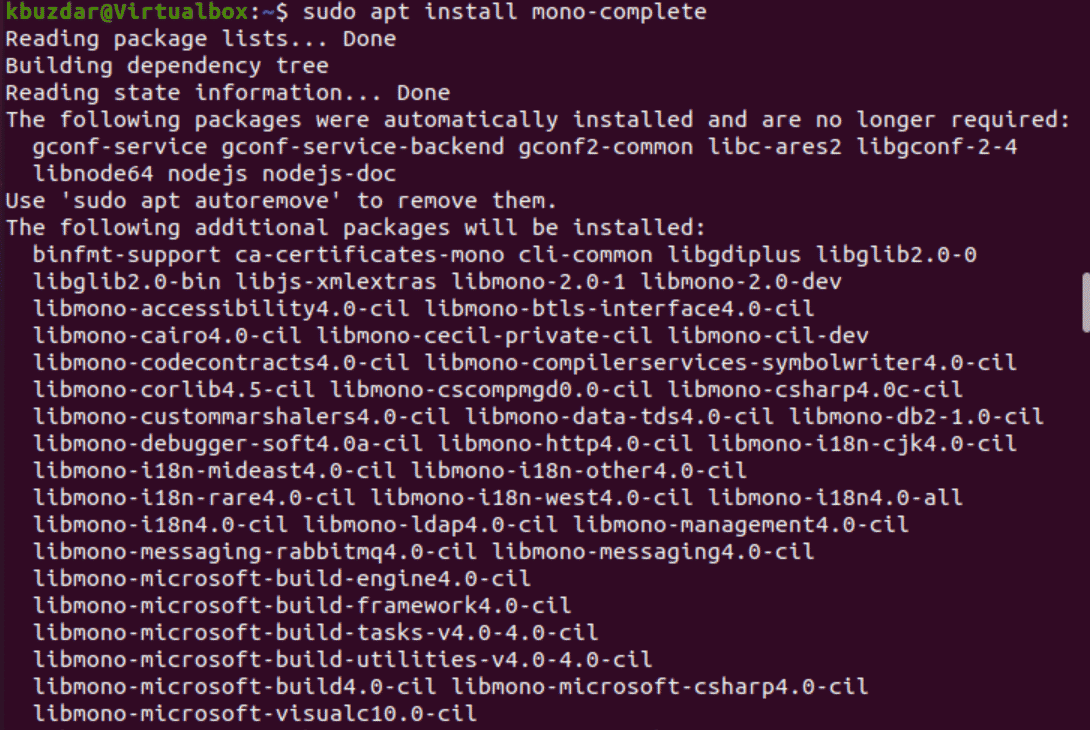
The dialogue will be prompted during the installation. Press ‘y’ and then hit ‘Enter’ to confirm the installation process.
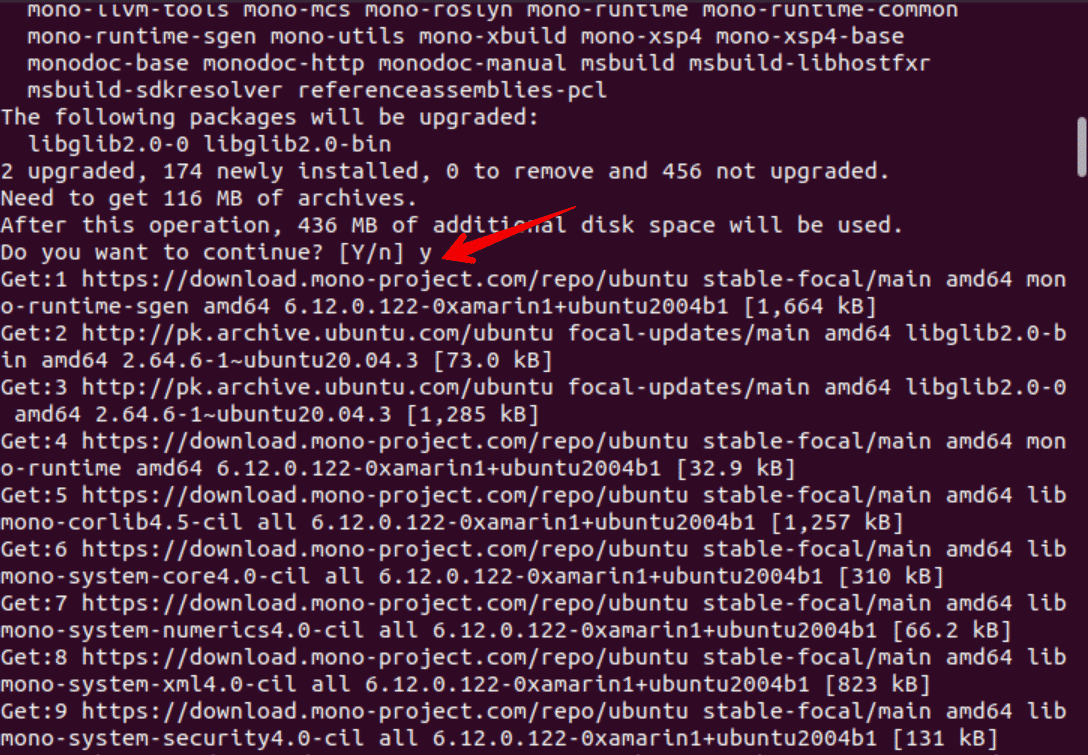
The installation will take a few minutes to complete on your Ubuntu system.
If you want to build your projects through the IDE development method then, use the following command to install mono:
$ sudo apt install monodevelop
Step 5: Verify Mono installation
Once all mono packages are installed on your Ubuntu system, issue the below-given command to view the installed mono version:
$ mono --version
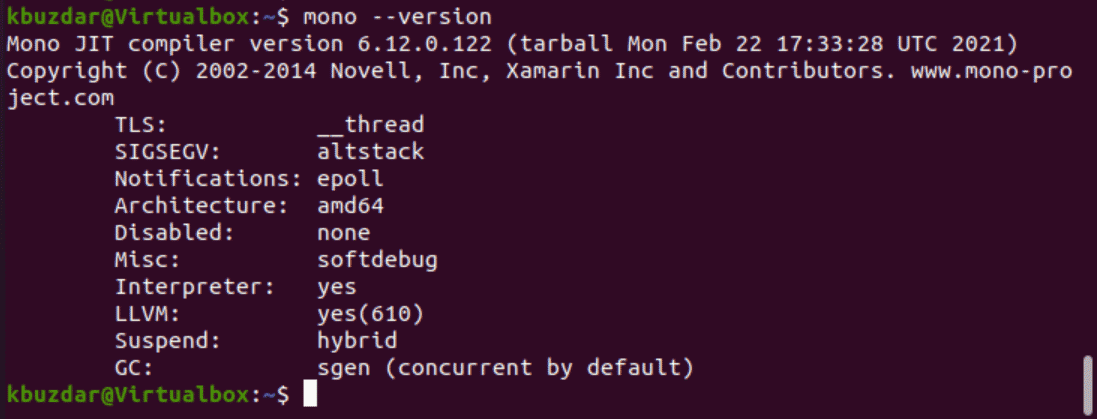
Congratulations! mono is installed on your Ubuntu 20.04 system now. You can start and use it.
How to build the project using Mono?
To verify that everything is working well. We will build a project ‘testprogram’ that will print output ‘How to install mono on Ubuntu’.
Create a text file in any text editor and paste the below-mentioned source code in it:
using System;
public class testprogram

{

    public static void Main(string[] args)

    {

        Console.WriteLine ("How to install mono on Ubuntu");

    }

}
Save the above file with the name ‘testprogram.cs’ in your system.

Now, build the above source code by using the ‘csc’ compiler:
$ csc testprogram.cs

The above command creates an executable file named ‘testprogram.exe’. You can now execute this file through the mono to display the output.
$ mono testprogram.exe
The following result show display on the terminal screen after running the above program:

Conclusion
We have implemented in this article how to install mono on Ubuntu 20.04 system. We have also explored how you can build a program using the mono framework. The mono installation takes time to complete on your Ubuntu system. So, be patient when you will install mono on your system.


