Introduction
Apache Kafka is a distributed events streaming platform which has the ability to handle the high-performance data pipelines. It was originally developed by Linkedin then to be public as an open-source platform and used by many IT companies in the world.
This article will show you the way to install and configure Kafka on Ubuntu 20.04.
Installing Apache Kafka
Prerequisite
Apache Kafka requires Java to be installed on your Ubuntu 20.04 machine. Firstly, let’s update your OS by the following command:
$ sudo apt update
After the OS is updated, go ahead to install Java:
$ sudo apt install openjdk-11-jre-headless
Verifying that Java was successfully installed by running:
$ java --version
The output:

Downloading Kafka
Next, you have to download the Kafka source to your Ubuntu 20.04. It’s highly recommended to download it from the official website of Apache Kafka: https://kafka.apache.org/downloads
At the time of writing this article, the latest version is 2.7.0. You can download it by the following command:
$ cd $HOME
$ wget https://downloads.apache.org/kafka/2.7.0/kafka-2.7.0-src.tgz
Let’s create a new folder named as kafka-server in /usr/local directory:
$ sudo mkdir /usr/local/kafka-server
Then extract the downloaded source of Kafka to /usr/local/kafka-server directory:
$ sudo tar xf $HOME/kafka-2.7.0-src.tgz -C /usr/local/kafka-server

You’ve already had the extracted Apache Kafka binary files. Listing these files by running:
$ ls /usr/local/kafka-server/kafka-2.7.0-src/bin/
Output:
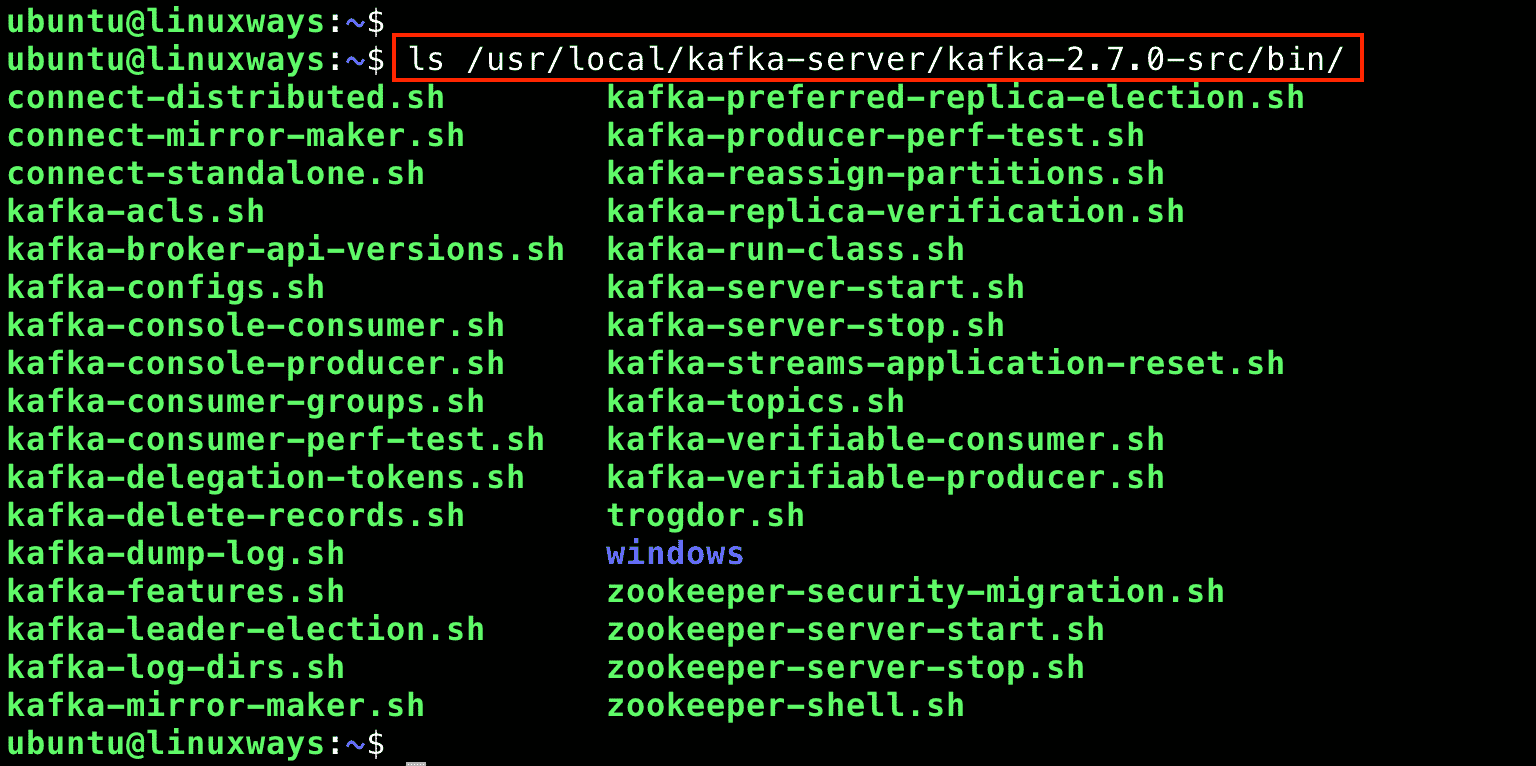
Now, it’s time to make Kafka and Zookeeper run as daemons in Ubuntu 20.04. To do this, you have to create Systemd unit files for both Kafka and Zookeeper.
Creating Systemd Unit files for Kafka and Zookeeper
Using your favorite editor and create two files as follows:
/etc/systemd/system/zookeeper.service
[Unit]

Description=Apache Zookeeper Server

Requires=network.target remote-fs.target

After=network.target remote-fs.target

[Service]

Type=simple

ExecStart=/usr/local/kafka-server/kafka-2.7.0-src/bin/zookeeper-server-start.sh /usr/local/kafka-server/kafka-2.7.0-src/config/zookeeper.properties

ExecStop=/usr/local/kafka-server/kafka-2.7.0-src/bin/zookeeper-server-stop.sh

Restart=on-abnormal

[Install]

WantedBy=multi-user.target
/etc/systemd/system/kafka.service
[Unit]

Description=Apache Kafka Server

Documentation=http://kafka.apache.org/documentation.html

Requires=zookeeper.service

After=zookeeper.service

[Service]

Type=simple

Environment="JAVA_HOME=/usr/lib/jvm/java-11-openjdk-amd64"

ExecStart=/usr/local/kafka-server/kafka-2.7.0-src/bin/kafka-server-start.sh /usr/local/kafka-server/kafka-2.7.0-src/config/server.properties

ExecStop=/usr/local/kafka-server/kafka-2.7.0-src/bin/kafka-server-stop.sh

Restart=on-abnormal

[Install]

WantedBy=multi-user.target
In order to apply the changes, the systemd daemons need to be reloaded and you have to enable the services as well.
$ sudo systemctl daemon-reload

$ sudo systemctl enable --now zookeeper.service

$ sudo systemctl enable --now kafka.service

$ sudo systemctl status kafka zookeeper
Output:


Installing Cluster Manager for Apache Kafka (CMAK)
The next step is installing the CMAK which stands for Cluster Manager for Apache Kafka. CMAK is an open-source tool for managing and monitoring Kafka services. It was originally developed by Yahoo. In order to install CMAK, run the following commands:
$ cd $HOME

$ git clone https://github.com/yahoo/CMAK.git

Configuring CMAK
Then, using your favorite editor to modify the CMAK configuration.
$ vim ~/CMAK/conf/application.conf
In this tutorial, we will configure the Zookeeper is localhost, let’s change the value of cmak.zkhosts as localhost:2181
You can find the cmak.zkhosts at line 28.

Now, you have to create a zip file for the purpose of deploying the application:
$ cd ~/CMAK

$ ./sbt clean dist
It will take about a minute to complete. The output will be:

Starting the CMAK service
Change into ~/CMAK/target/universal directory and extract the zip file:
$ cd ~/CMAK/target/universal

$ unzip cmak-3.0.0.5.zip
After unzip the cmak-3.0.0.5.zip file, change to the directory, and execute the cmak binary:
$ cd cmak-3.0.0.5

$ bin/cmak
By default, the cmak service will run on port 9000.
Use the web browser and goto http://<ip-server>:9000
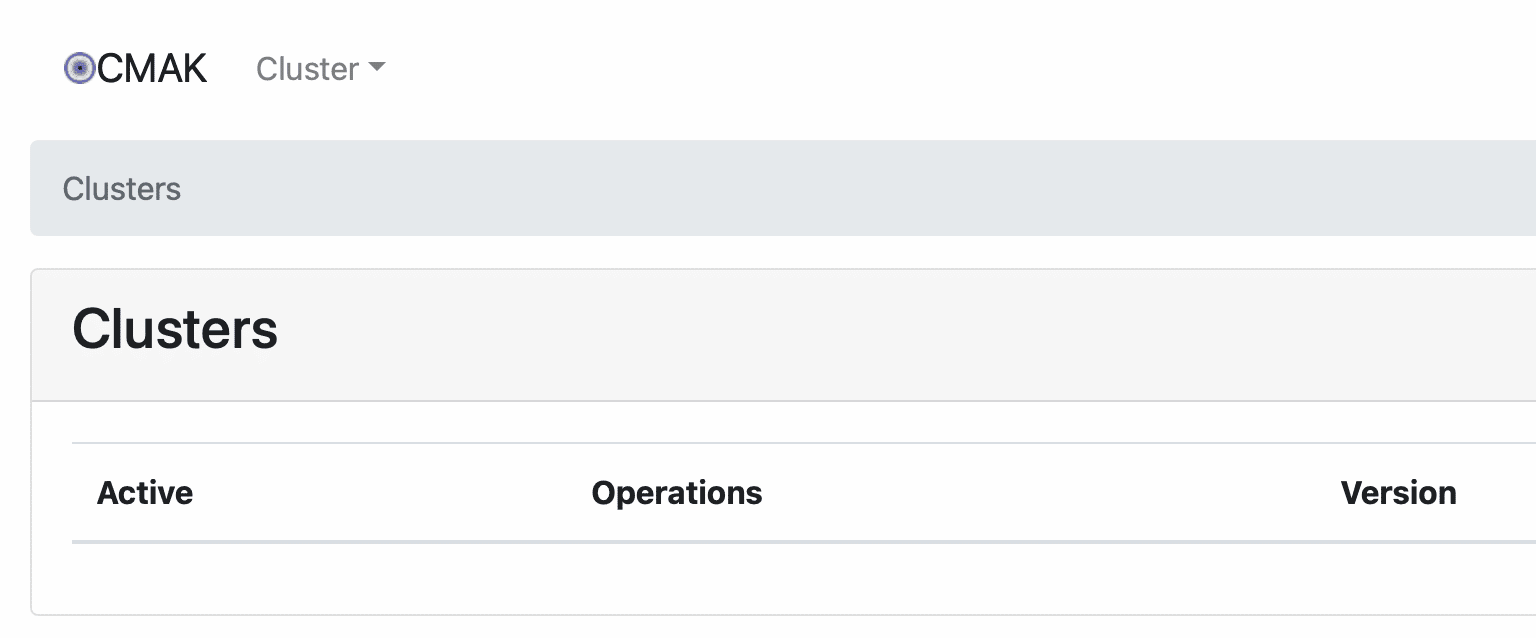
Currently, there is no available cluster. We have to add a new one by clicking on Add Cluster on Cluster drop-down list.

Then, fill up the below form with the requested information: Cluster name, Cluster Zookeeper Hosts, Kafka Version and so on. For example:
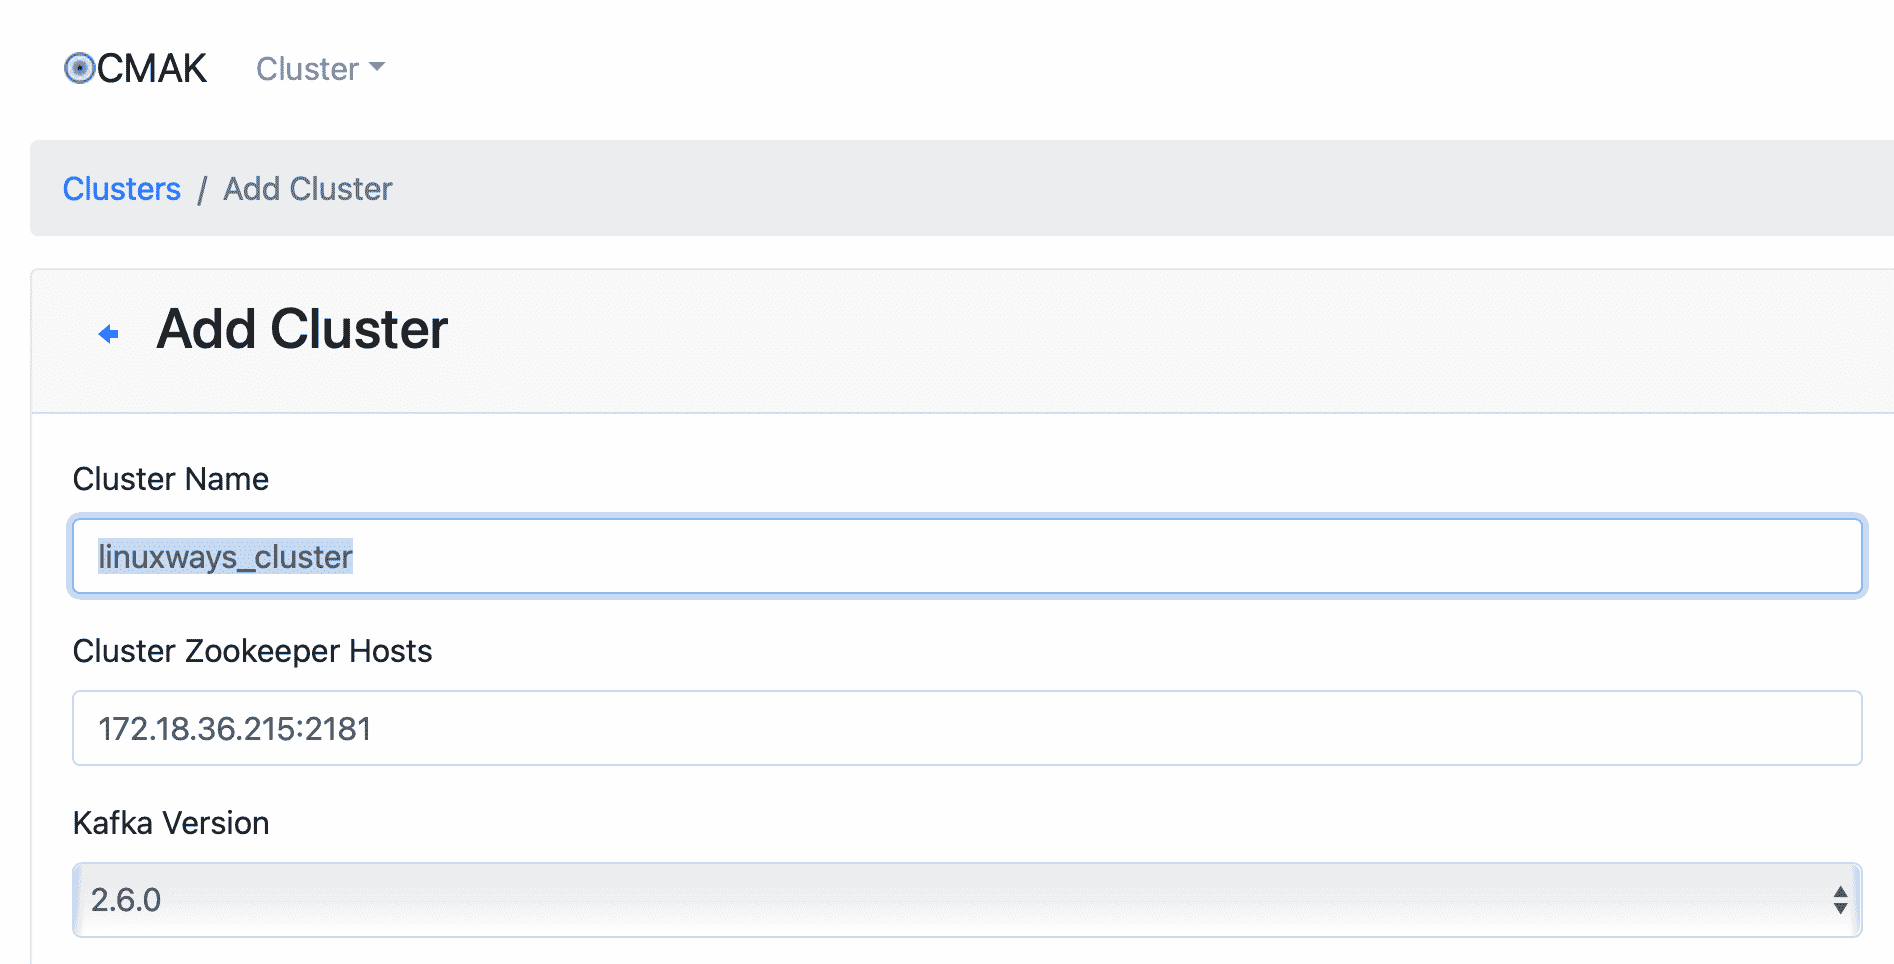
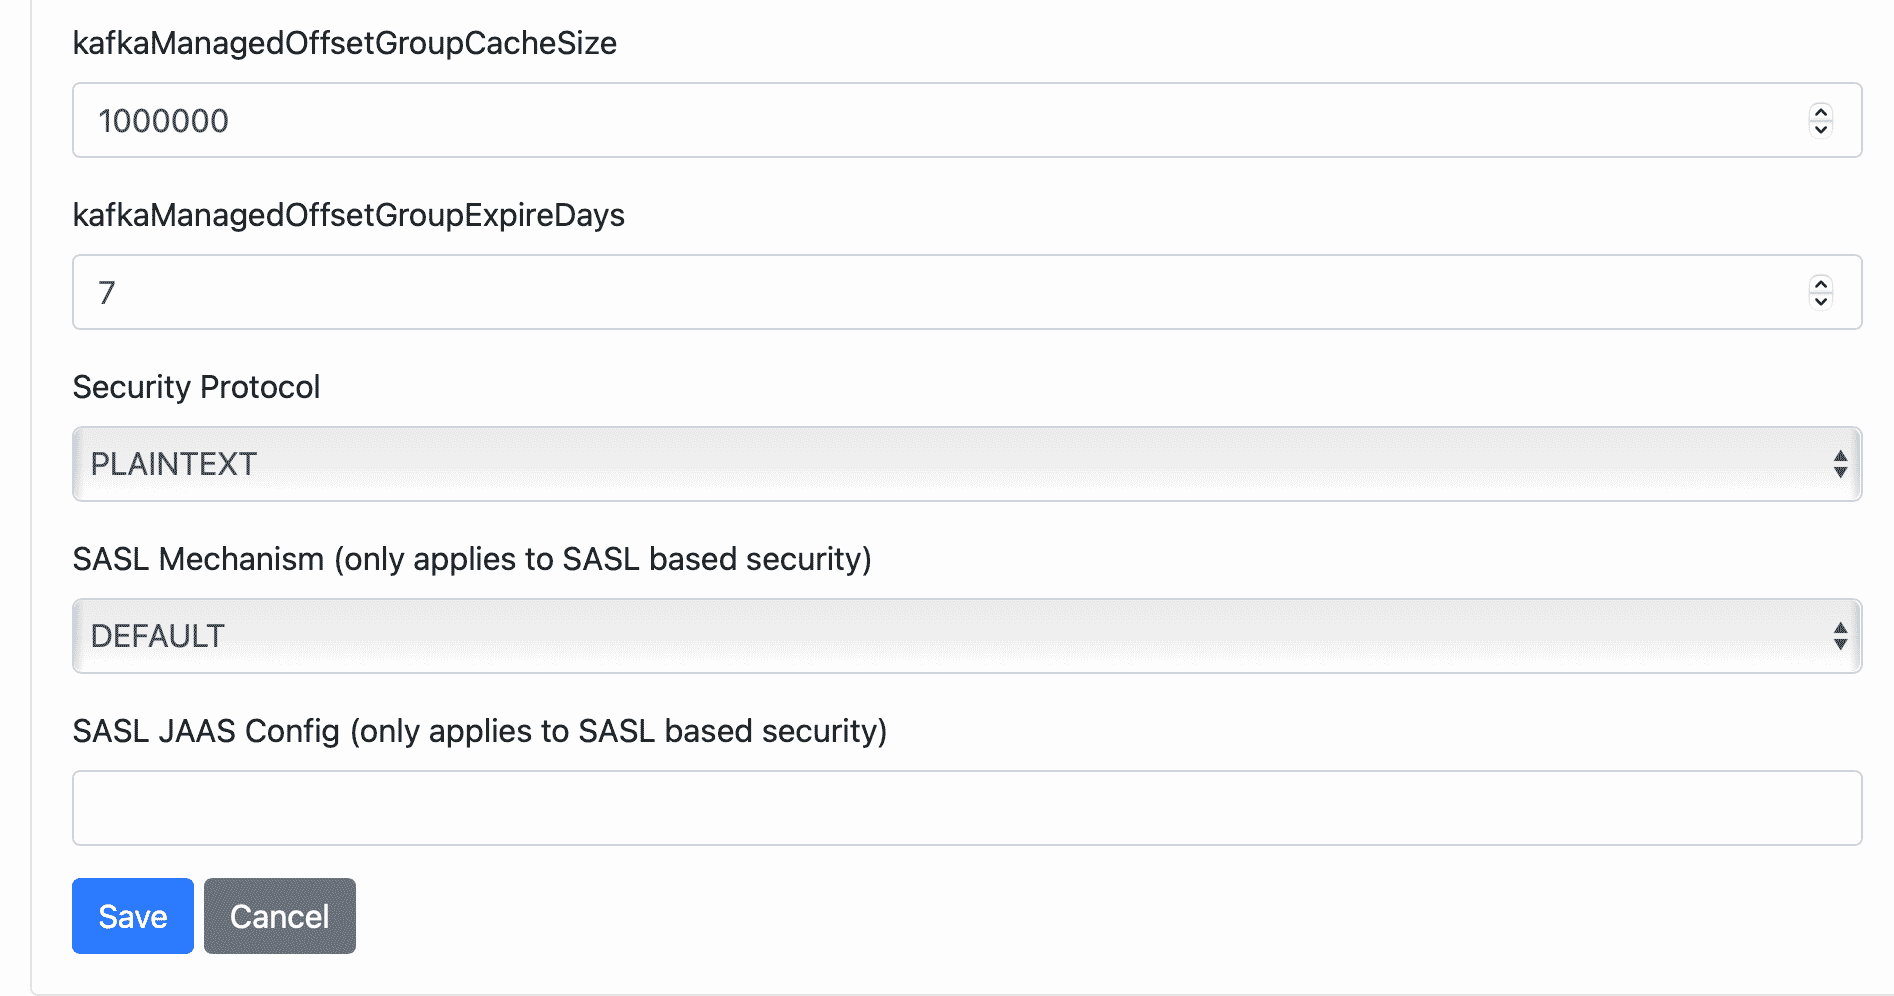
Leave other options with their default values then click Save.
Done. The cluster was successfully created.
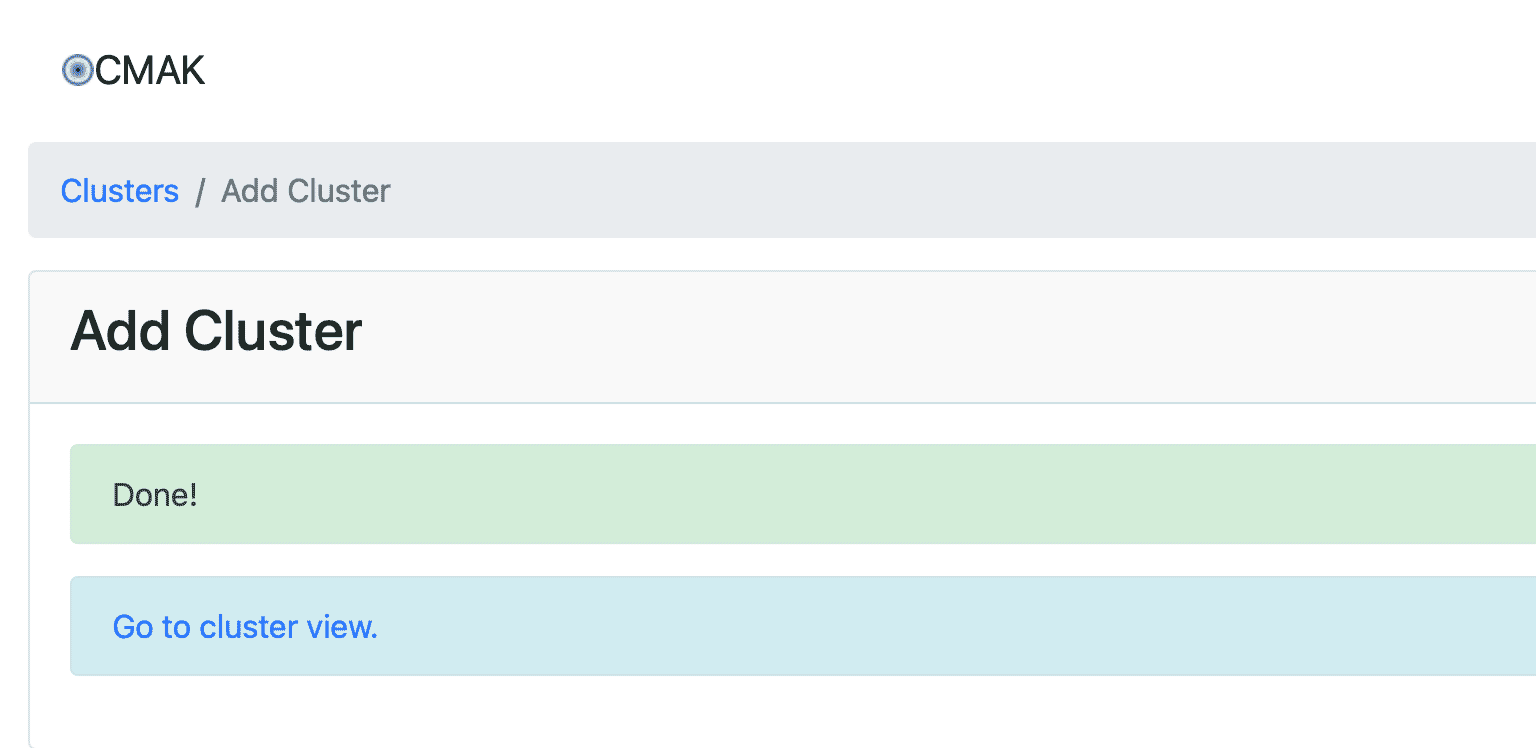
Now, it’s time to create a sample topic. Assume that we’re going to create a topic named “LinuxWaysTopic”. Bearing in mind that the CMAK is still running and launch a new terminal then run the following command:
$ cd /usr/local/kafka-server/kafka-2.7.0-src
$ bin/kafka-topics.sh --create --zookeeper localhost:2181 --replication-factor 1 --partitions 1 --topic LinuxWaysTopic
Output:

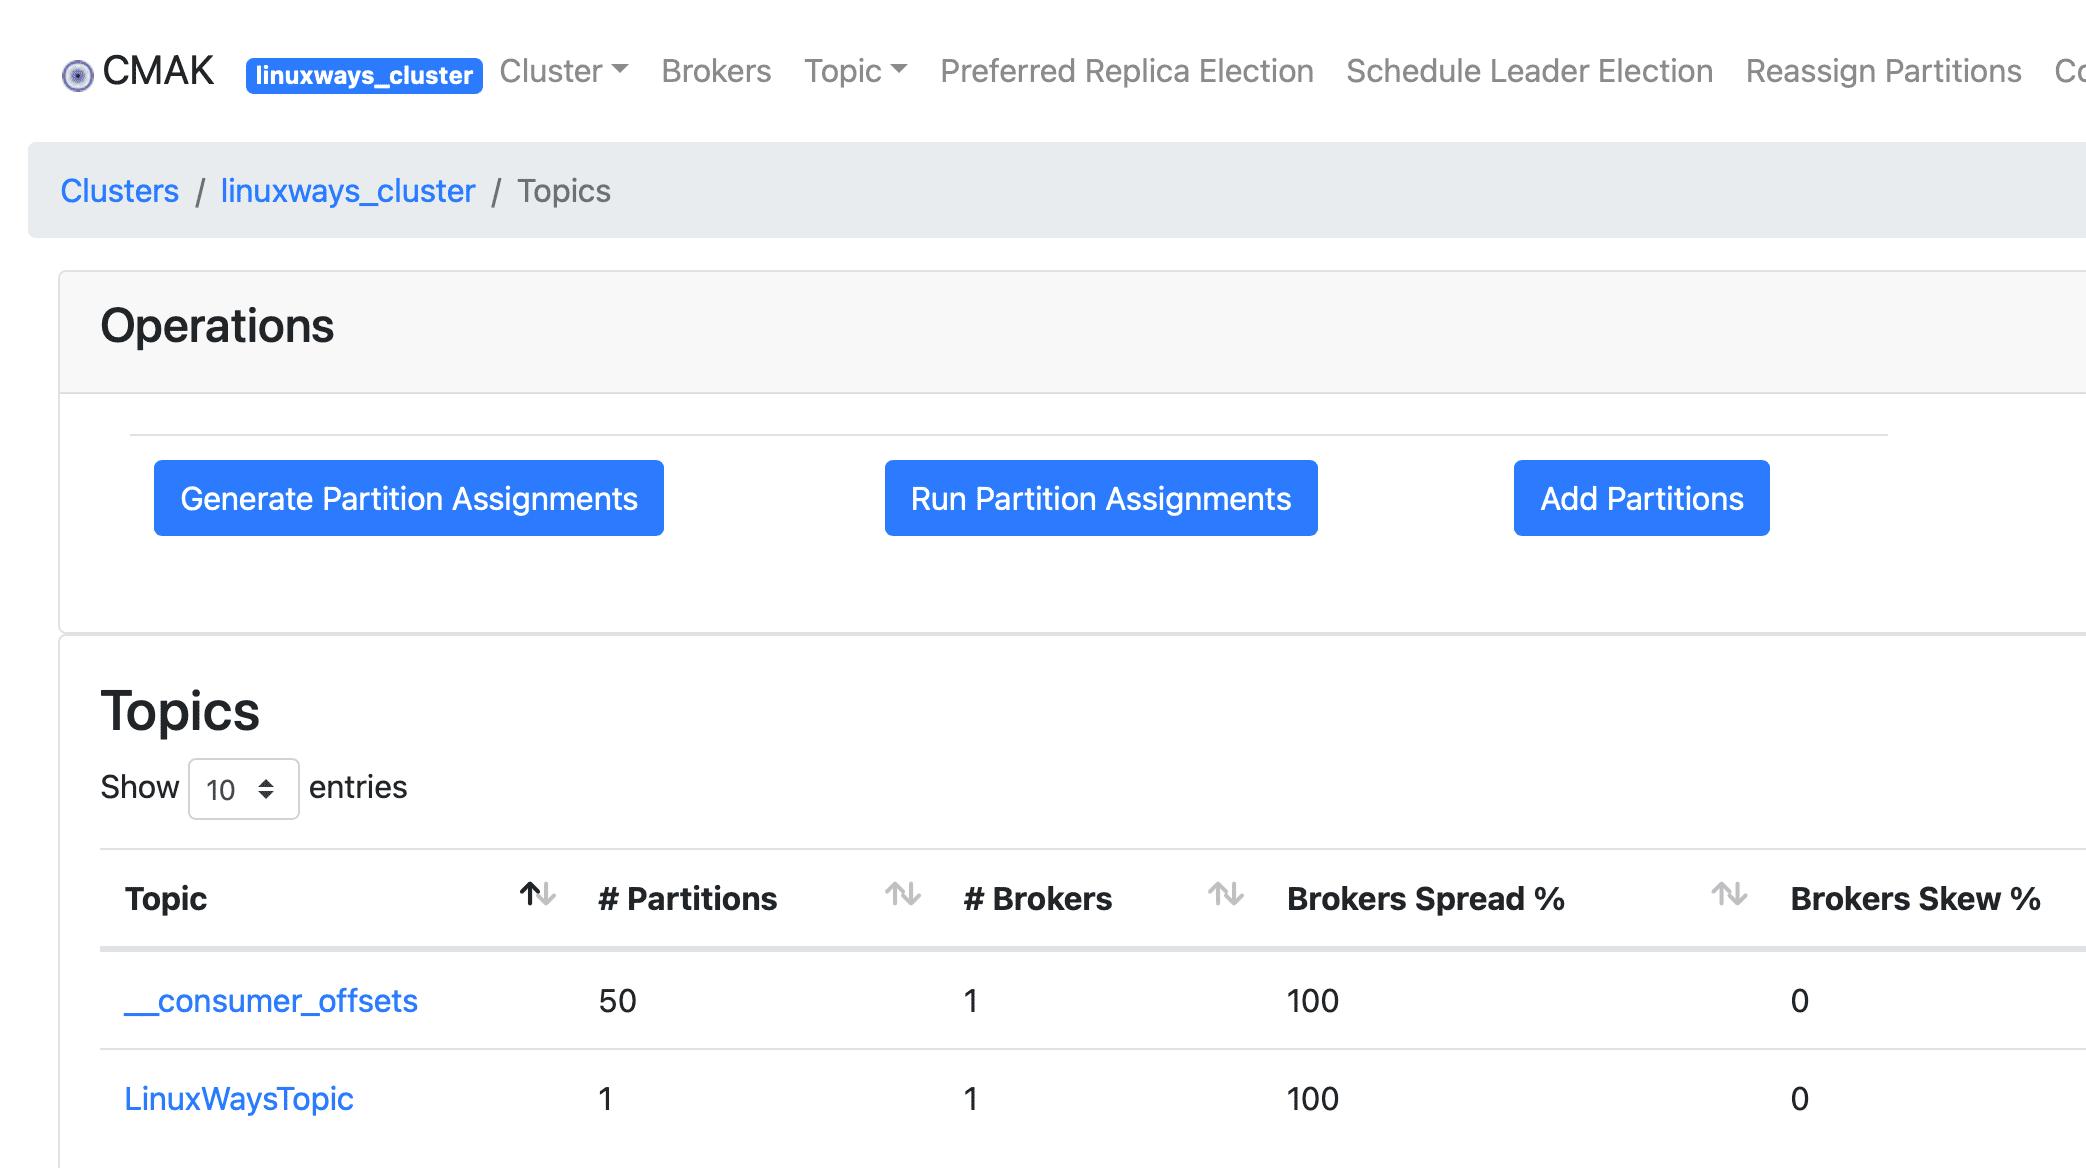
Go to cluster view then click Topic > List
Conclusion
You’ve successfully installed and configured Apache Kafka on your Ubuntu 20.04 LTS machine.
If you have any concerns, feel free to leave your comment and let me know. Thank you!
System Engineer with 6 years of experience in software development, specializes in Embedded Linux, C/C++, Python, Go, and Shell Scripts. He has a solid background in Computer Networking, OpenStack, Kubernetes, Docker/Container, CI/CD, and Google Cloud as well. Now, he is Head of GDG Cloud Hanoi – a non-profit community of cloud developers who meet/share ideas on everything Google Cloud Platform related.


