Squid is a web proxy caching server that offers proxy and caching services for HTTP, HTTPS, FTP, and some other protocols. A proxy caching server works by acting as a gateway between server and client machines and stores frequently used content locally. By storing content locally, it reduces bandwidth while speeds up content delivery and response time. Squid is licensed under the GNU GPL and is supported on all major operating systems platforms including Linux OS.
Some of the reasons for which you might want to deploy the Squid proxy server on your network can be:
- To reduce webpage load time
- To implement network access policies
- To hide user’s machine for anonymous surfing
- To scan outbound content
- Dispense load among multiple web servers to cut-down load on a single server
In this post, you will learn how to install the Squid proxy server on the Linux system. The procedure explained in this post has been tested on Ubuntu 20.04 LTS (Focal Fossa). The same procedure is also applicable to Debian distribution.
Prerequisites
- Machine with Ubuntu or Debian installed
- Sudo user
Squid proxy server Installation
Squid is available in the official repositories of Ubuntu distribution. Hence, you can simply install it via the apt package manager. Below are the steps to install the Squid proxy server on Linux.
Step 1: Update Apt
First, update apt using the below command in Terminal:
$ sudo apt update
Provide the sudo password.

Step 2: Install the Squid proxy server
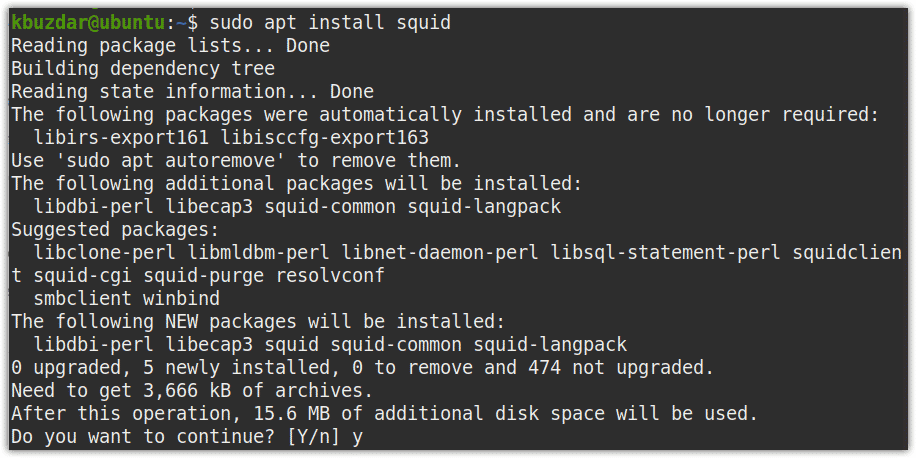
Now in order to install Squid, execute the below command in Terminal:
$ sudo apt install squid

If prompted for confirmation, press y, after which the system will begin the installation of the Squid proxy server on your system. Based on your internet connection speed, the installation of Squid may take some time.
Step 3: Verify installation of Squid proxy server
Once the installation of the Squid proxy server is completed, you can verify it using the below command in Terminal:
$ squid --version
The below output verifies that the Squid proxy server has been installed on our machine with version 4.10.

Once the Squid proxy server installation is completed, its service starts automatically. If it does not start automatically, you can manually start it with the following command:
$ sudo systemctl start squid

To stop Squid proxy server service, use the following command:
$ sudo systemctl stop squid
To enable the Squid proxy server at boot, use the following command:
$ sudo systemctl enable squid
The following output shows the Squid proxy server is enabled. Now the service will automatically start at each boot.

You can also check the status of the Squid proxy server using the below command:
$ sudo systemctl status squid
In the below output, you can see that the Squid proxy server is active and running.

Uninstall Squid proxy server
If you do not need Squid proxy server anymore on your system, you can easily uninstall it using the below command:
$ sudo apt remove squid
This is all you need to know in order to install the Squid proxy server on your Linux machine. In this post, we have discussed how to install and uninstall the Squid proxy server in the Ubuntu machine. We have also explained how to manage Squid services.
To learn about related configurations, visit this page.


