Introduction
Ubuntu 20.04 LTS is code named as Focal Fossa where LTS stands for long term support that obligates it to update and maintain the software during the lifespan of the release which is five years (till April 2025) in this case.
In this guide, we are going to demonstrate how you can download and install Ubuntu 20.04 LTS on your system.
Minimum System Requirements
- 2GHz dual core processor or superior
- Access to fast internet
- 4 GB system memory
- 25 GB hard drive space
- USB port or DVD drive
Steps for Installing Ubuntu 20.04 on your system
Step 1: Download Ubuntu
Download the Ubuntu image here: https://ubuntu.com/download/desktop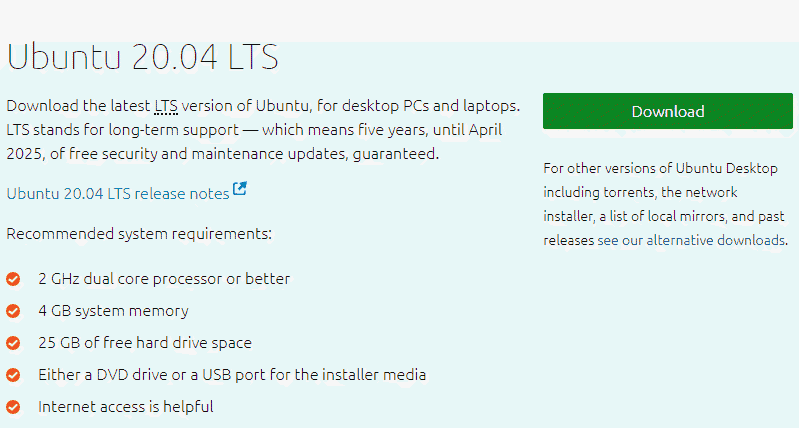
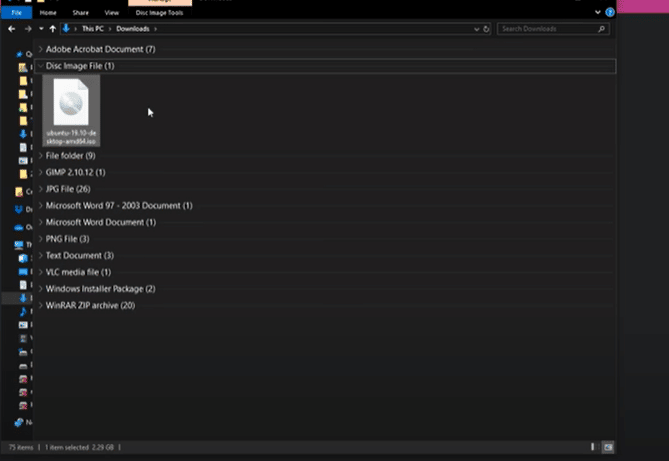
After clicking the green download button of the desired version, you have the .iso file downloaded on your system.
Step 2: Create a bootable USB
This process requires inserting a USB stick of 4GB storage or more (make sure the data on this drive is backed up).
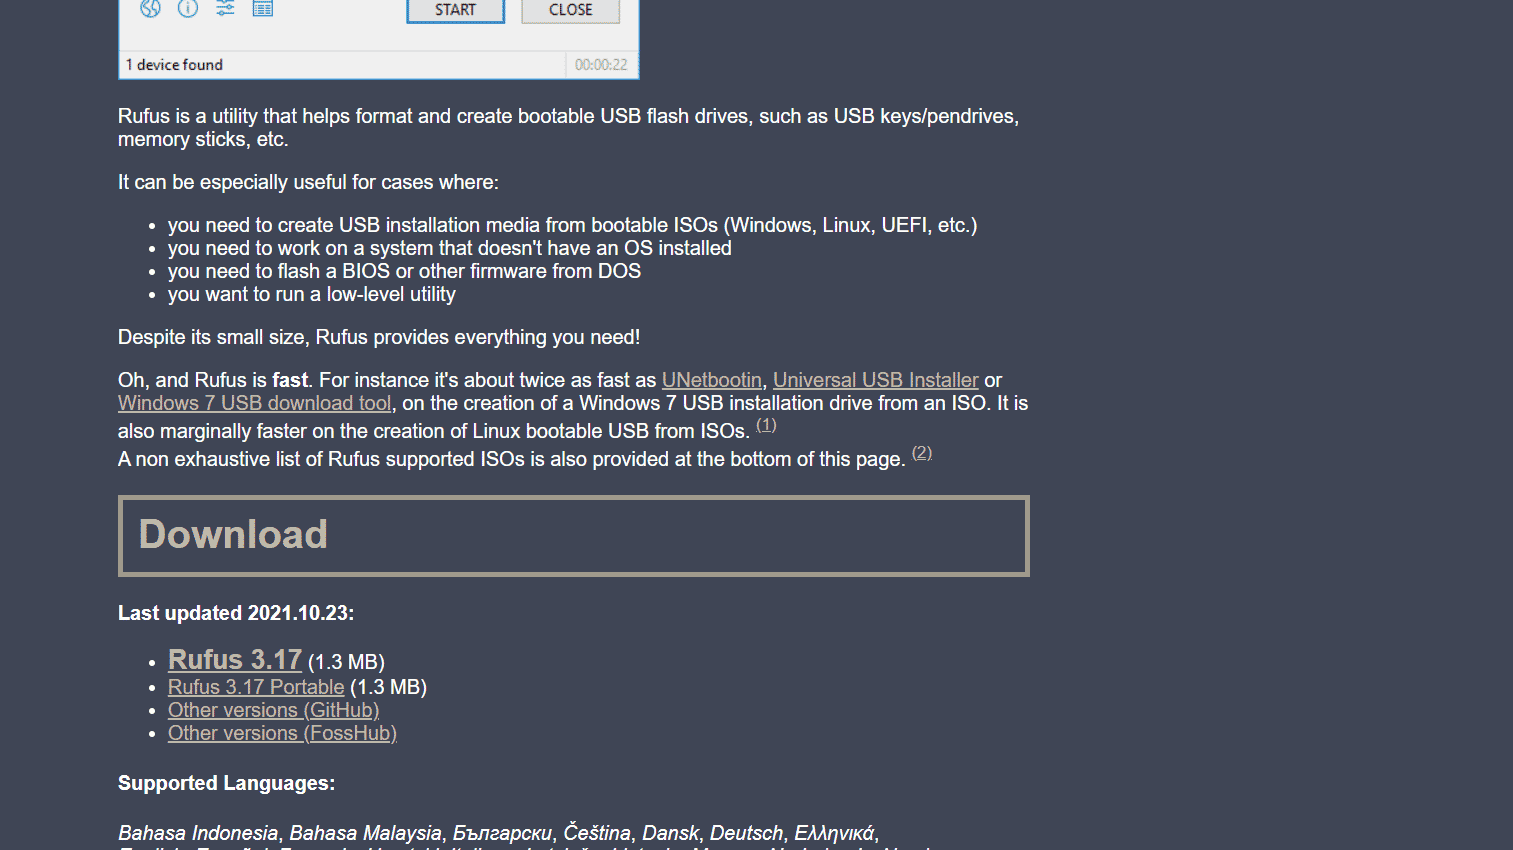
In order to get the ISO image onto the USB flash drive you need to download a software such as Rufus utility. After opening the website of Rufus <https://rufus.ie/en/>, scroll down and click 3.17 version (latest version) and download it.
After the USB has been inserted, it will allow the user to run Rufus. The Windows account control will ask if you allow the app to make changes to the device and the user needs to click yes. In case there is a pop-up dialogue asking whether you want to check online updates or not, you need to click no.

Rufus will show the device on which the ISO image is going to be installed on. In the Boot Selection Drop down box, click Disk or ISO image and click select box on the right.
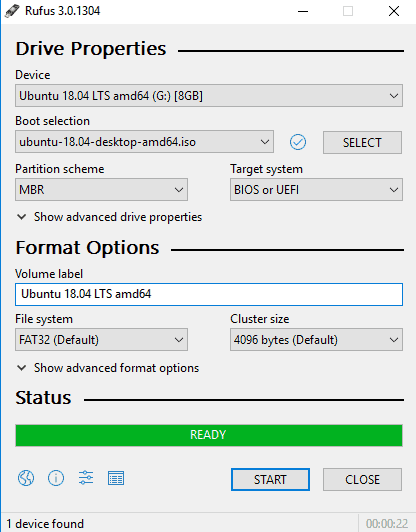
After clicking select, a new window will open up and you can select the ISO Ubuntu file or image that you downloaded earlier.
Other settings are automatically filled, so click START at the bottom.
Step 3: Boot Ubuntu from USB flash drive
Now, your flash drive is ready and primed with Ubuntu on it which enables you to boot from it.
Next the user needs to restart the system and remove any other devices such as memory cards, printers, extra USBs etc. After restarting insert the Ubuntu USB in to boot from it.
The computer either boots automatically or allows the user to manually figure out USB booting from the boot menu or BIOS/UEFI. Most desktops and laptops nowadays have a boot manager which lets the user choose which drive they want to boot from whether it is a DVD, USB or computer’s internal hard drive.
To access the boot order/ manager manually, you need to press the right keyboard before the Windows logo appear on the screen. The most common shortcuts to enter boot manager in order of popularity are Esc, f8, f9, f10, f11 and f12. Try these one at a time by pressing one key repeatedly.

Once the boot manager enlists the options to boot from, use arrow keys to choose your USB to boot Ubuntu from and press enter. Your PC or system will load Ubuntu and run it straight from USB which is a live working version of the operating system that will be installed on your system.
Step 4: Install Ubuntu
When the USB is loaded, an installation window comes up. There are two options Try Ubuntu and Install Ubuntu.
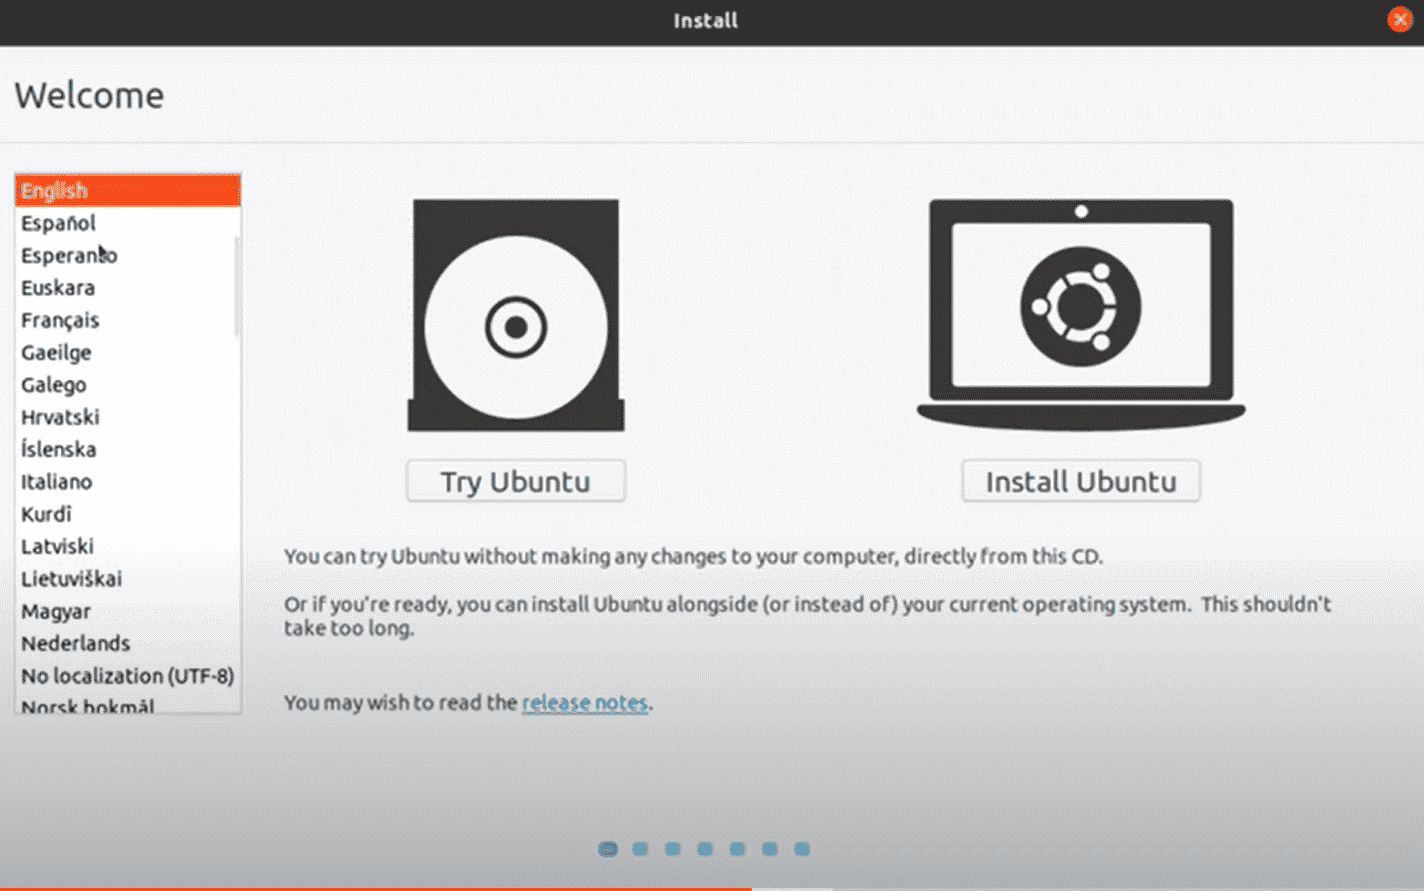
The first option boots the user to the live session whereas Install Ubuntu installs it directly to the hard drive.
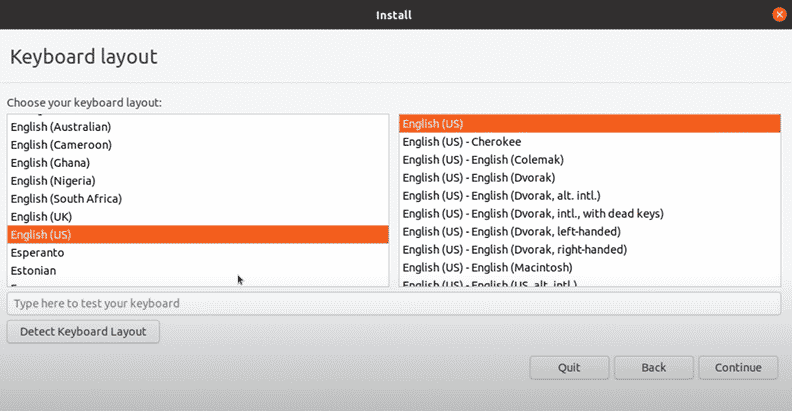
After selecting Install Ubuntu, you can choose your preferred keyboard layout and then click continue.
From the customization options, you can choose which apps you would like to install to start with. You can choose Normal Installation which includes office software, games and media players whereas Minimum Installation saves disk space.
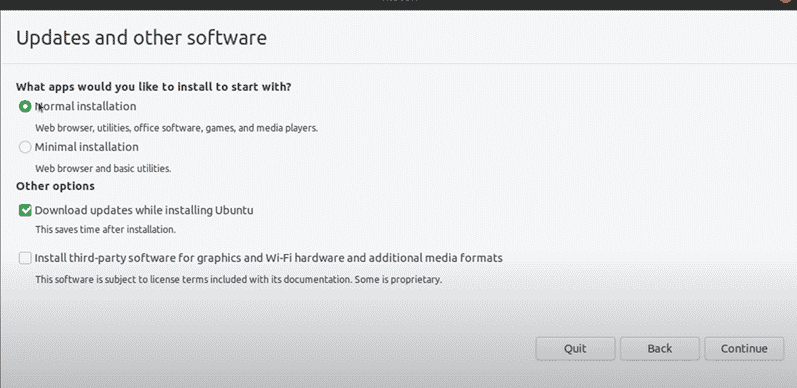
You will be asked to confirm other options and user can choose as per his preference. The options are Download updates while installing Ubuntu and Install third-party software for graphics and Wi-Fi hardware and additional media formats. Click continue.
Installation type dialogue will pop up which is a point of no return. Before installing Ubuntu, you should wipe the hard drive clean. Dual booting can be done by installing Ubuntu in the free-space of Windows through automatic disk-partitioning.
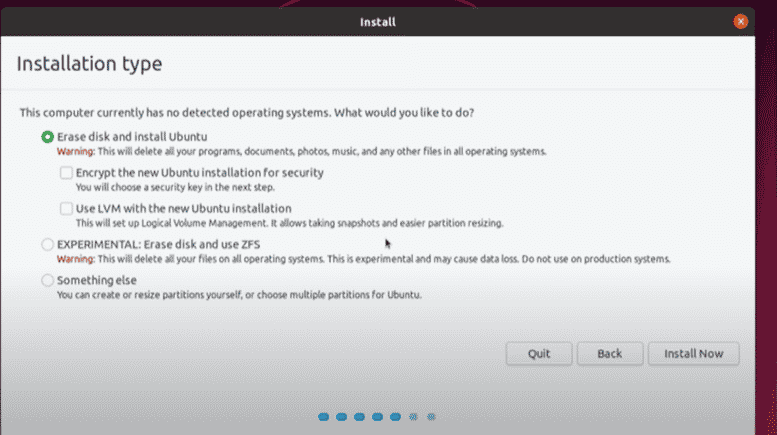
Advanced users can edit the advanced features how they want.
Click continue to apply changes. Write changes to disk dialogue will show up on the screen. To proceed, click continue.
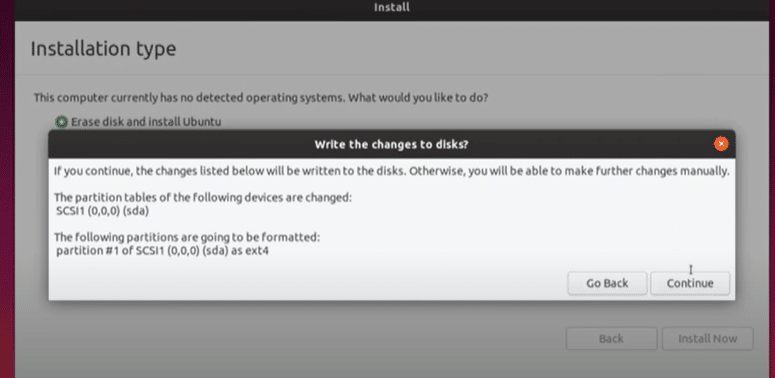
This will begin the installation process, and you need to select the time zone through entering the nearest largest city.
Personalization options for creation of a user account will pop up. You need to fill the required fields click Continue to install Ubuntu.
Remove the installation media after Ubuntu is installed and click Restart Now. This will enable the system to boot into the new install.
Conclusion
After following the above steps, Ubuntu 20.04 is successfully installed on the system of the user.


