Linux allows you a lot of personalization options. One of these options includes the use of multiple desktops (also known as workspaces) at the same time. This tool allows you to spread your work in a more structured manner. You may have opened numerous programs and windows, such as papers, photos, or software applications, for example. This will clog up your taskbar, making it difficult to find and move between apps. As a result, such issues can be remedied by dividing your programs into multiple workspaces, which you can then switch between to get the programs you need. The apps in each workspace will stay when you switch between them. It helps you to organize and simplify your activities, saving you time in the process. “Virtual desktops” is a term used in Linux to describe multiple desktops. We’ll show you how to create and switch between different workspaces in this article.
Enable workspaces in Ubuntu
You can activate and use several workspaces with the help of the Gnome adjust tool. It can change the appearance and behavior of Gnome Desktop Environment elements. It has several functions not found in the conventional settings panel.
The following are the two methods for installing the gnome tweak tool:
- Using the Ubuntu Software Center (GUI) to Install Gnome Tweaks
- Using the Terminal to Install Gnome Tweaks
Method 1: Install Gnome Tweaks using the Ubuntu Software Center (GUI)
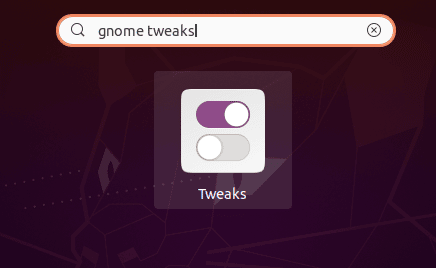
One of the most user-friendly ways to install this application is through the Ubuntu program manager. To install this application, open the application manager and look for the gnome tweak, which can be found here:


You can use the following method to access this application after it has been installed:
Method 2: Install Gnome Tweaks using the Terminal
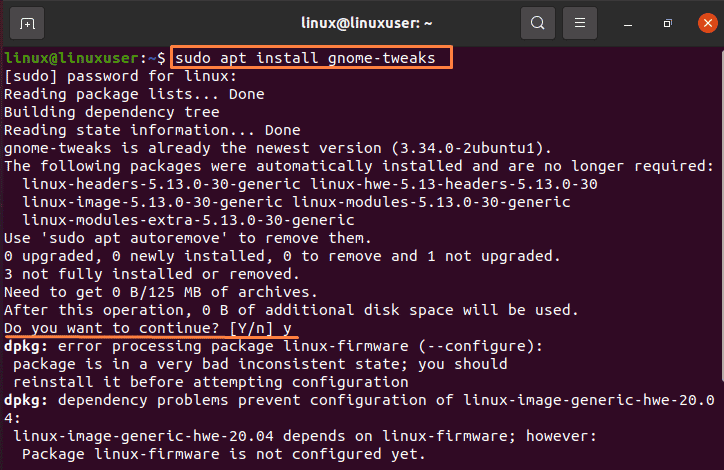
To use the terminal for installation of the gnome tweak tool, first open the terminal by right-clicking on the desktop screen and selecting “Open in Terminal” from the drop-down menu, or by pressing “Ctrl+Alt+T” on the keyboard. Execute the following command after that:
$ sudo apt install gnome-tweaks |
You can then run the following command to launch the application:
$ gnome-tweaks |

How to Enable Workspaces in Ubuntu
After you launch the gnome tweak tool, you’ll notice a lot of customization possibilities. To enable it, you must first select the “Workspace” tab, as shown in the figure below:
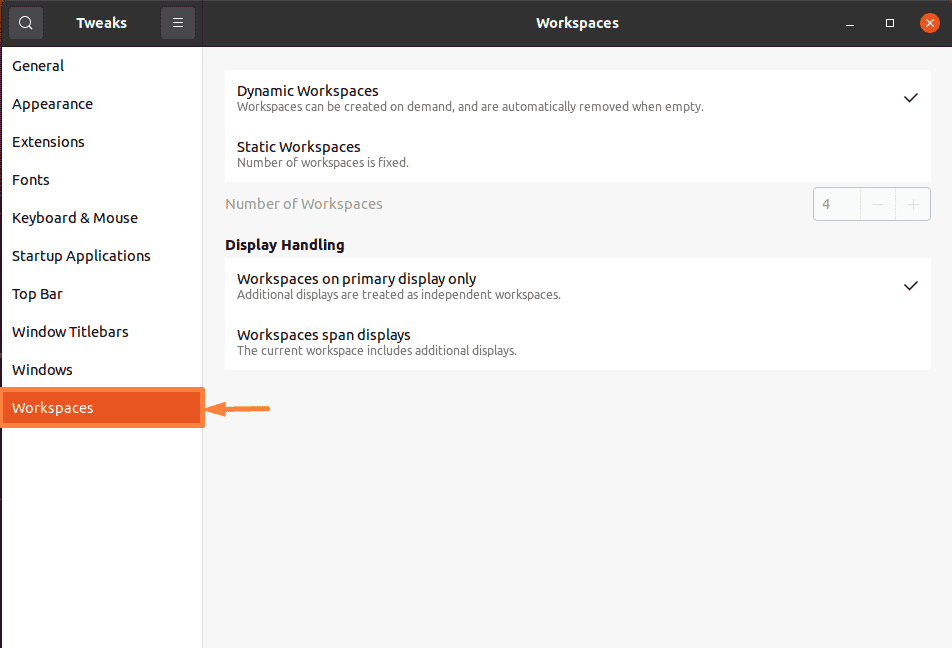
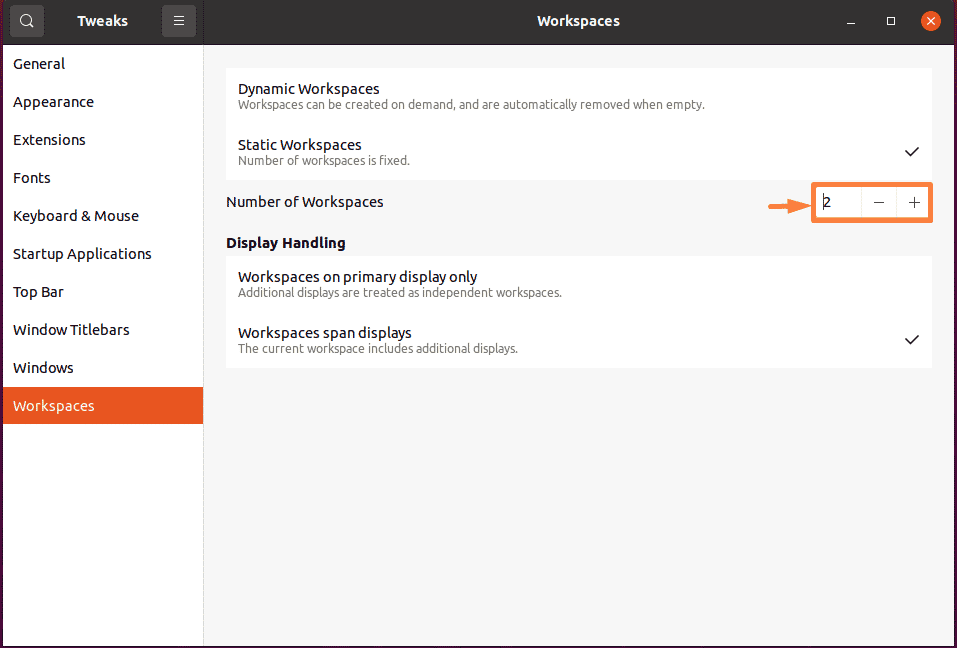
By default, four workstations are accessible; however, you can modify the number of workplaces by selecting “static workspaces” and then changing the number of workspaces as seen in the image below:
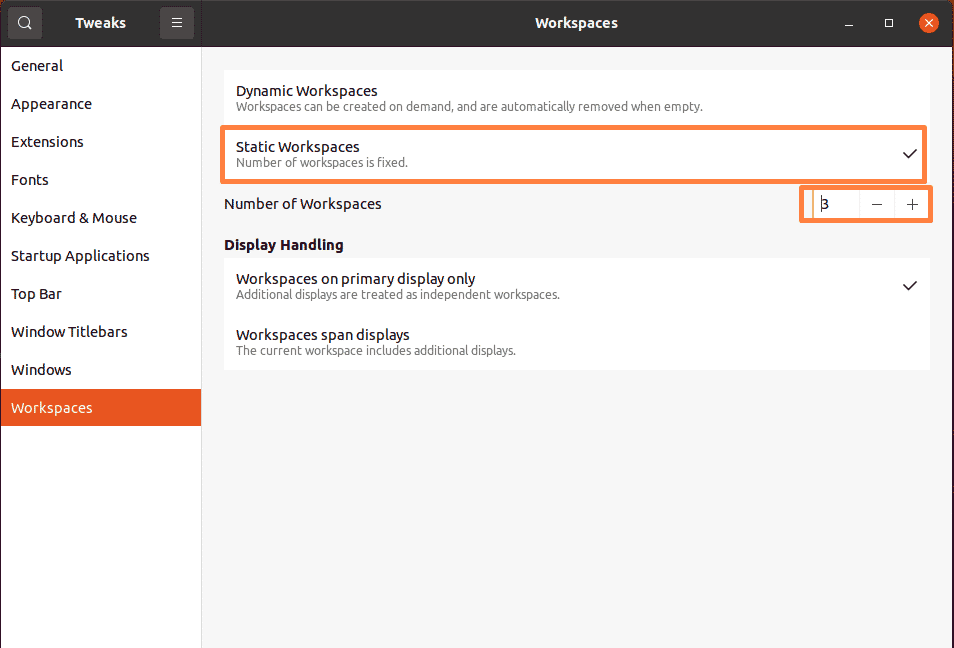
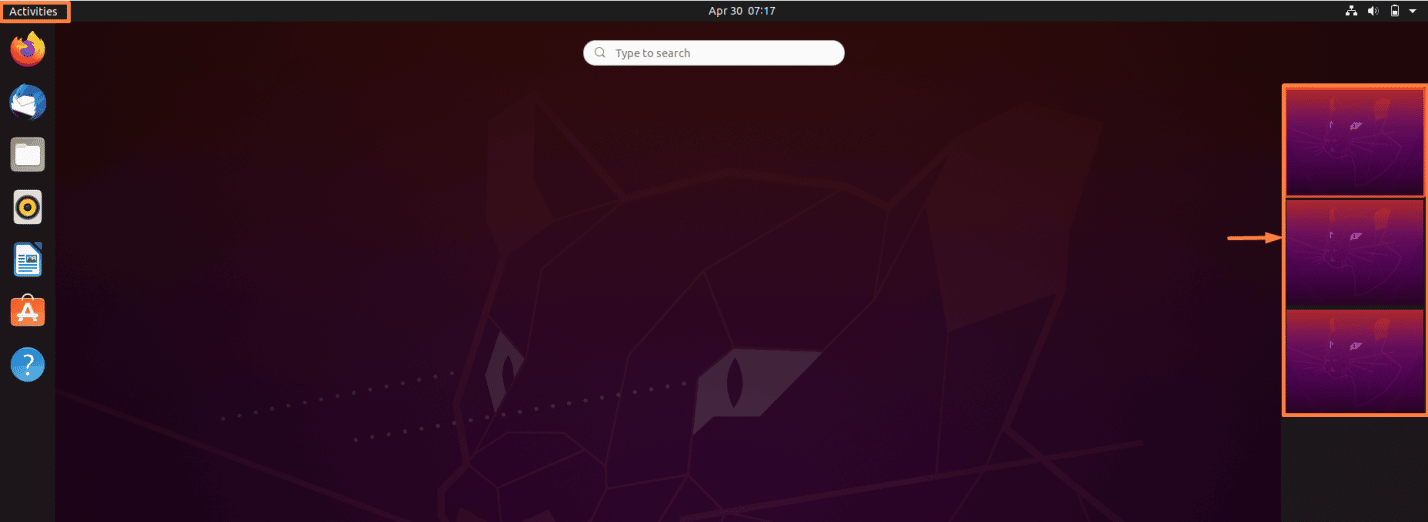
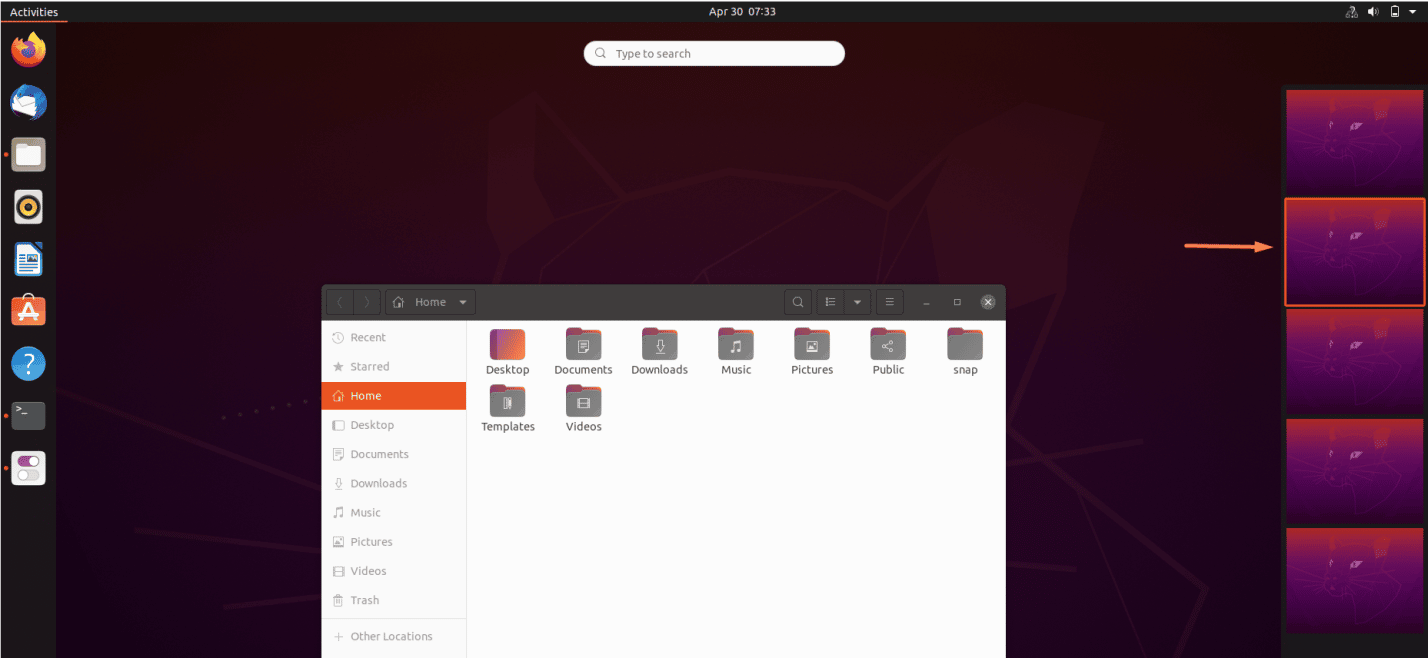
By selecting “Activities,” all available workspaces will be presented on the right side of the screen, commonly known as the “Workspace Selector.” Because there are two selected workspaces, you can see in the graphic below that there are two available workspaces:
How to Enable Multiple Workspaces in Ubuntu
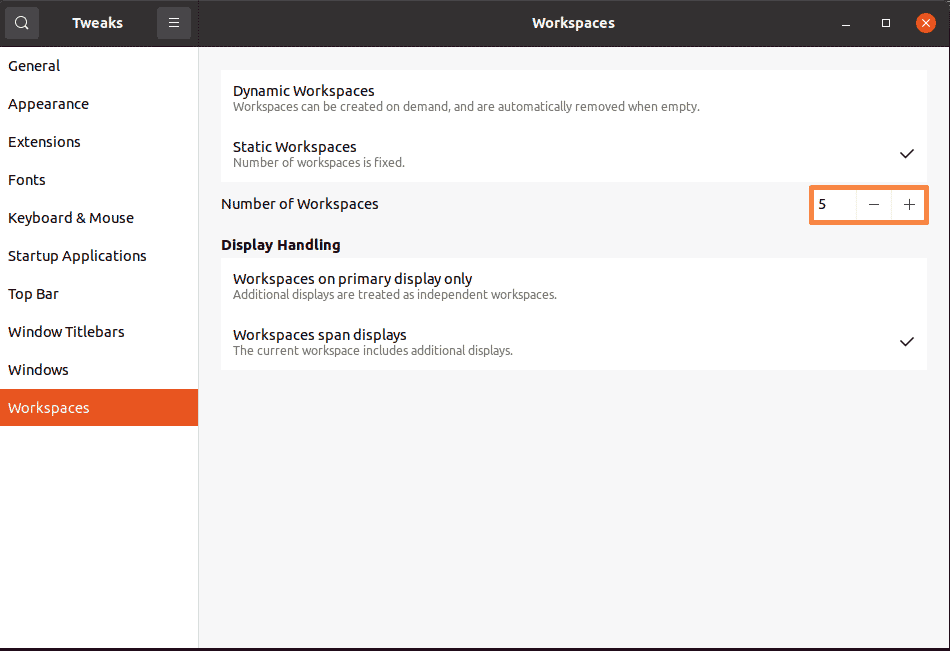
As seen in the above image, three workstations are available. Now, if you want to alter the number of workspaces to any number, such as five, you may do so by first selecting “Static Workspaces” and then selecting “Number of Workspaces” to five, as seen below:
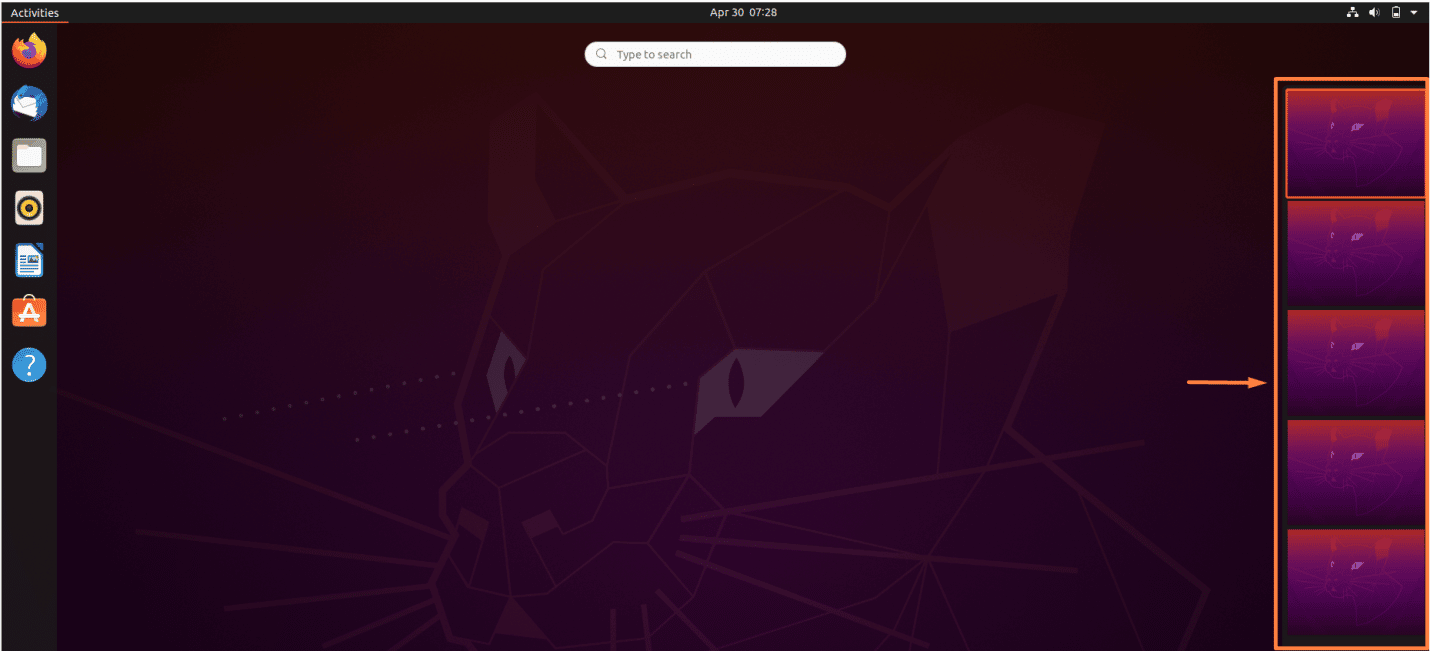
Similarly, the same strategy can be used to reduce the number of workspaces. As seen in the graphic below, there are five different workspaces:
How to switch workspaces in Ubuntu
There are a total of five workspaces accessible, as you can see. So, depending on which workspace you’re working on, you may switch between them by pressing “Ctrl + Alt” followed by an arrow key from left, right, up, and down:
How to Delete Workspaces in Ubuntu
Change the “Number of Workspaces” number to two to erase all the extra workspaces, as seen in the figure below:
Conclusion
In this article, we’ve discussed the approaches which are used to switch between several workspaces with ease. It is one of the most useful features in the Linux operating system, and it is also quite simple to use. One of its primary benefits is that it will assist you in organizing your work by grouping related or dissimilar programs in various workspaces. You will be able to access all of your applications without difficulty in this manner.
