OpenOffice is the famous cross-platform software office suit. It is developed in Java and C++ and is famous for its availability in more than 120 languages. It is supported on many different kinds of operating systems and has a bunch of applications used to perform different kinds of functions. The writer package is used for the processing of words while Calc is used for cumulating data, Impress is also a constituent of OpenOffice and is used for presentation creations. The list goes on and on and in this article, we will be exploring the method of how to install open office on Ubuntu 20.04.
Installation of OpenOffice
To install OpenOffice, follow the steps given below:
Step # 01: Remove the older versions of OpenOffice
The first step in the installation of OpenOffice is that you need to remove the LibreOffice along with the libraries. This is because LibreOffice and OpenOffice cannot work together in one common system. Let’s remove the LibreOffice setup by typing the following command in the terminal window:
$ sudo apt remove libreoffice-base-core libreoffice-impress libreoffice-calc libreoffice-math libreoffice-common libreoffice-ogltrans libreoffice-core libreoffice-pdfimport libreoffice-draw libreoffice-style-breeze libreoffice-gnome libreoffice-style-colibre libreoffice-gtk3 libreoffice-style-elementary libreoffice-help-common libreoffice-style-tango libreoffice-help-en-us libreoffice-writer

Now, run the command:
$ sudo apt autoremove
![]()
Once completed, let’s move on to the next steps.
Step # 02: Download OpenOffice Setup
To install OpenOffice, download it from the OpenOffice website. Here you need to select the ‘Linux 64-bit (x86-64) (DEB)’ then choose the language and version. Select the ‘Download full installation’ option.

A dialog box will open up. Select the ‘Save File’ option. The latest available version will begin to download.

You need to notice that the download process is time taking.

After the process of download is complete, simply go to the Downloads directory. On listing the files, you will see the downloaded OpenOffice.
$ cd Downloads
$ ls

Step # 03: Extract the downloaded file
Let’s extract the downloaded file. We will be using the following command to extract the downloaded file:
$ tar -xvf Apache_OpenOffice_4.1.9_Linux_x86-64_install-deb_en-US.tar.gz

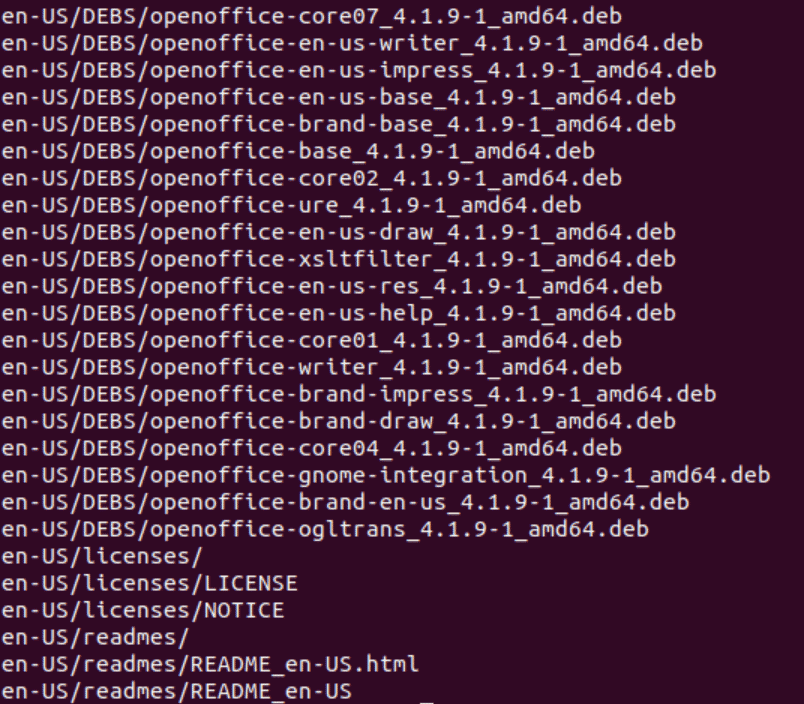
The extraction will begin quite similar to the one displayed below:

You will see that the en-US/DEBS/ directory will be created into the Downloads. Use the command to navigate into DEBS.
$ cd en-GB/DEBS/
![]()
Step # 04: Installation of deb package
To install the deb package, use the command:
$ sudo dpkg -i *.deb
![]()
The next step is to integrate all packages on the desktop using:
$ cd desktop-integration/
![]()
Install the deb package using the following command:
$ sudo dpkg -i *.deb

Accessing the application
To access the application, use the following command:
$ openoffice4
![]()
OR
simply go to the Applications and then search OpenOffice in the search bar. You will see all related applications in the available options.

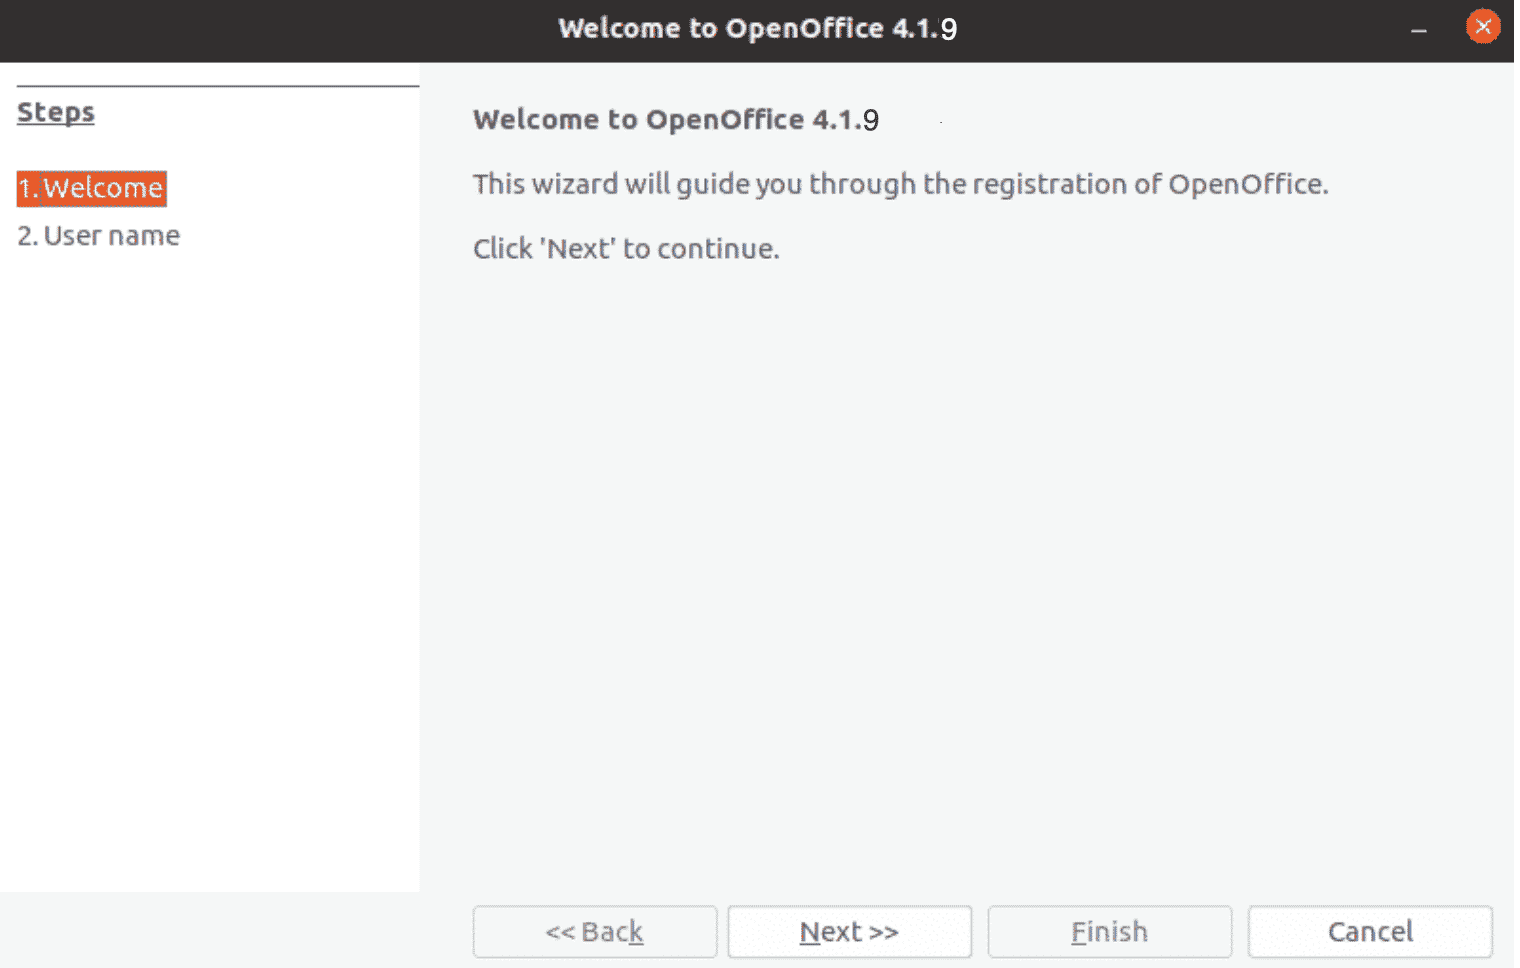
Once launched, you will see the following application window:

Conclusion
In this article, we saw the installation of the latest version of OpenOffice on the Ubuntu 20.04 system in detail. Once installed users can easily use this application suite to make use of the different sub-modules.


