Introduction:
Podman or Pod Manager is a very popular utility for managing containers and the storage volumes that are mounted onto those containers. A pod is basically a group of different containers. The name of this tool also indicates that it is solely dedicated to container management. Therefore, today’s discussion will be dedicated to the installation and removal methods of Podman on Ubuntu 20.04.
Method of Installing Podman on Ubuntu 20.04:
In order to install Podman on Ubuntu 20.04, you have to perform the steps that follow:
Step # 1: Update Ubuntu 20.04 System’s Cache:
First, you need to update your system’s cache with the following command:
$ sudo apt update –y
![]()
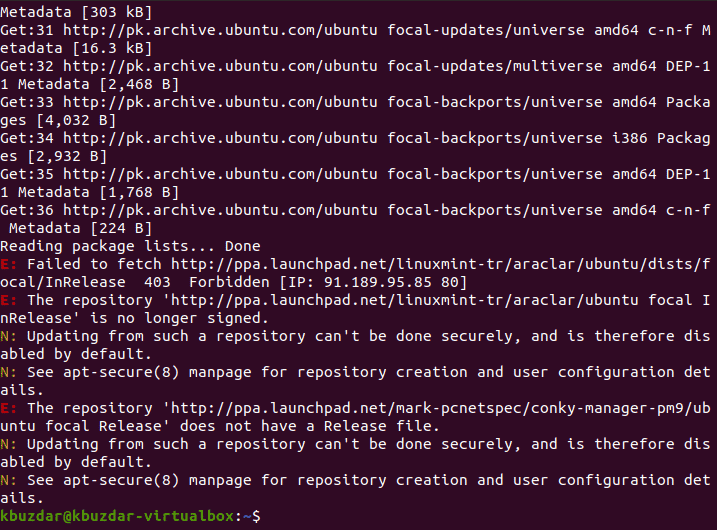
After the completion of the update process, your Ubuntu 20.04 terminal will display the messages shown in the image below:
Step # 2: Source the Release Version of your Ubuntu 20.04 System:
Now you need to source the release version of your Ubuntu 20.04 system with the following command:
$ source /etc/os-release
![]()
This command will not display any messages upon successful execution as shown in the image below:
![]()
Step # 3: Create an APT Source File:
After this, you need to create an APT source file with the following command:
$ sudo sh –c “echo ‘deb http://download.opensuse.org/repositories/devel:/kubic:/libcontainers:/stable/xUbuntu_${VERSION_ID}/ /’ > /etc/apt/sources.list.d/dlevel:kubic:libcontainers:stable.list”

You need to be very careful about the syntax of this command since it is a bit too lengthy. However, this command will also not display any output upon successful execution.

Step # 4: Add an APT Key:
Now, you need to add an APT key with the help of the command shown below:
$ wget –nv https://download.opensuse.org/repositories/devel:kubic:libcontainers:stable/xUbuntu_${VERSION_ID}/Release.key -O- | sudo apt-key add –

Again, you need to be very careful about the syntax of this command since it is also very lengthy. However, this command will also not display any output upon successful execution.

Step # 5: Update your System Again:
After adding the APT key, you need to update your system again with the following command:
$ sudo apt update
![]()
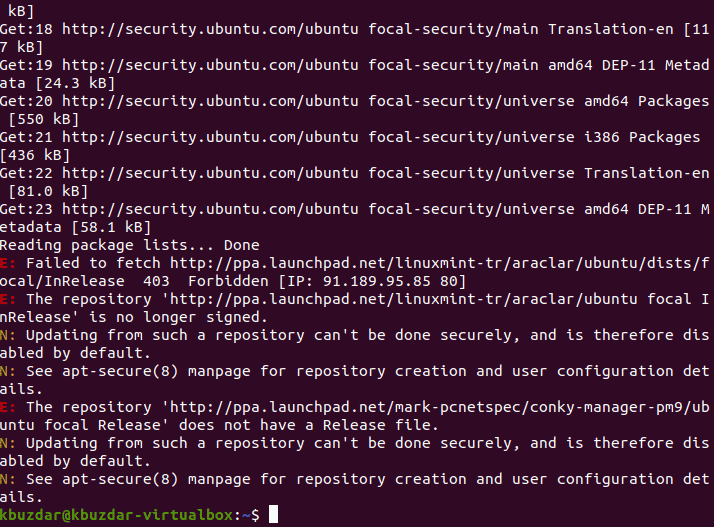
After the completion of the system update, these messages will be displayed on your terminal:
Step # 6: Install Podman on your Ubuntu 20.04 System:
Now, you can install Podman on Ubuntu 20.04 with the command shown below:
$ sudo apt-get –y install podman
![]()
It will take some time for it to install after which you will receive the following messages on the terminal:
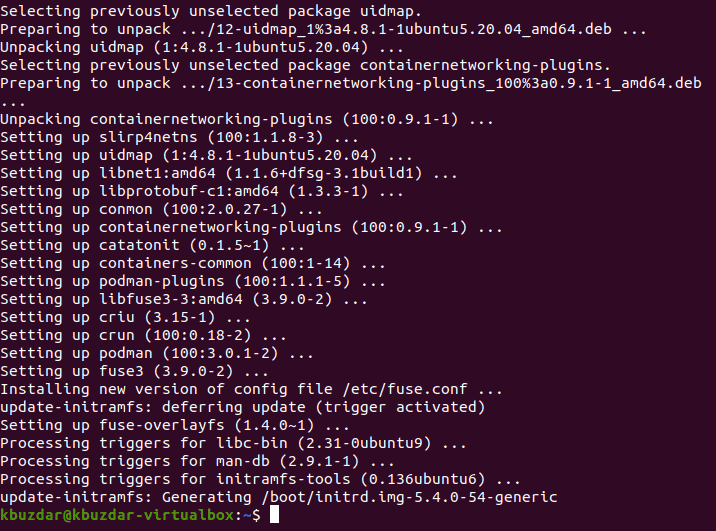
Step # 7: Check the Installed Version of Podman on your Ubuntu 20.04 System:
Finally, you can verify Podman installation on your Ubuntu 20.04 by checking its version with the command shown below:
$ sudo podman --version
![]()
The version of Podman installed on our Ubuntu 20.04 system is 3.0.1 as shown in the following image:

Method of Removing Podman from your Ubuntu 20.04 System:
You can always remove Podman from your Ubuntu 20.04 system with the command shown below:
$ sudo apt-get purge podman
![]()
After purging Podman from your Ubuntu 20.04 system, you can execute the following command to remove the unused packages and dependencies as well:
$ sudo apt-get autoremove
![]()
Conclusion:
If you ever wish to manage your pod deployment efficiently, you can conveniently follow the installation method that has been shared with you in this article to install Podman on your system. However, you can always free up the occupied space by uninstalling Podman from your system by following its uninstallation method.


