Viber is one of the popular and cross-platform communication apps that is supported on both iOS and Android. It allows you to make free audio and video calls, send messages along with multimedia attachments to any Viber user. Similar to other communication apps like WhatsApp, Signal, and Skype, Viber also offers end-to-end encryption making sure your communication is not accessible to third parties. Viber also has its desktop version available for Linux, Mac, and Windows.
In this post, we will walk you through the process of installing Viber on the Ubuntu desktop. We will be explaining the installation procedure on Ubuntu 20.04 LTS (Focal Fossa).
Note: You must have sudo privileges in order to install Viber on your system.
Method #1 Install Viber on Ubuntu via Official Deb package
In the following procedure, we will install Viber using the deb package available on its official website.
1. Head over to Viber’s official website Downloads page and download Viber for Linux Ubuntu. The downloaded file will be saved as viber.deb to your Downloads directory.
Alternatively, you can also download the Viber package from the command line. To do so, execute the command below in Terminal.
$ wget https://download.cdn.viber.com/cdn/desktop/Linux/viber.deb
The downloaded file will be saved as viber.deb to in your Home directory.

Once the download is completed, move on to the next step.
2. Now, make sure you are in the same directory where the downloaded file is placed (your Home directory or Downloads directory). Then to install Viber, execute the below command in Terminal:
$ sudo apt install ./viber.sh
After running the above command, you will be prompted to enter the sudo password. Enter sudo password, after which the installation of Viber will be started on your system.

If you encounter any error about broken dependencies, execute the below command to fix it:
$ sudo apt --fix-broken install
Method #2 Install Viber on Ubuntu via Official Snap Package
Viber for Ubuntu is also available as a snap package. A snap package can be installed through snapd utility.
To check whether snapd is installed on your system on not, execute the command below in Terminal:
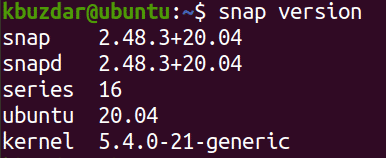
$ snap version
You will see the following output if snapd is installed on your system:

In case it is missing from your system, you can install it as follows:
$ sudo apt install snapd
Now in order to install the Viber snap package on your system, execute the below command in Terminal:
$ sudo snap install viber-unofficial
After running the above command, you will be prompted to enter the sudo password. Enter sudo password, after which the installation of Viber will be started. Once installed, you will see the following output:

Launch Viber
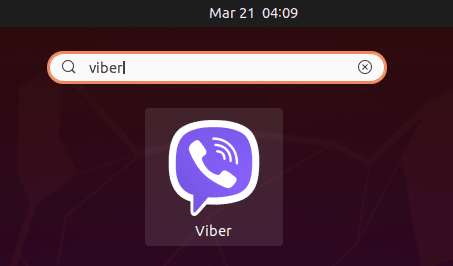
Once Viber is installed, you can launch it from the Activities tab or hit the super key on the keyboard and type viber. From the search results, click on the Viber icon to launch it.

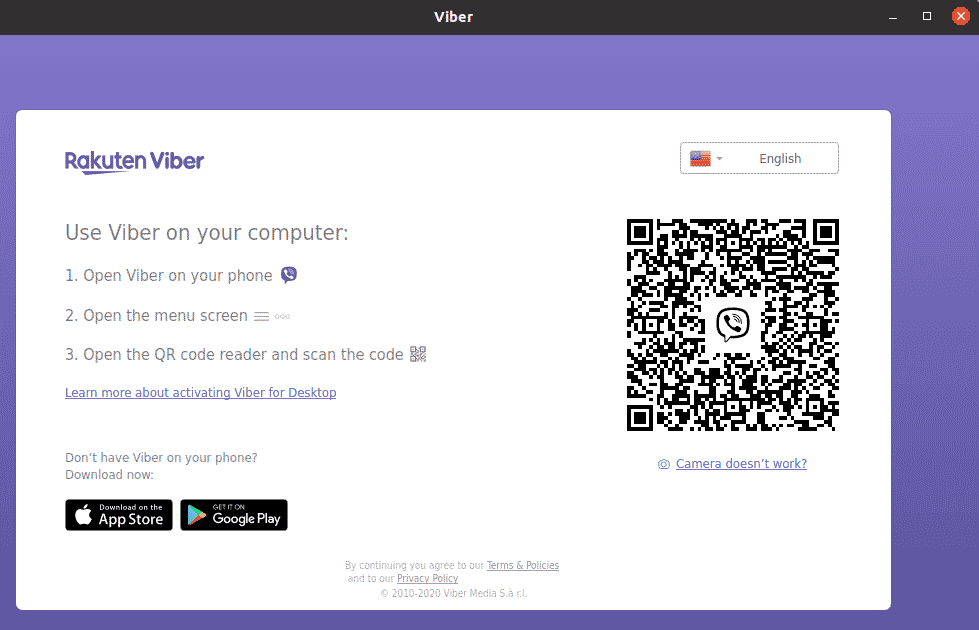
Once Viber is launched, you will see the following view:

Follow the on-screen instructions and connect Viber on your phone with the Viber desktop app.
Uninstall Viber from Ubuntu
In case you no longer need Viber on your system, you can easily remove it using the command below in Terminal:
$ sudo apt remove viber
After running the above command, you will be prompted to enter the sudo password. Enter the sudo password, after which the Viber will be removed from your system.
If you have installed Viber from the snap package, use the below command to remove it:
$ sudo snap remove viber-unofficial
This is how you can install Viber on your Ubuntu system. In this post, we have shown you two different methods through which Viber can be installed on Ubuntu. In the end, we have also shown how to remove Viber from Ubuntu in case you no longer need it.


