
Samba is an open-source file-sharing protocol that allows us to share folders and other resources with the end-users. This article will elaborate on how to install and use Samba to share files on Ubuntu Linux distribution. We have executed all commands and set of procedures on Ubuntu 20.04 LTS system and Windows 10 in this article.
Prerequisites
You must have sudo privileges or you must log in from the root user account to install Samba on your system.
Install Samba on Ubuntu 20.04
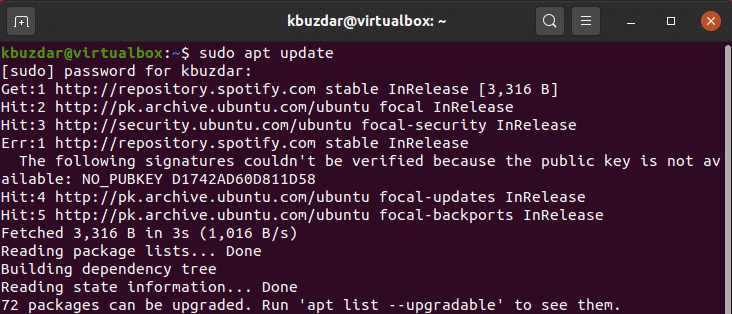
It is recommended to update your system apt packages repository before installing any new package or software. So, run the below-mentioned command to update the apt repository:
$ sudo apt update
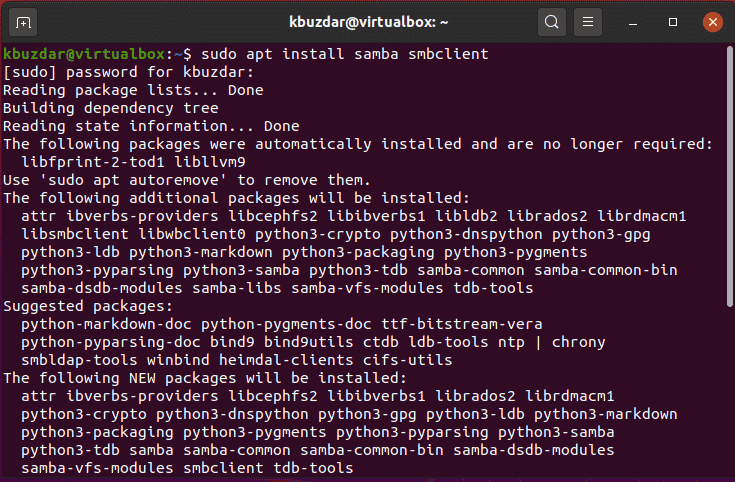
Now, by executing the following command install Samba:
$ sudo apt install samba smbclient
To further proceed with the installation process press ‘y’ and then hit ‘Enter’.
In a while, the installation of Samba will complete on your system.

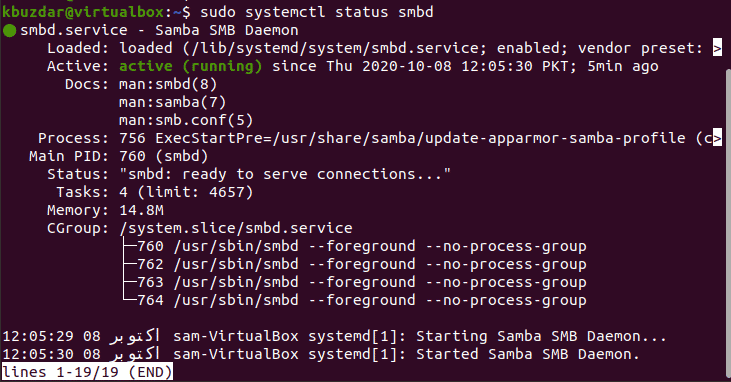
You can check the Samba running service status by typing the following command:
$ sudo systemctl status smbd
Now, we will enable the ‘Samba’ profile by changing the firewall access rules.
$ sudo ufw allow 'Samba'

Share folders using Samba
Once the installation of Samba is completed, now we can share folders or directories graphically by using the default Ubuntu file manager tool ‘Nautilus’.
Let’s play a demo on how to share directories through the Nautilus file manager.
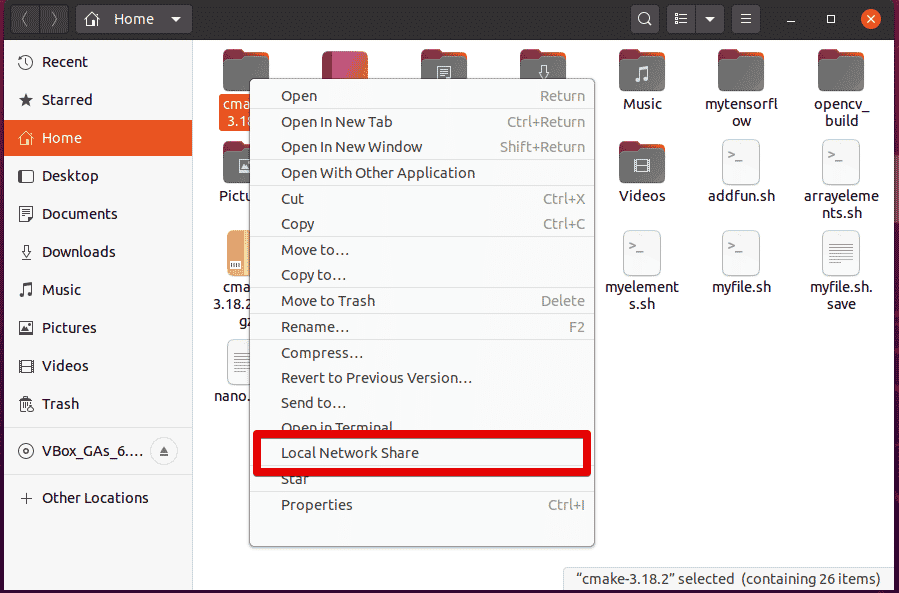
Go to the file manager and choose a folder that you want to share through your local network. Right-click on the required folder and then choose the ‘Local Network Share’ option from the displaying list items which is also red highlighted in the following image:
The following folder sharing dialog will be displayed on the system. You need to mark the following checkboxes to share the directory:

Check the ‘Share this folder’ checkbox and then, type the share name and you can also add a comment but, this is optional.
Only the owner of the share directory in the default Linux configuration can read or write to the files and directories in the Samba share.
Click on the ‘Create Share’ button.
After that, the following dialog will appear on your system. Click on the ‘Add the permissions automatically’.

You will see that share is enabled now and ready to use. Now, close the folder sharing dialog by clicking on the cancel option.
Once you share a folder, the folder icon should be changed which is shown in the below-mentioned screenshot:

Create Samba users
If you are a guest user then, you don’t need any user account authentication to access Samba shares directories. By using guest shares, everyone can access the sharing folder on the network. But, you need a Samba user account to allow access to Samba shares as an authorized person.
Note: you should know that local Linux server accounts are linked with the Samba user accounts. So, you can keep the same name of Samba users that matched with the local Linux server user’s accounts.
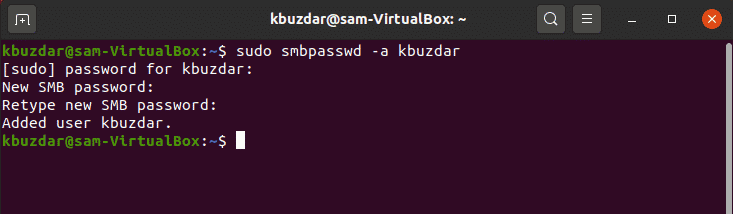
For example, we are creating a Samba user named ‘kbuzdar’ by running the following command:
$ sudo smbpasswd -a kbuzdar
In the above command, the name ‘kbuzdar’ is the name of my login user on Ubuntu.
Enter the new password for a user and press ‘Enter’. Again, retype the new password and hit ‘Enter’.
You will see on the terminal that the new Samba user is created successfully and a new password has been assigned to a newly created user.
Access Samba shares on Linux system
To access the Samba shares the Samba client program should be installed on your Ubuntu system.
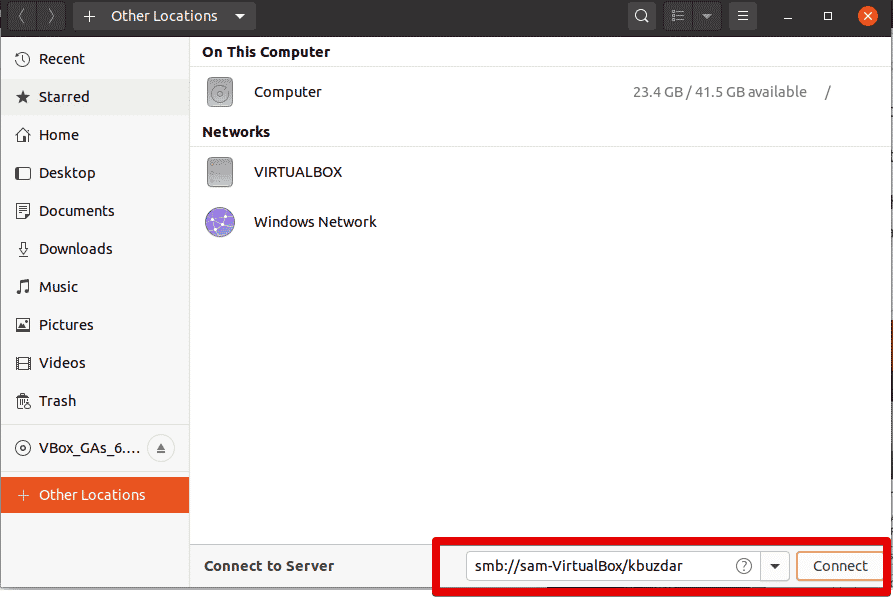
Click on the ‘other Locations’ and enter the address of Samba shares in connect to server field which is mentioned in the following screenshot:
The following dialog will appear on your system:
In the above screenshot, you have both choices either you want to connect as an ‘Anonymous’ user or as a ‘Registered user’. Type Samba user credentials and then click on the ‘Connect’ button.

Click on your server or hostname.

Here, you can see that all Samba shares directories.

Now, just click on a particular directory and enter credentials.

You can then access the Samba shares folder’s content on your system.

Access Samba shares on Windows
Windows user can also connect to the Samba shares by using the following steps:
Open the file explorer and right-click on ‘This PC’ option. The following dropdown list will open. Select ‘Add a Network Location’.

The following wizard will appear on the system. Click on Next.

Now, again click on Next to choose a custom network location.

Enter your server IP and Samba shares User name.

Enter the Samba account credentials now you can see the shares directories.

Access Samba Shares using Command Line
Create a directory that you want to share through Samba using the following syntax and assign privileges using the chown and chmod 2770 command:
$ mkdir /home/<folder-name>/<user-name>
$ mkdir /home/samba/kbuzdar

Now, enable user using the following command:
$ sudo smbpasswd -e kbuzdar

Make the copy of the smb.conf file for safety using the following command:
$ sudo cp /etc/samba/smb.conf ~
![]()
Edit the configuration file in your favorite text editor by running the following command:
$ sudo nano /etc/samba/smb.conf
Once the configuration file is loaded, add the following code at the end of the file:
[<folder_name>]

path = /home/<user_name>/<folder_name>

valid users = <user_name>

read only = no
Replace the user_name and folder_name with your own details.
Now, restart the samba services by using the command as mentioned below:
$ sudo service smbd restart

To test any errors in the smb.conf file, run the below-given command:
testparm
Now, using the following command you can access samba share folders:
$ sudo apt install smbclient
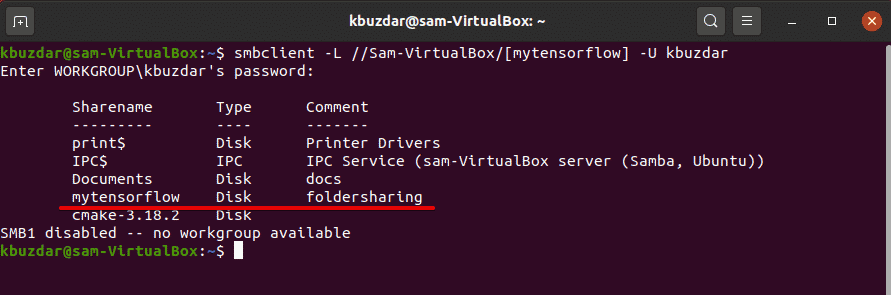
The following command will list all samba shares folders:
$ smbclient -L //<HOST_IP_OR_NAME>/<folder_name> -U <user>
Type the following command to connect with samba share:
$ smbclient //<HOST_IP_OR_NAME>/<folder_name> -U <user>
![]()
Conclusion
From the above article, we have learned how to install Samba in Ubuntu 20.04 Linux system. We have implemented how to share folders via a local network using Samba shares. Enjoy the benefits of Samba on your system.

Karim Buzdar holds a degree in telecommunication engineering and holds several sysadmin certifications including CCNA RS, SCP, and ACE. As an IT engineer and technical author, he writes for various websites.


