Apache is installed on most commonly Linux based distributions. You can install Apache as part of the LAMP stack (Linux, Apache, MySQL, and PHP) that provides a robust and powerful platform for the development and deployment of web-based applications.
The HTTP Apache web server is an open-source and free web server that transfers the web content over the internet.
We will give you brief detail in this tutorial on how you can install the Apache web server on the CentOS 8 system by using the terminal.
Prerequisites
You need a user who has ‘sudo’ command privileges or a root user.
Installation of Apache on CentOS 8
You can install apache on CentOS 8 system by using the following steps:
Step 1: update packages repository
Open the terminal from the sidebar of the ‘Activities’ section and type the ‘su’ command to login as a root user. Enter the administrative root password as follows:

Type the below-given command in order to update the software repository of all packages list:
$ yum update
Step 2: Install apache
In CentOS 8, you can install Apache service with the name ‘httpd’. The following command you will type on the terminal to install apache on your CentOS system:
$ yum –y install httpd
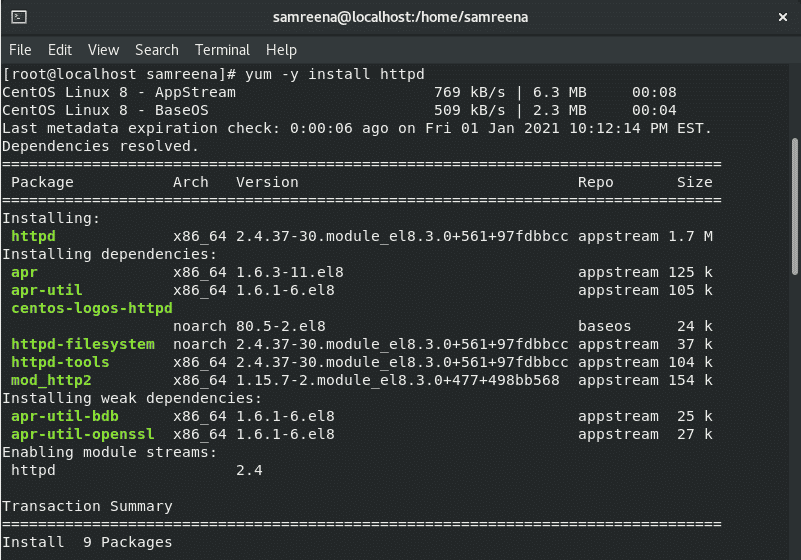
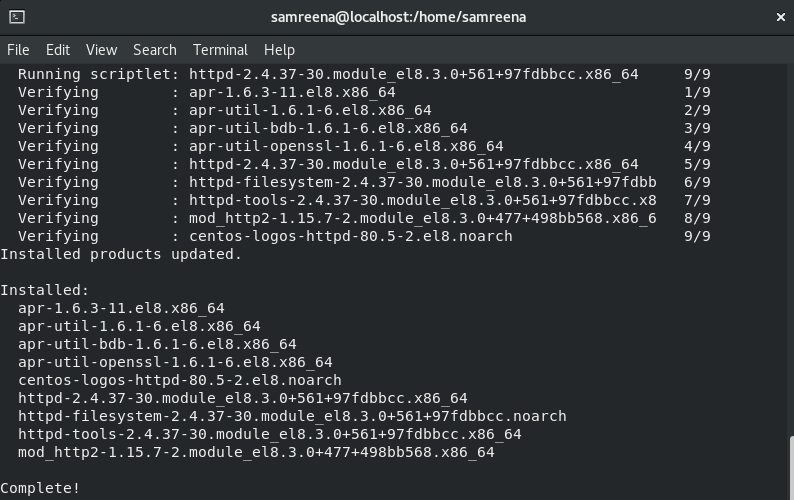
The option ‘y’ will automatically ignore the user confirmation prompt and select ‘yes’ in order to complete the installation of Apache on your system.
Step 3: Manage Apache services
Apache service runs in the background of your system. To enable or configure the Apache services, run the below-mentioned command:
$ systemctl enable httpd

Now, start apache services by typing the below-given command on the terminal and then check the running status of apache services as follows:
$ systemctl start httpd

$ systemctl status httpd
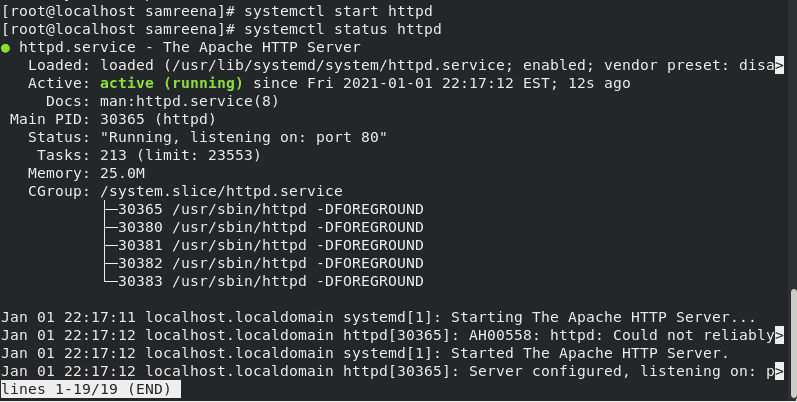
Here, we have mentioned some commands to manage apache services that are listed below:
Reload services of apache web server by using the below-given command:
$ systemctl reload httpd
To restart services again use the following command:
$ systemctl restart httpd
You can also stop apache services on your system by running the below-mentioned command:
$ systemctl stop httpd
To disable the apache service use the command as follows:
$ systemctl disable httpd
Step 4: Adjust firewall configurations for Apache
Different kind of traffic uses different ports on web servers. Using the firewall, you can allow HTTP and HTTPS traffic on ports 80 and 443 respectively.
Enter the below-mentioned commands in the terminal as a root user that will open these ports permanently on your system:
# firewall-cmd --permanent --zone=public --add-service=http

# firewall-cmd --permanent --zone=public --add-service=https

Reload firewall configurations:
# firewall-cmd –reload

To verify the firewall configuration run the below-mentioned command:
# firewall-cmd --list-all | grep services
As you can see in the following screenshot that HTTP and HTTPS are allowed services in the list.

Step 5: Test Apache web server in CentOS 8
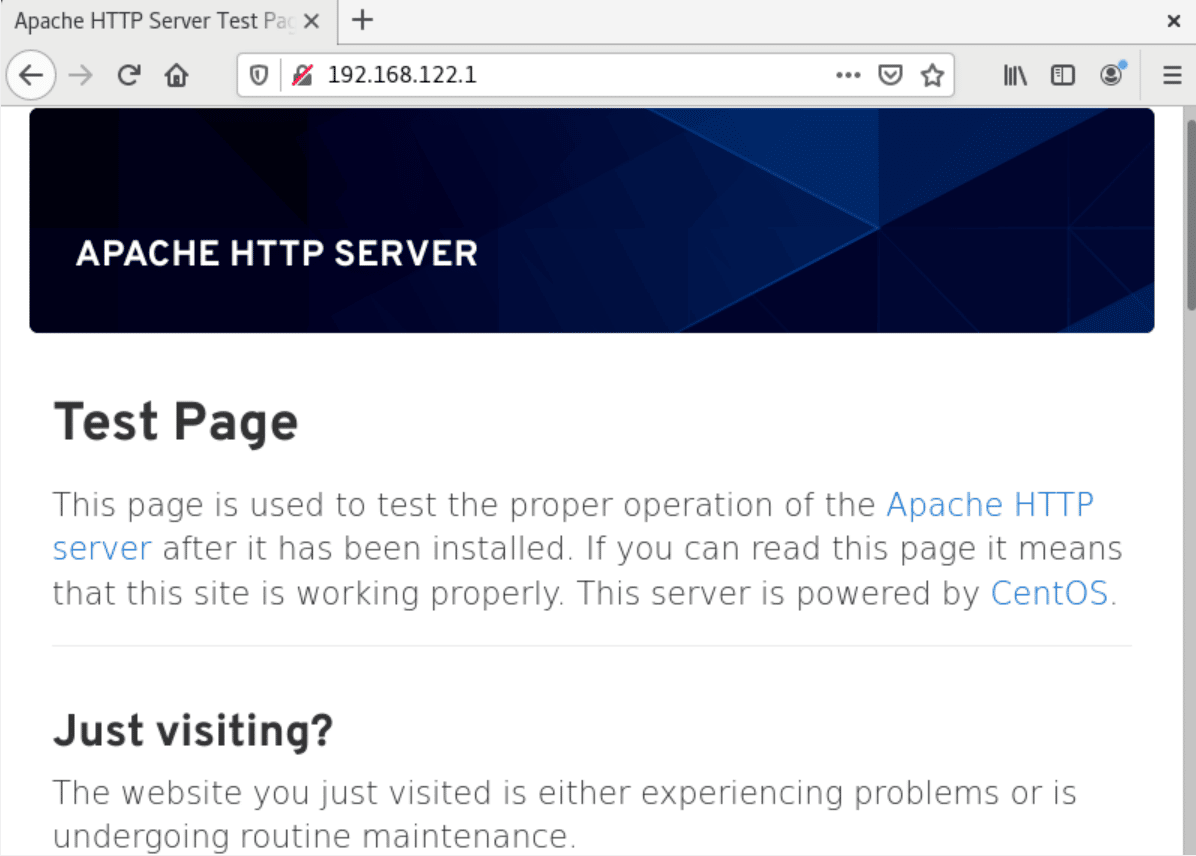
When you test apache in the web browser the default apache new installation page will display in the browser. Find your system’s IP address by using the following command:
$ hostname -I

Now, type the IP address in the URL of your installed browser. On this system, we are using the default available browser Mozilla firefox. So, enter your system’s IP address and test the installation of apache. The following Apache HTTP test page will display in the web browser:
If you are not using a graphical interface then, run the following command:
$ curl [System-IP-address]:80
Create an HTML file and test Apache web server
If you want to use a customize Html page instead of displaying the default test page of the Apache web server then, type the following command in the terminal to create an Html index page:
# echo Installation of Apache web server on CentOS 8 > /var/www/html/index.html

Now, again type your system IP address in the URL of your browser. The following message will print in your browser:
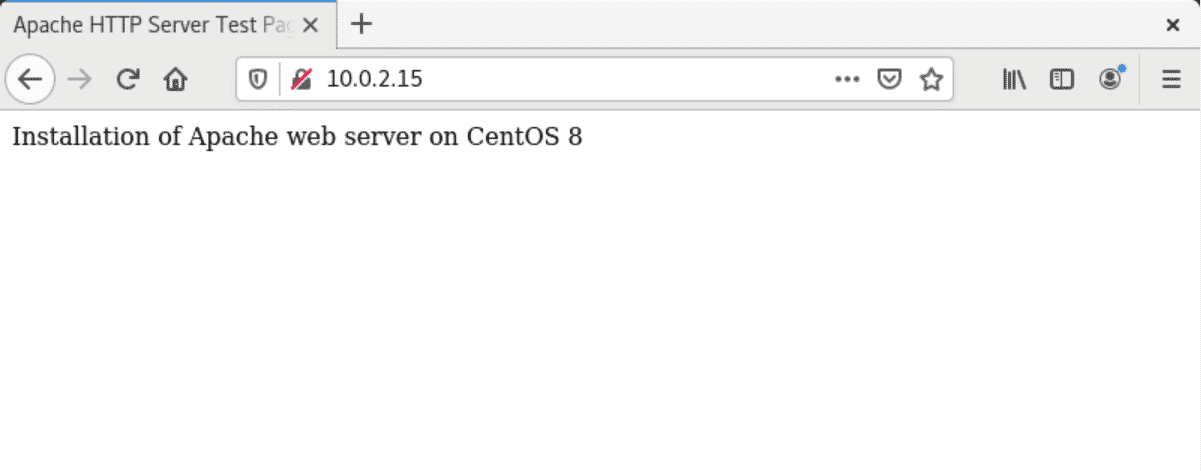
Congratulations! Apache is working correctly on your CentOS system if it prints the customized HTML page in your browser.
Remove or Uninstall httpd Apache
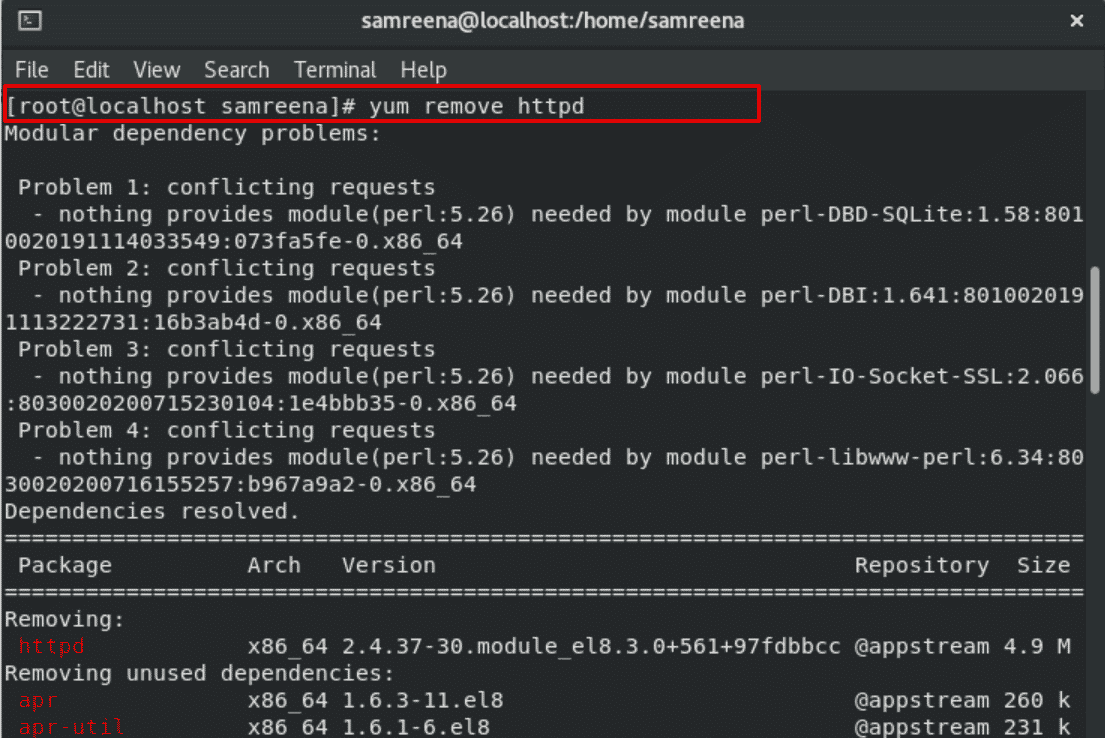
You can also remove the httpd apache module with all its dependencies from your system by executing the following command:
# yum remove httpd
Conclusion
Using the Apache web server, you can host web pages over the network. We have demonstrated all steps in detail for the installation of the Apache web server on CentOS 8 distribution. We have also created a customized HTML page and test in the browser. After performing the above procedure, the Apache web server should work properly on your system.
