Introduction:
Emacs is a very useful and feature-rich text editor that can be used across multiple different platforms. Because of its extensive support for writing code in different languages, it is preferred by most of the programmers. Today, we aim to teach you the different methods of installing the Emacs editor in Ubuntu 20.04.
Methods of Installing the Emacs Editor in Ubuntu 20.04:
For installing the Emacs editor in Ubuntu 20.04, you can use either of the two methods shared over here.
Method # 1: Using the Snap Package Manager:
For using the Snap package manager to install the Emacs editor in Ubuntu 20.04, you will have to perform these steps:
Step # 1: Install the Emacs Editor through the Snap Package Manager in Ubuntu 20.04:
The Emacs editor can be installed on Ubuntu 20.04 by using the Snap package manager with the following command:
sudo snap install emacs --classic
![]()
Once the Emacs editor will be successfully installed, you will receive the success message shown in the image below:

Step # 2: Check the Installed Version of Emacs Editor in Ubuntu 20.04:
We can also check the installed version of Emacs editor through this method by running the following command:
/snap/bin/emacs --version
![]()
The version of the Emacs editor installed on our Ubuntu 20.04 system is shown in the image below:

Method # 2: Using the PPA Repository:
For using the PPA repository to install the Emacs editor in Ubuntu 20.04, you will have to perform these steps:
Step # 1: Add the Emacs PPA Repository to your Ubuntu 20.04 System:
First, we will add the Emacs PPA repository to our Ubuntu 20.04 system with the following command:
sudo add-apt-repository ppa:kelleyk/emacs
![]()
When the Emacs PPA repository will be added successfully to your Ubuntu 20.04 system, you will see these messages on your screen.
Step # 2: Update your Ubuntu 20.04 System:
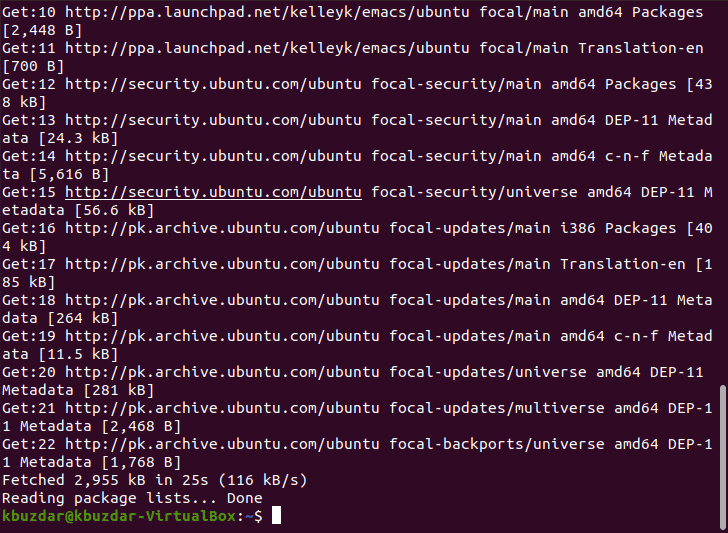
After adding the Emacs PPA repository to our system, we will update it with the following command for the new changes to take effect.
sudo apt-get update
![]()
The state of the updated Ubuntu 20.04 system is shown in the image below:

Step # 3: Install the Desired Version of Emacs on your Ubuntu 20.04 System:
Now, we will install the desired version of the Emacs editor on our Ubuntu 20.04 system with the following command:
sudo apt install emacs26
![]()
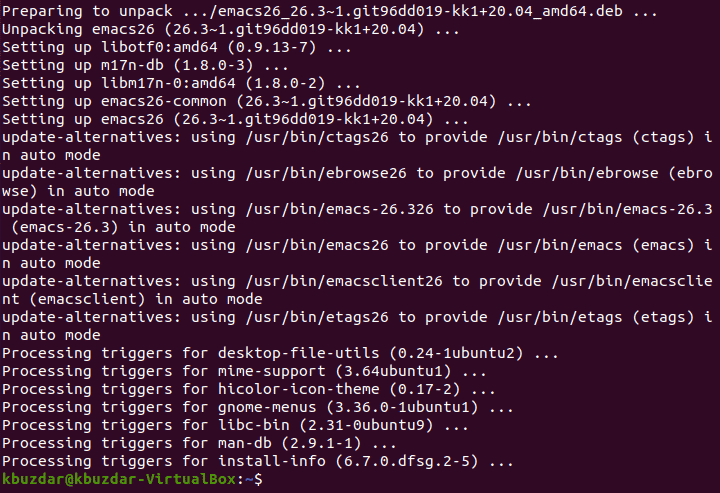
When the Emacs editor will be successfully installed, we will be able to see these messages on the terminal:
Step # 4: Check the Installed Version of Emacs Editor in Ubuntu 20.04:
We can also check the installed version of Emacs editor through this method by running the following command:
emacs --version
![]()
The version of the Emacs editor installed on our Ubuntu 20.04 system is shown in the image below:

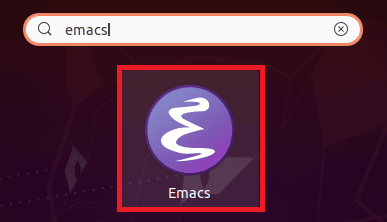
Step # 5: Search for the Emacs Editor via the Activities Search Bar in Ubuntu 20.04:
We can also look for the Emacs editor by typing its name in the Activities search bar as shown in the following image:
Method of Removing the Emacs Editor from Ubuntu 20.04:
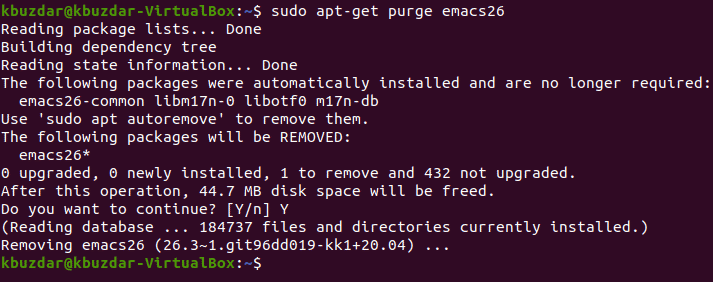
Whenever you are done with using the Emacs editor in Ubuntu 20.04 and you do not need this editor any longer, you can remove it along with its configuration files with the command shown below:
sudo apt-get purge emacs26
![]()
This operation will render these messages on the terminal upon successful completion:
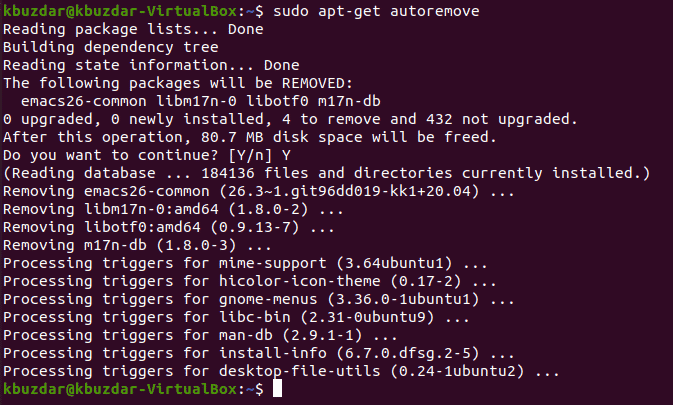
Now, we can even remove all the dependent packages that were installed along with the Emacs editor by running the following command:
sudo apt-get autoremove
![]()
This command will render these messages on the terminal upon successful completion and the Emacs editor and all of its dependent packages will no longer exist on your Ubuntu 20.04 system.
Conclusion:
This article was based on the methods of installing the Emacs editor in the Ubuntu 20.04 system. We taught you two different methods of achieving the same goal and then wrapped up the article by explaining to you the method of removing this text editor from your Ubuntu 20.04 system.
