KVM (Kernel-Based-Virtualization) is a Linux-based open source virtualization tool, that is used by Linux operating systems for virtualization. KVM uses hypervisor mode for the better performance of virtual machines. Hypervisor provides the functionality to run multiple virtual machines individually. Debian 12 has the built-in functionality to work with virtual machines. As KVM is a Linux-based virtualization tool we can use it for the management of different guest machines.
This particular blog explains how you can install KVM on Debian 12.
How to Install KVM on Debian 12?
If you want to host multiple machines on a single system, you can manage with the help of KVM. KVM is a free kernel-based virtualization tool that provides the facility of virtualization technology. It is Linux-based and can be installed on any Linux distribution.
In order to install KVM on Debian follow the commands mentioned below.
Step 1: Verify Your Processor
Before proceeding to the installation process, you check whether your processor is compatible with KVM or not. Because KVM runs only on AMD and Intel processors. Type the following command to check the processor manufacturer:

The command displays the specifications of the processor that is installed in the system.
Step 2: Check Your Virtualization Utility is Enabled
Check if the virtualization is enabled or not by using the following command:

The command displays that the virtualization type is full. All the requirements are checked and fulfilled, we can install KVM on Debian.
Step 3: Install KVM
Type the command mentioned below in the terminal to install KVM:
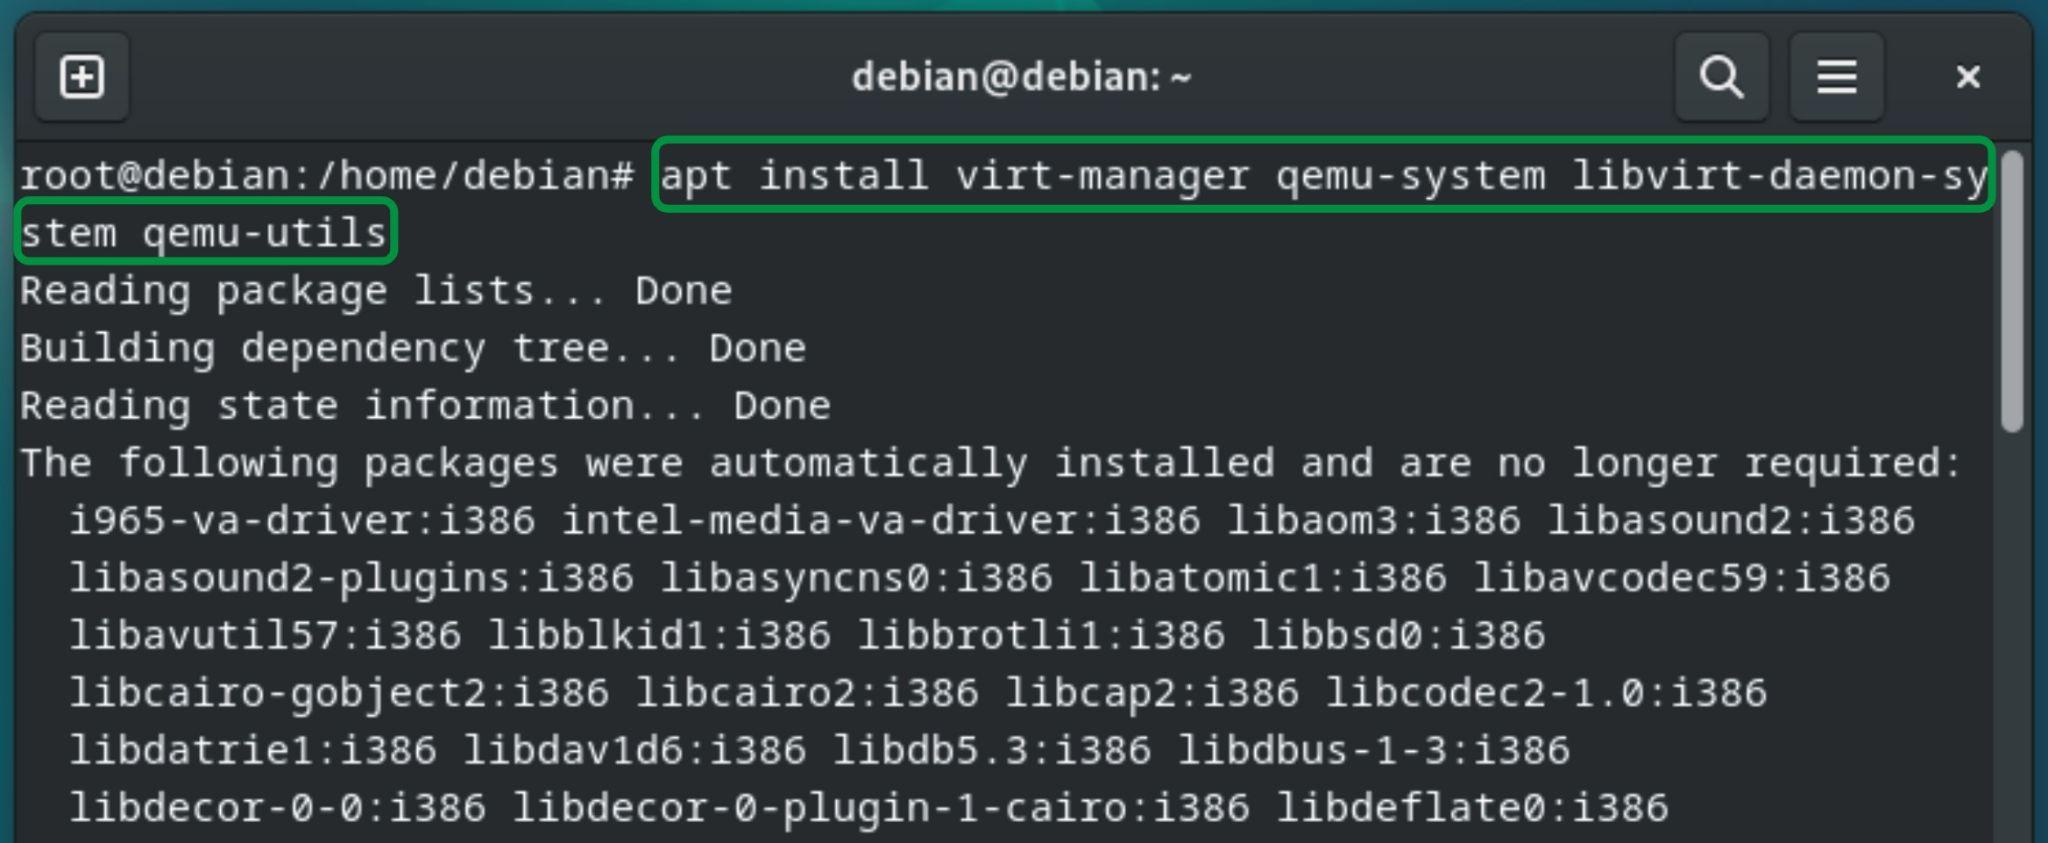
It will require permission to use additional disk space. Type “y” for confirmation and then press “Enter”:

The above command will download and install all the necessary packages of KVM. Use the following command to confirm whether the KVM modules are installed correctly and working properly:

The command loads the KVM modules into memory. After installation, enable and start services of KVM.
Step 4: Open KVM
Before using KVM, we start some services, that help KVM in the management of virtual machines. Type the “systemctl enable –now libvirtd” command to enable libvirt management daemon tool, which acts as a monitoring tool for different virtual machines:

Now check libvirt status before opening the KVM, use the following command:
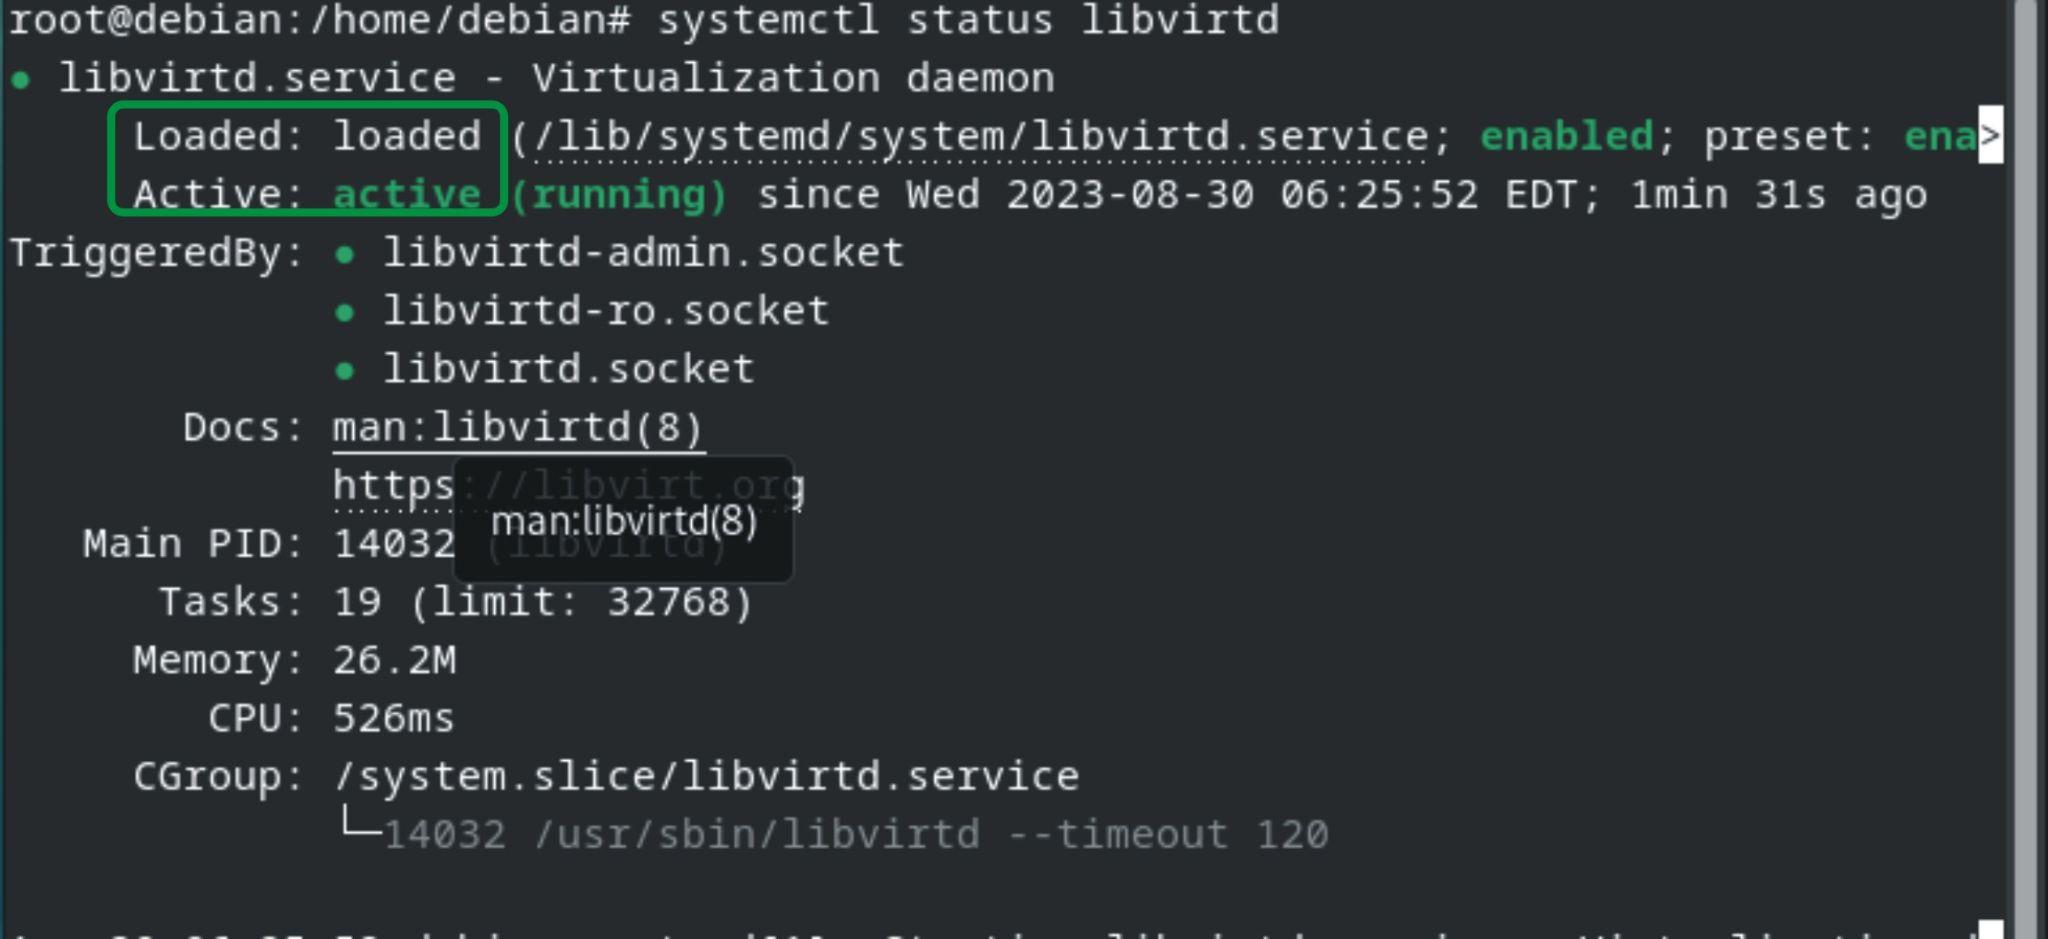
The command shows that the libvirt service is loaded and active. Now exit the terminal, go to the Debian Desktop, and type kvm in search, KVM will be shown below:

Click on the “Virtual Machine Manager” option and the following window will open:
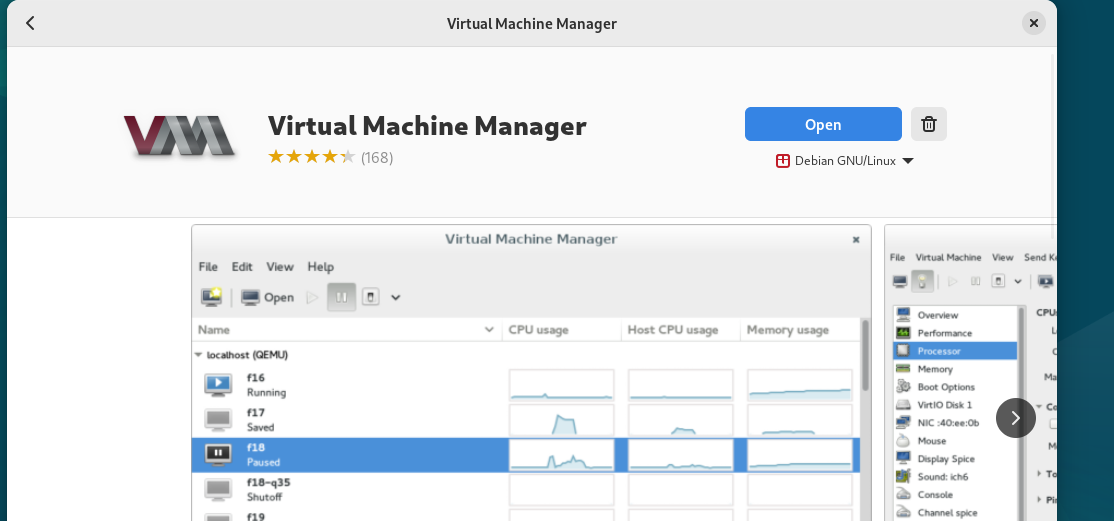
Click on open, it will require the password for root authentication, type your password, and click on “Authenticate”:
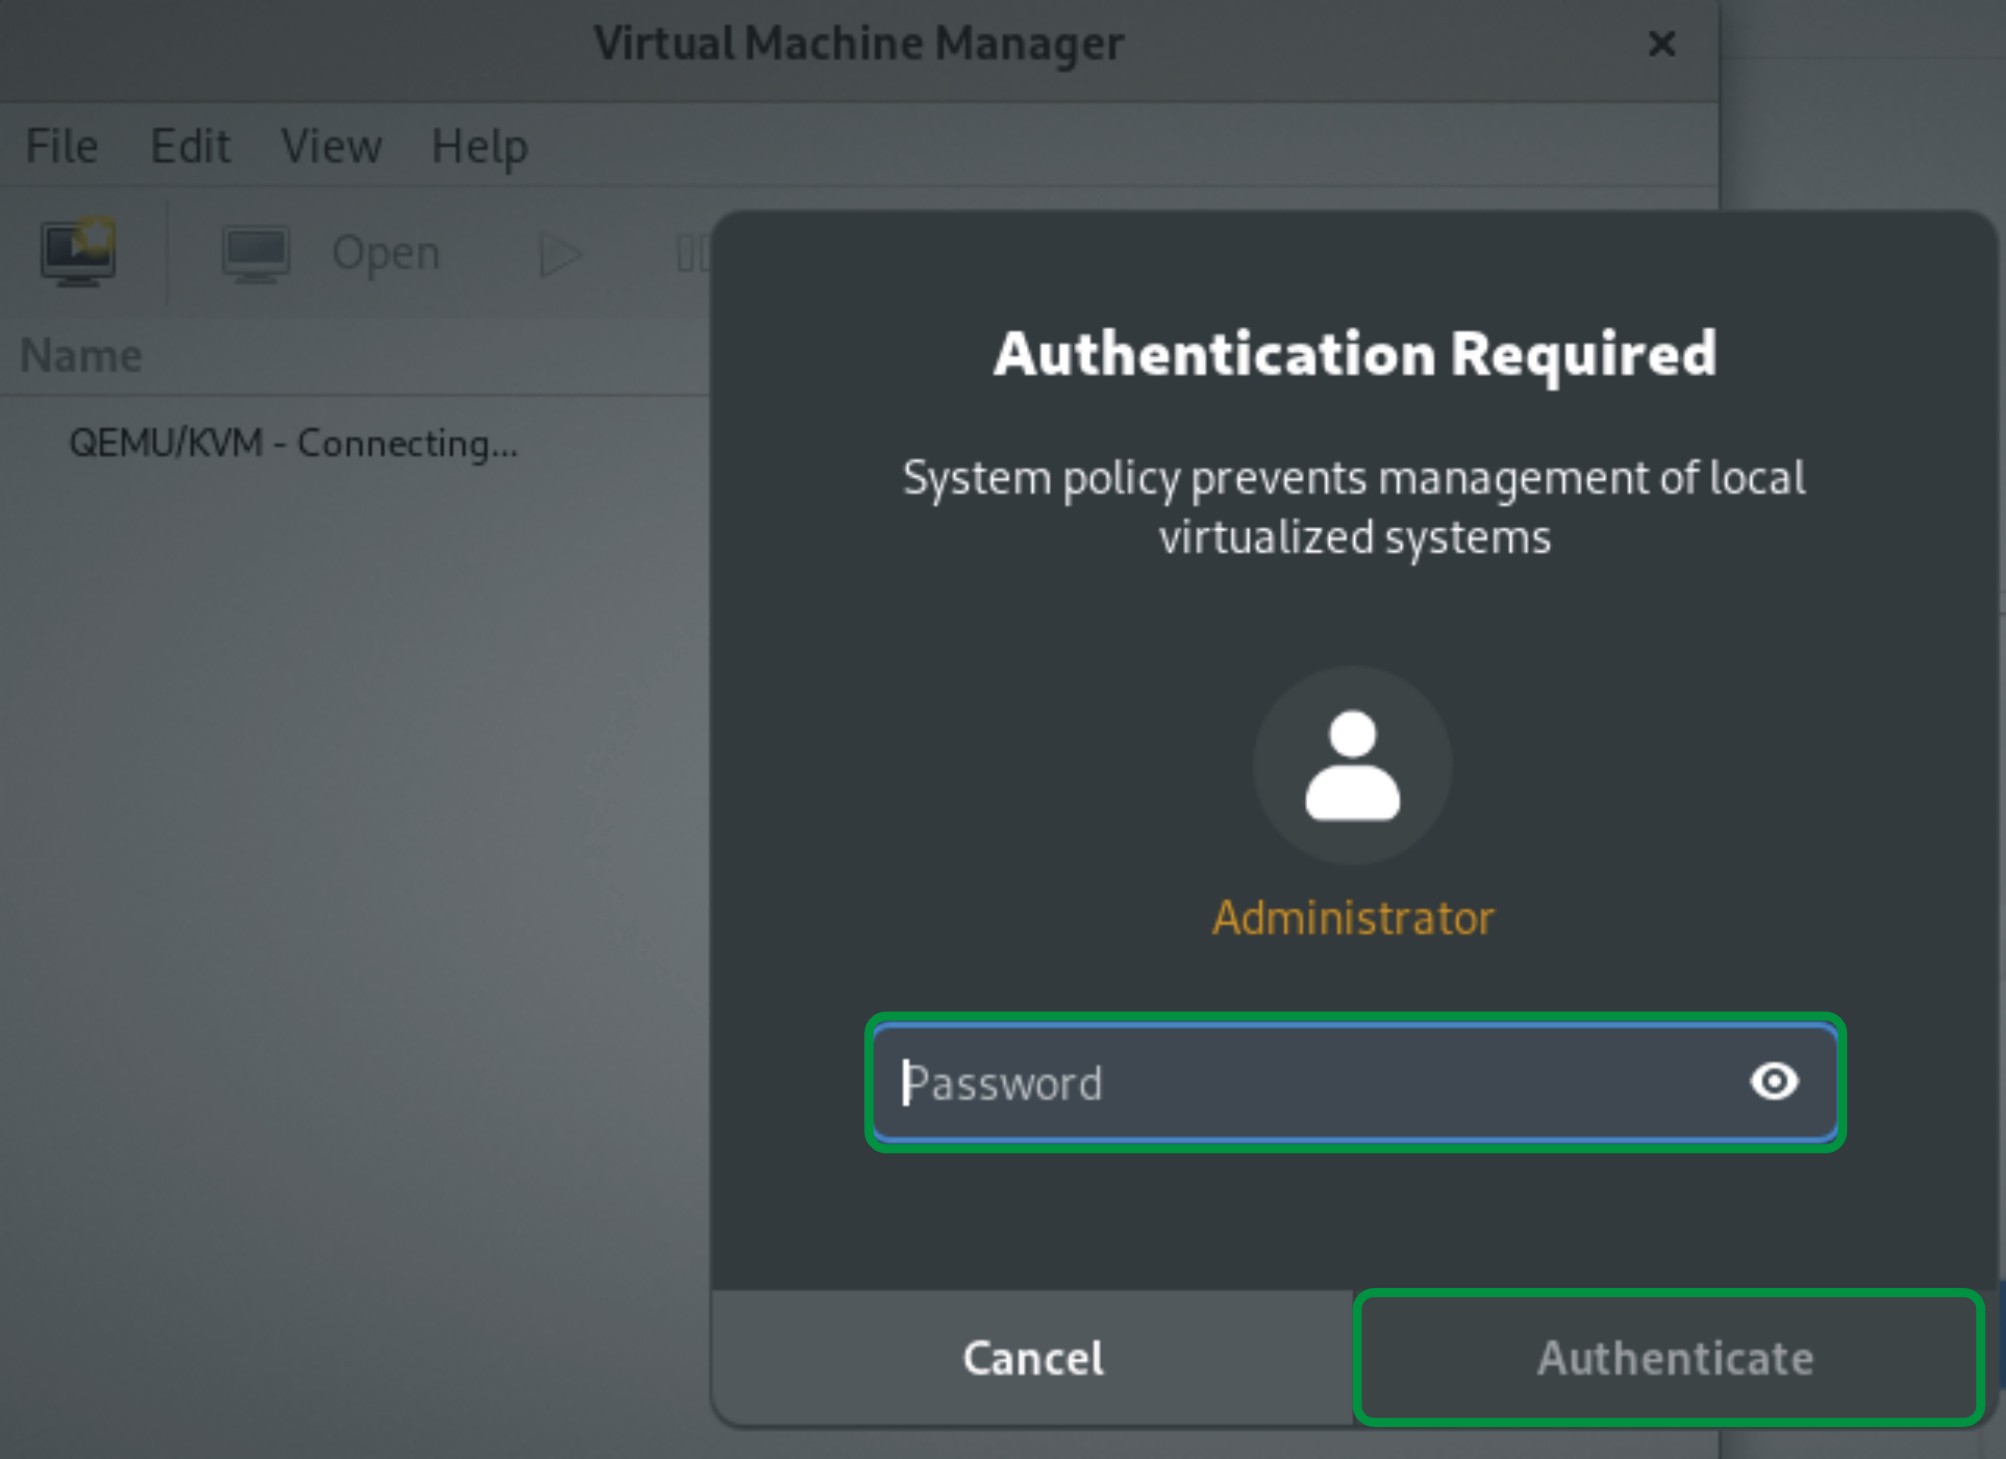
After root authentication, your KVM virtual management program window opens:
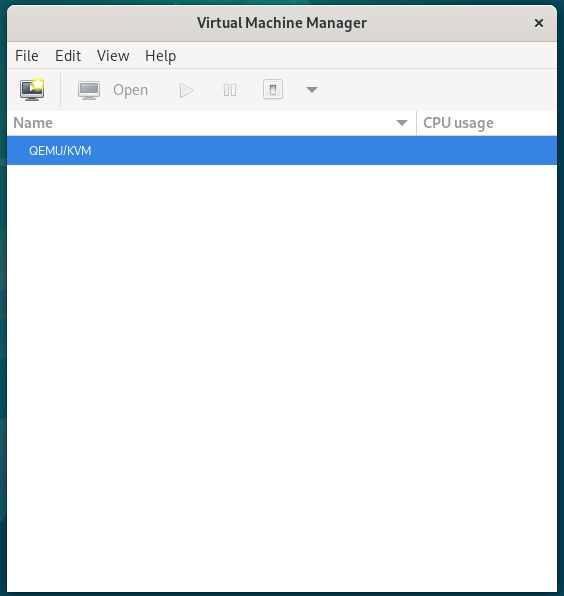
Now you can manage different virtual machines with the help of KVM.
Conclusion
KVM is a kernel-based visualization tool that uses hypervisor technology in order to manage and host different virtual machines that have their own private virtual hardware resources. KVM is a Linux-based and open-source virtual machine management tool. In this article, we have explored how to install KVM on Debian 12 and use it for hosting different virtual machines.


