Written in C language, SQLite is a lightweight and fully-featured software library that provides an SQL database engine. Unlike conventional relational databases such as PostgreSQL and SQL, SQLite is serverless and does not require any configuration. Also, give its serverless architecture, it does not have a daemon or proceess that needs to be started or stopped. SQLite requires minimal support from external libraries or from the operating system. As such it is ideal for use in embedded devices such s smartphones, gaming consoles, portable media players etc.
Let us check out how you can install SQLite on Debian 11.
Method 1: Install SQLite via APT
SQLite can be found in the default debian 11 repositories. Install it using APT as follows:
$ sudo apt install sqlite3
Confirm the version of sqlite installed with the command:
$ sqlite3 --version

The output confirms that we are running SQLite 3.34.1. However, this is not the latest version of SQL. If you want to install the latest SQLite version, you need to install it from source as we shall demonstrate in the next method.
Method 2: Compile and Install SQLite from source
To install the latest version, consider manually compiling the source code.
First, install basic compiler packages. Run:
$ sudo apt install build-essential
Then, create a directory to hold SQLite3 and its contents:
$ mkdir /opt/sqlite3
Thereafter, head over to the official SQLite download page and grab the latest binary file.
$ wget https://www.sqlite.org/2022/sqlite-autoconf-3370200.tar.gz

At the time of writing this guide, the latest version of SQLite is 3.37.2. Extract the archive file as shown:
$ tar xvfz sqlite-autoconf-3370200.tar.gz
Next, move the decompressed folder to the directory you created above.
$ sudo mv sqlite-autoconf-3370200 /opt/sqlite3
Next, navigate to the SQLite folder.
$ cd /opt/sqlite3/sqlite-autoconf-3370200
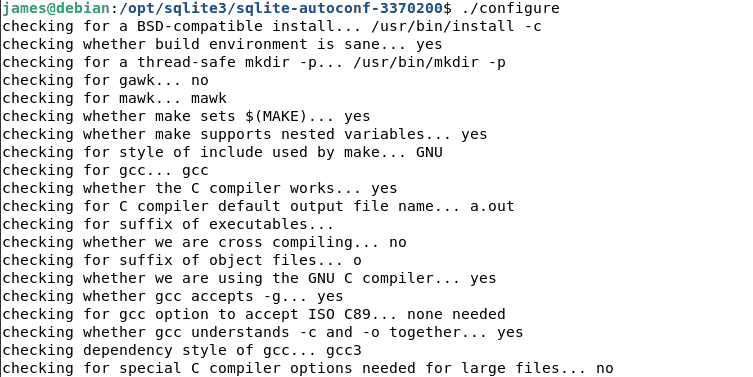
The next step is to start the compiling process by executing the command:
$ ./configure

After that, start the build process with the make command as shown:
$ make -j 2
The -j represents the number of cores present in your system. This helps you speed up the build process. To verify the number of CPU cores present on your system, invoke the nproc command:
$ nproc
Finally, initiate the build process to install SQLite 3 as follows:
$ sudo make install
Now confirm the version of SQLite installed with the command:
$ sqlite3 --version

The version installed is more recent as compared to the one installed via APT.
Testing SQLite
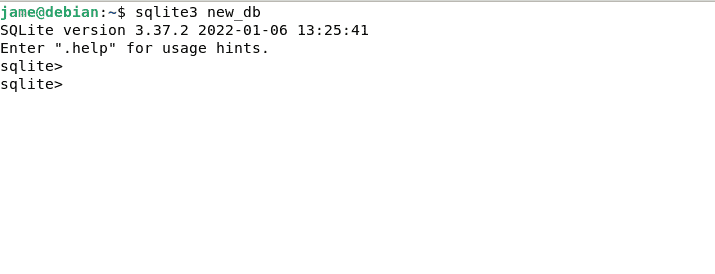
Now that SQLite is successfully installed on our system, we can go ahead and create a database to test the installation. Run:
$ sqlite3 new_db

You can now type in your SQL commands in the SQLite command line as shown above.


