Introduction
If you identify as a programmer and developer and have worked with an integrated development environment (IDE), you are probably well aware of the popular Microsoft Visual Studio Code.
Visual Studio Code is a code editor . End-users can take advantage of various development, debugging, and testing features, including embedded Git control, syntax highlighting, auto code completion, code refactoring, and snippets. Visual Studio code supports thousands of extensions and offers features like version control, which makes collaboration highly convenient.
Visual Studio Code is open source and supports all major operating systems. In this article, you will learn various ways to install Microsoft Visual Studio Code on your Ubuntu system.
Prerequisites
Ubuntu or any other Linux-based system
Terminal Access
A user account with root/sudo privileges.
Internet Access
Note: Although the commands used in this tutorial are specifically for the Ubuntu system, all the methods are also valid for any other Linux-based system.
Install and Uninstall Visual Studio Code Using the apt Package
Update & Upgrade Your System
Before getting into the installation, make sure to update your system repository.
Run the following commands to update and upgrade your system.
sudo apt update
sudo apt upgrade


Or you can also run this aggregate command to do the same in one line.
sudo apt update && sudo apt upgrade -y

Resolve Package Dependencies
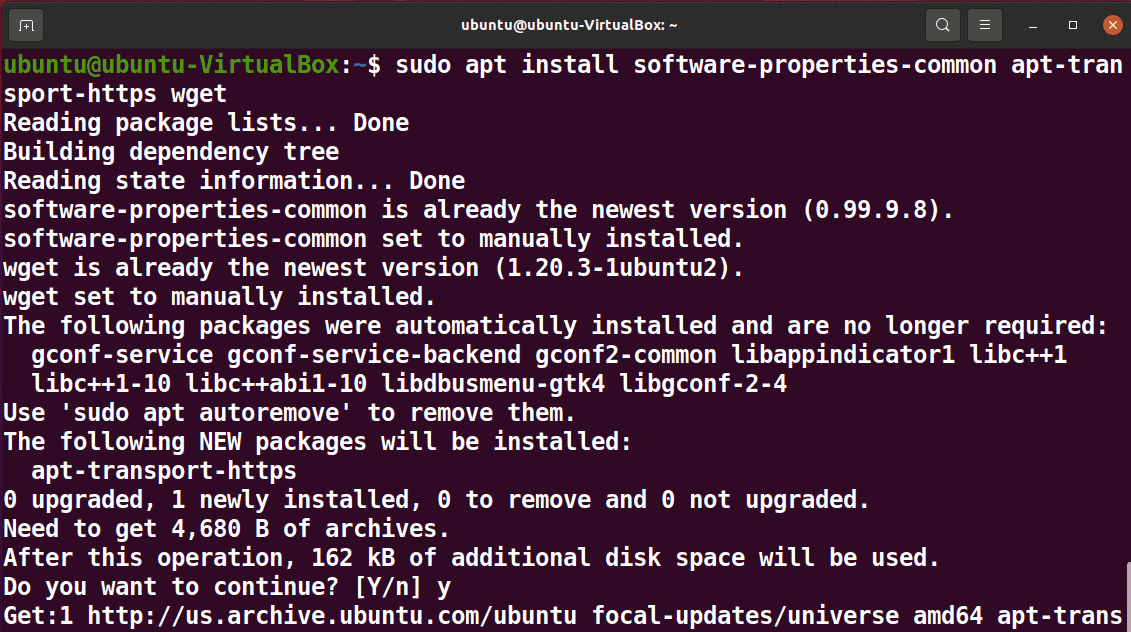
Install the necessary package dependencies for smooth installation using the following command.
sudo apt install software-properties-common apt-transport-https wget
Get Microsoft’s GPG Key
Import Microsoft’s GPG key with the following import command.
wget -q https://packages.microsoft.com/keys/microsoft.asc -O- | sudo apt-key add -

Enable the Visual Studio Code Repository
Enable the Visual Studio Code repository with the following command.
sudo add-apt-repository "deb [arch=amd64] https://packages.microsoft.com/repos/vscode stable main"
Install Visual Studio Code
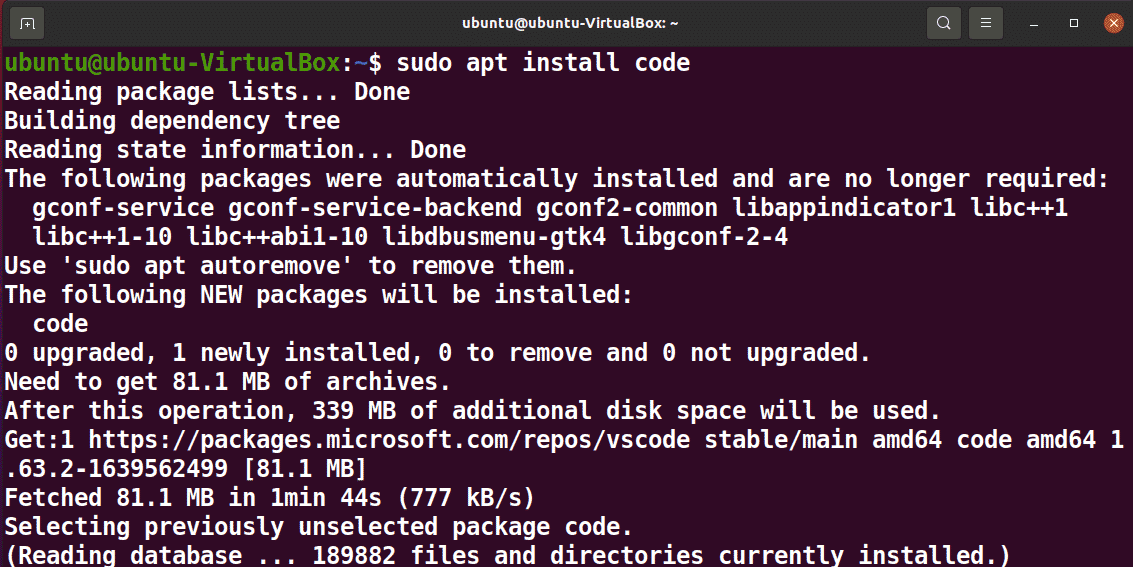
When the repository is enabled, you can finally install the Visual Studio Code package with the following command.
sudo apt install code
Check the Visual Studio Code Installation Version
Check your visual studio code version with the following command.
code –version

If your version is not the latest, you can again update and upgrade your system to ensure your Visual Studio Code is the latest version.
Uninstall Visual Studio Code
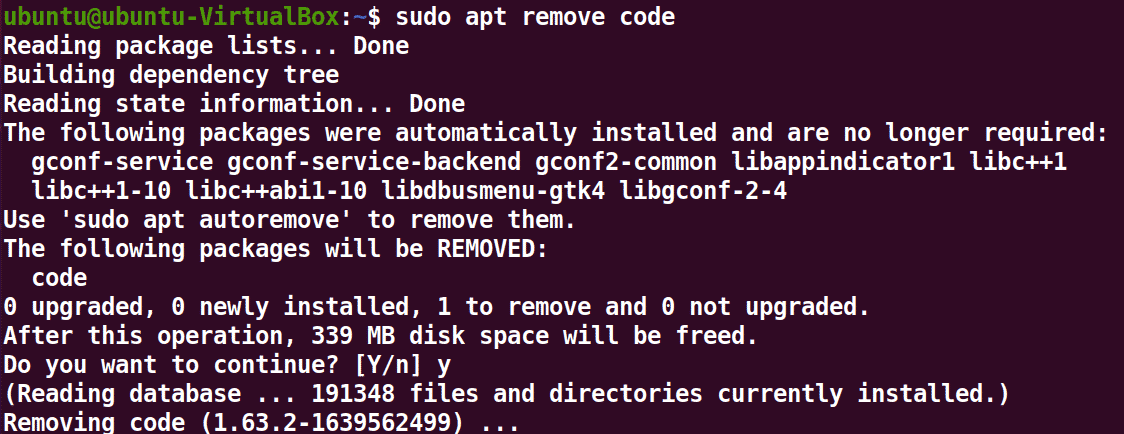
Run the following command to uninstall your visual studio code.
sudo apt remove code
Install and Uninstall Visual Studio Code Using the Snap Package
Another option for VS Code installation is to install it through its self-contained and self-managed snap package.
Run the following command to install Visual Studio Code using the snap package.
sudo snap install –classic code
To uninstall the visual studio code, remove its snap using the following command.
sudo snap remove code

Install and Uninstall Visual Studio Code Using the Graphical User Interface
You can also directly install Visual Studio Code using the Ubuntu Software Center. Simply open the Ubuntu Software Center and search for Visual Studio Code, then open it.

Click on Install and authenticate.
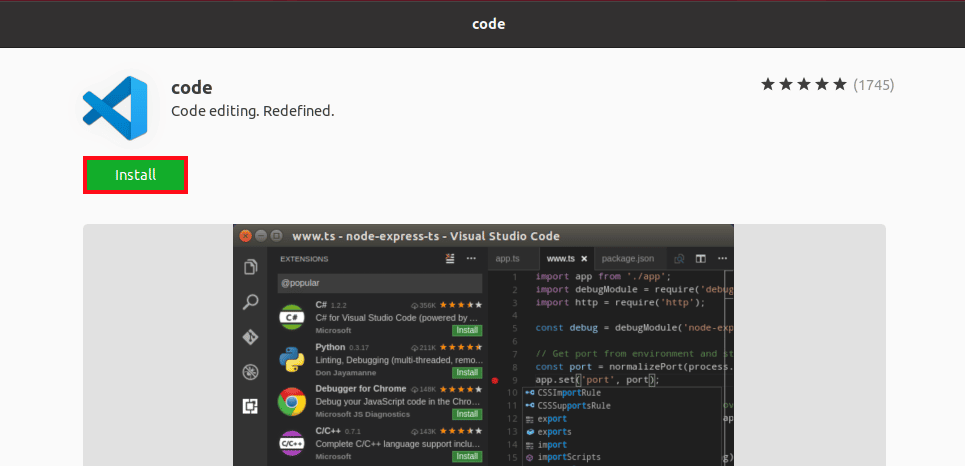
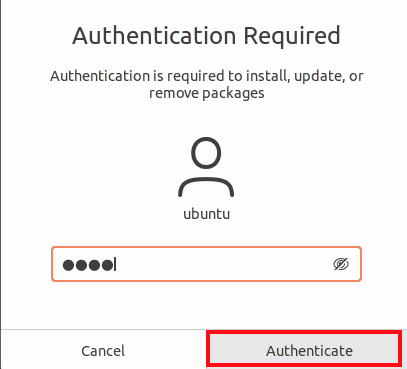
You can uninstall/remove the installed Visual Studio Code from the Ubuntu Software Center. Just click on Remove after opening it from the installed tab.
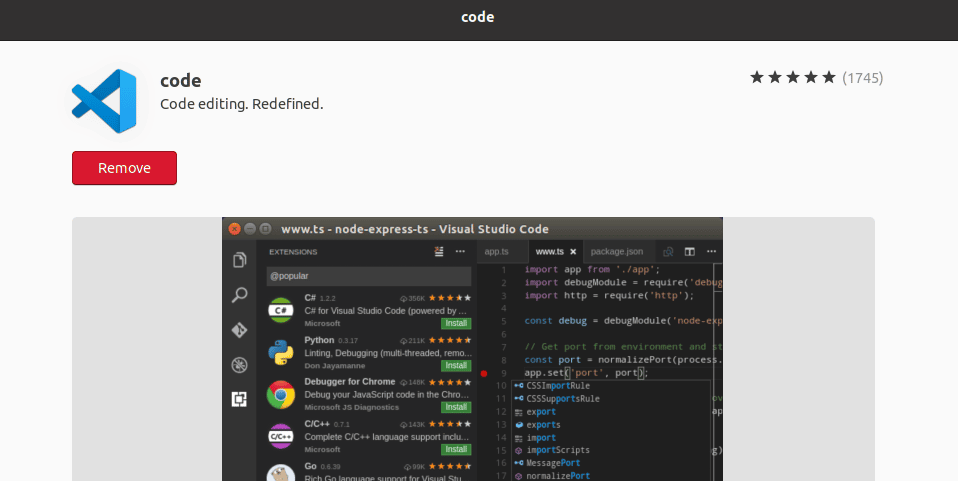
And click on Remove again when prompted.

Start and Configure Your Visual Studio Code
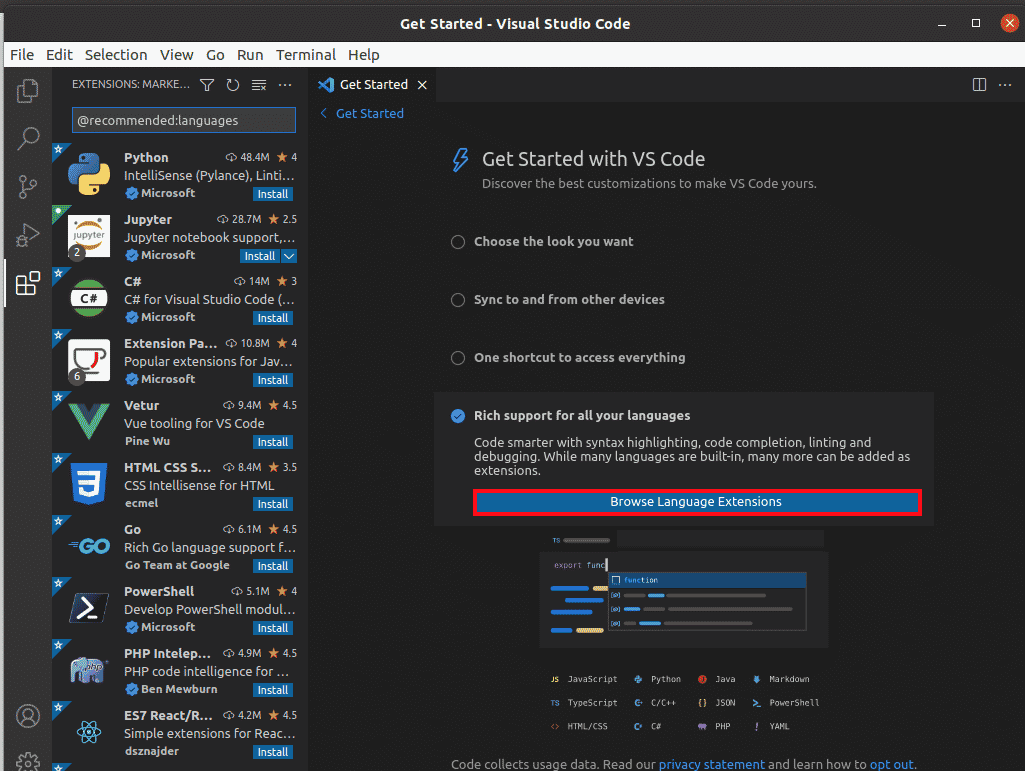
As an IDE, Visual Studio Code provides hundreds of language extensions.
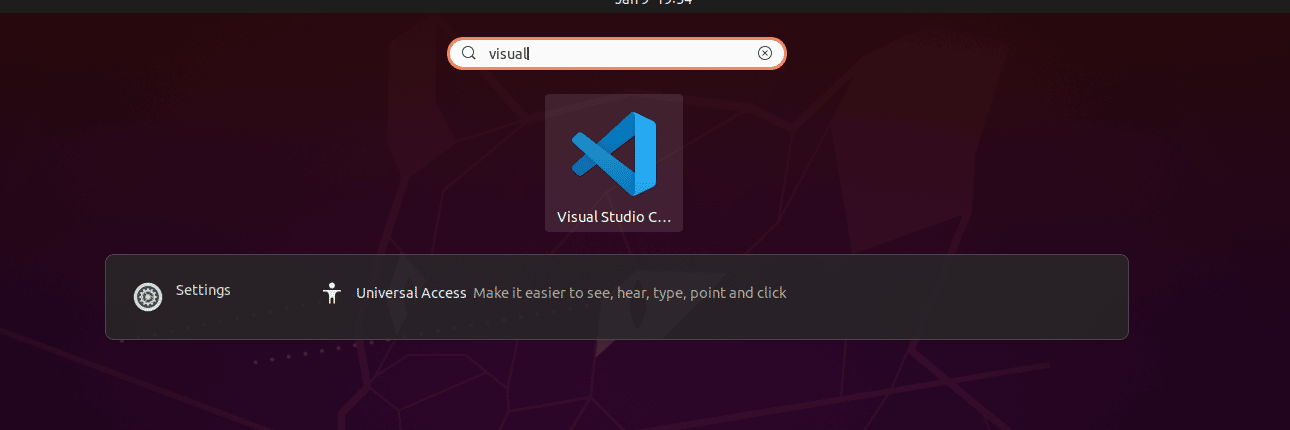
After installation, you can open Visual Studio Code from the applications and start customizing.
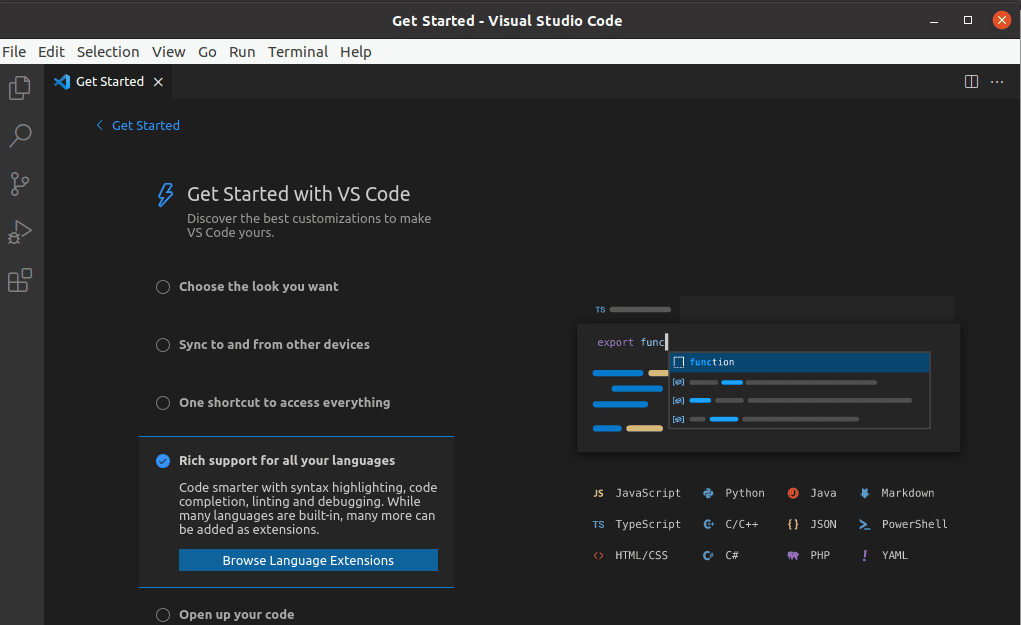
And then install your desired extensions.
Conclusion
Visual Studio Code installation on Ubuntu is an easy process. This tutorial provides numerous methods for installing Visual Studio Code. You may select and choose one that is most convenient for you.
As an Ubuntu user, Visual Studio Code is not your only option for a code editor. There are multiple editors like Sublime Text and Atom available to you. You can try out different editors for the best experience.

