Data is compressed for various reasons, for example, to optimize data storage (on SSD, Cloud, etc.). This optimization of storage space results in faster transfer rates between the storage and cost savings due to larger space availability. The .tar.gz is a popular compressed archive file format for Linux systems. It is a combination of two archive formats (tar and gzip).
This article will describe how to install tar.gz and how to install software from a tar.gz package in Debian 12 (Bookworm) systems.
How to Install tar.gz on Debian 12?
Usually, software is available for download in compressed archives. This article is divided into two sections:
- Install Tar Using Extraction and Compiling Tools
- Installing a Software: Git from a tar.gz Package
We will discuss all these methods in detail in the following sections.
How to Install Tar Using Extraction and Compiling Tools?
To install extraction and compiling tools for tar, the following steps will be followed:
Step 1: Launch Terminal
All applications, system components, and files installed on the system are placed in the Application Launcher. Terminal can be launched by application launcher by pressing the Activities button in the left corner of the screen, then by typing “Terminal” in the search bar and by selecting the Terminal icon.

The following screenshot shows how the Terminal looks like on Debian:

Step 2: Update apt Sources/Packages
It is highly recommended to make sure that all existing packages are up to date before installing any software. This is to avoid dependency issues. We can do that by running the following command as root or user with sudo privileges.

Step 3: Install Extracting and Compiling Tools for Tar
The following command is used to install extracting and compiling tools for tar:

How to Install Software from a tar.gz Package?
In the previous section, extraction and installation tools for tar have been installed. In this section, we will extend by installing the software “Git” from a tar.gz package. In the below steps, we will go through the steps in Git installation:
Step 1: Downloading tar.gz Package (git-2.41.0.tar.gz)
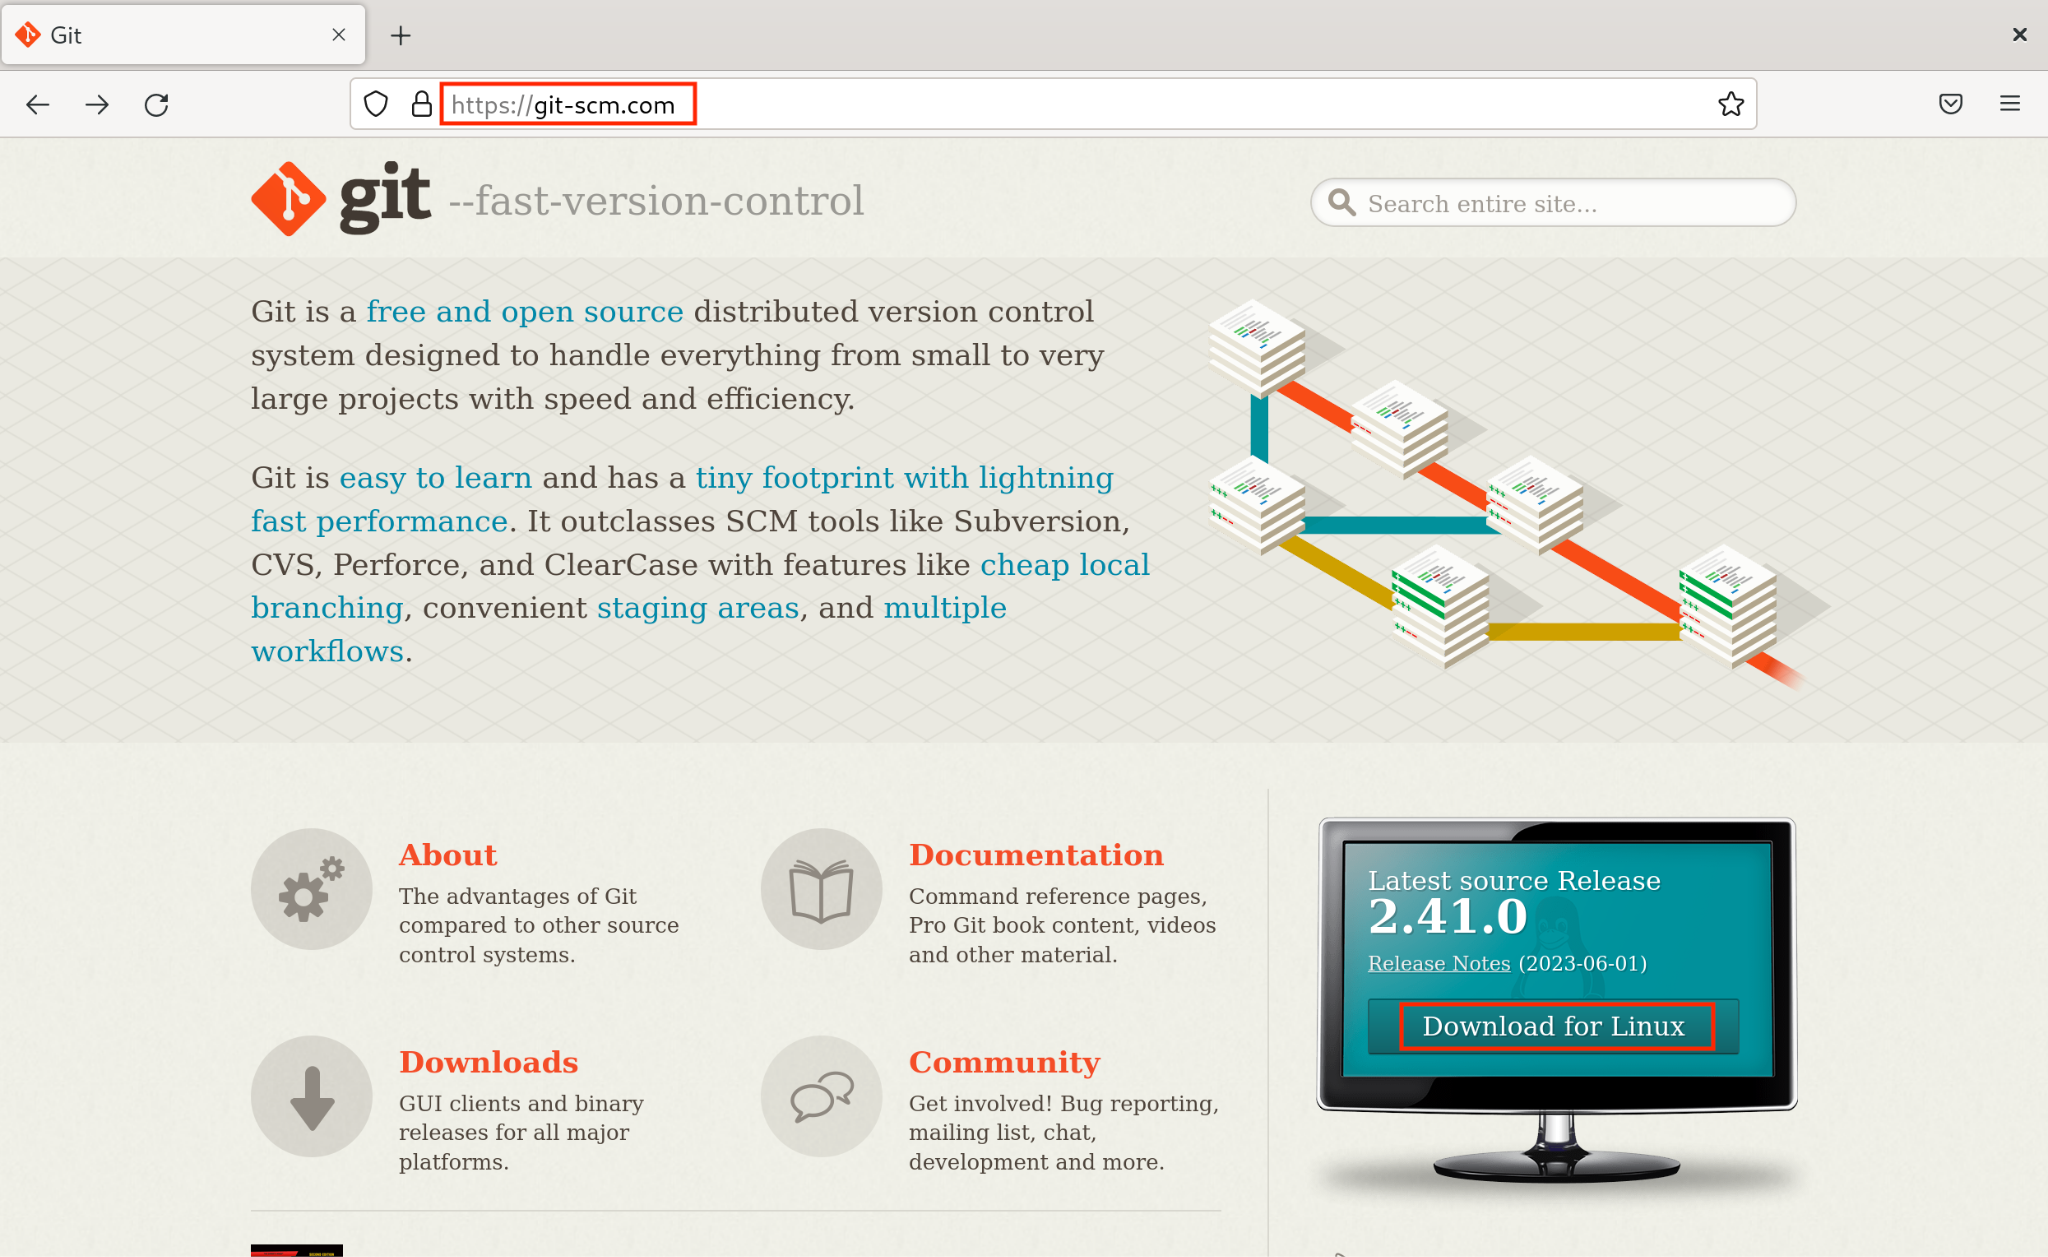
We will first access the Git Website and click on the “Download for Linux” link below:

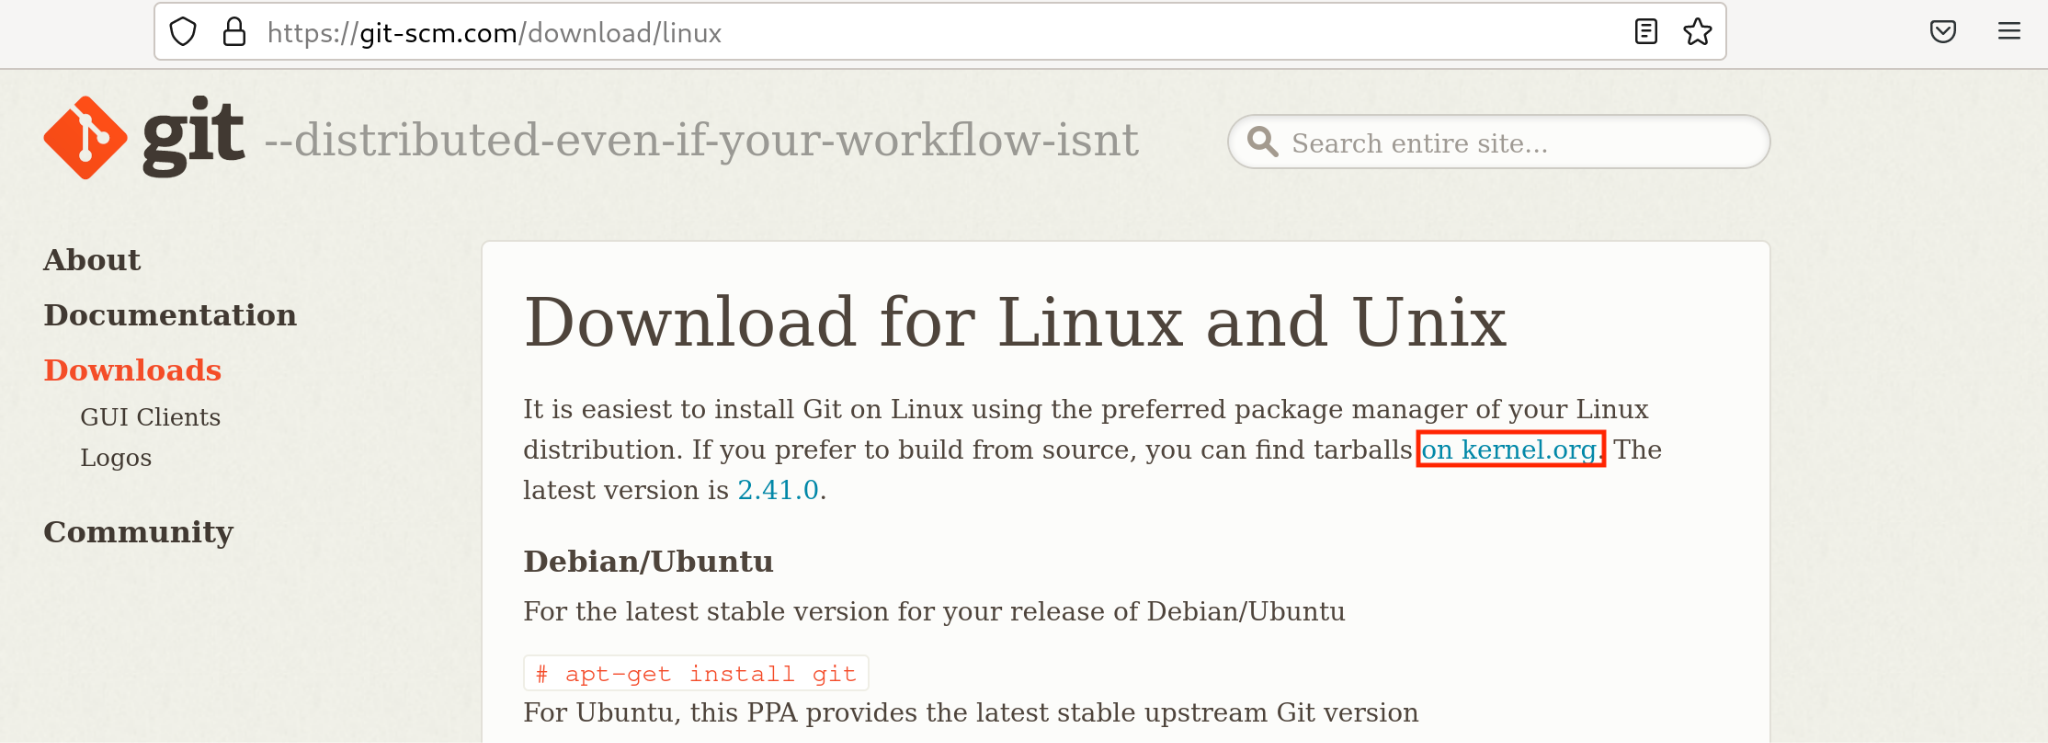
This will redirect to a web page containing information about downloading git for Linux and Unix. We will select “on kernel.org” to access the Tarballs.

This will redirect to a web page containing .tar.gz packages of all earlier versions. We will search for the .tar.gz package for the latest version, i.e., 2.41.0 (release date: 2023.06.01) by using the shortcut key “Ctrl+F” and will download git-2.41.0.tar.gz package:

This package will automatically be downloaded in the “Downloads” folder:

We can verify it by navigating to the Downloads folder using the “cd” command as shown below:

Step 2: Installing Additional Packages
Before proceeding with extraction and installation, we will be required to install additional packages: autoconf, libz-dev, install-info, and asciidoc. We will install these packages one by one by running the following commands:

Press “Y” at the prompt to continue with the installation process. After autoconf is installed, we can proceed with the installation of libz-dev by running the following command:


Press Y at the prompt to continue with the installation process. After the installation of these additional packages is completed, we can proceed with the extraction of the .tar.gz package.
Step 3: Extraction of git-2.41.0.tar.gz Archive Package
We can extract the tar.gz package (git-2.41.0.tar.gz) by running the following command:

From the above screenshot, it can be seen that the git-2.41.0.tar.gz package is extracted to git-2.41.0.
Step 4: Building and Compiling the Source Code
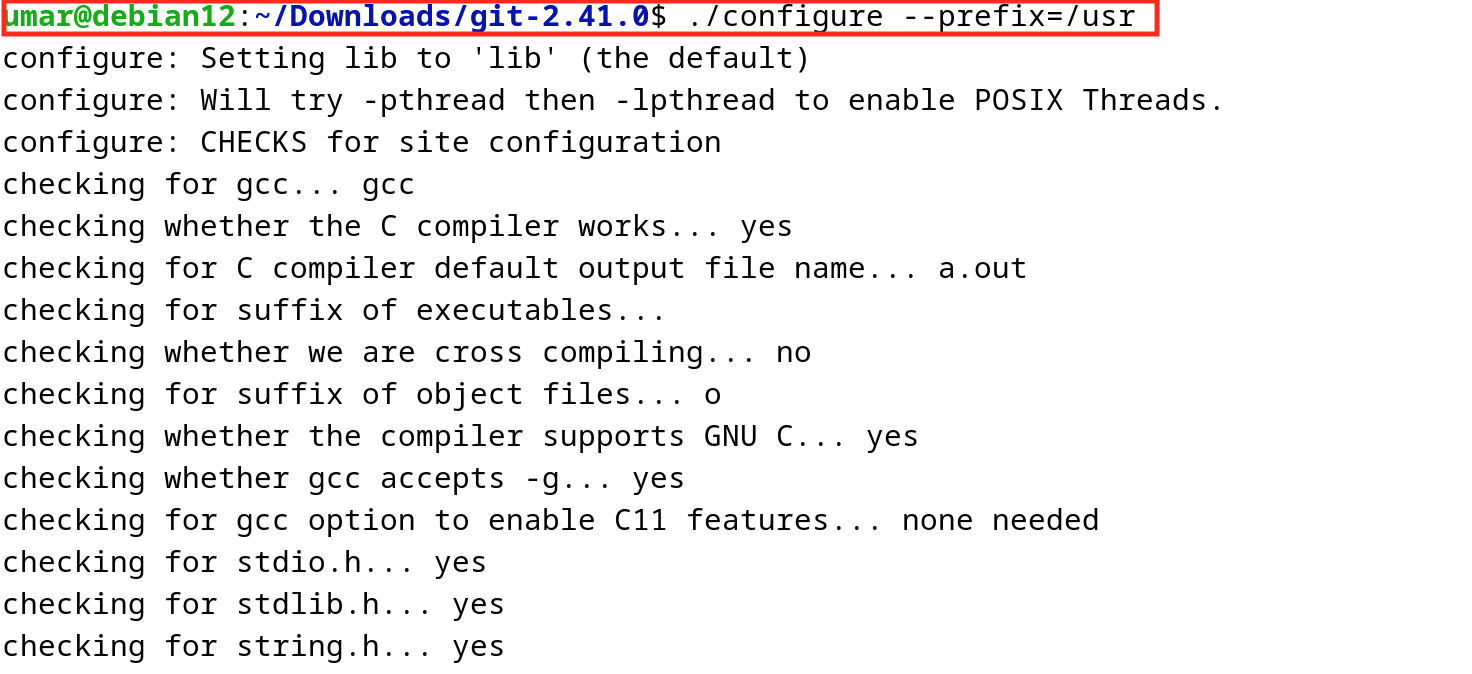
After extraction of the package, we will build and compile the source code. For that, we will navigate to the git-2.41.0 directory using cd and configure by running the commands below:


Step5: Git Installation
We will install git by running the following command:

This will complete the installation process.
Step 6: Verification of Installation
To verify the installation, we can run the following command to check the git version.

Conclusion
To install tar.gz on Debian 12, users can utilize the “sudo apt install tar gzip build-essential” command. To extract the tar.gz package, run the “tar -zxf <file_name>.tar.gz” command. This article has discussed steps to install tar extraction and compilation tools and steps for installation of git from tar.gz compressed archives.


