MySQL is a well-known and open-source relational database management system that is pre-installed on Linux Debian’s repository. MariaDB is available as the default database in Debian 10. Therefore, you need to install the MySQL server with all its dependencies on your Debian 10 system.
In this article, we will give you a demo on how to install the MySQL server on Debian 10.
Prerequisite
You have sudo command access to run the administrative tasks.
The following steps you need to follow to install the MySQL server on your Debian 10 system:
Step 1: Open a terminal
Click on the ‘Activities’ and then enter the terminal in the application search bar. Click on the terminal icon which will be displayed under the search bar:

Step 2: Add or Configure MySQL Repository in Debian 10
For the installation of MySQL, you need to first add the MySQL apt repository to your Debian 10 system. For this purpose, go to the download page of the repository and grab the latest release of the MySQL package by using the below-mentioned wget command:
$ wget http://repo.mysql.com/mysql-apt-config_0.8.13-1_all.deb
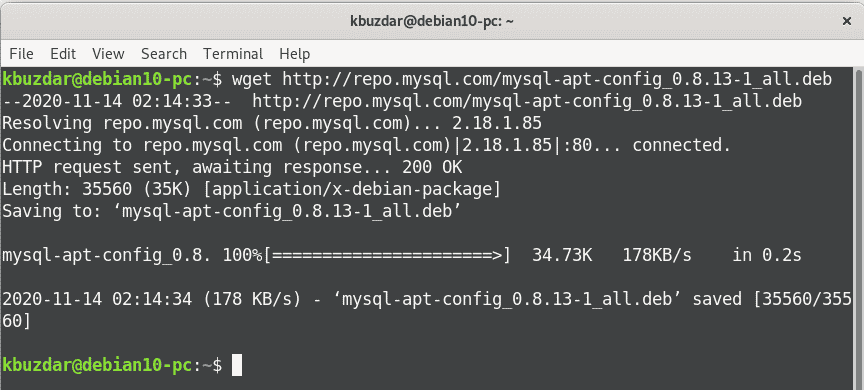
Once the download of the latest release package is completed, install it by executing the following command with sudo privileges:
$ sudo apt install ./mysql-apt-config_0.8.13-1_all.deb

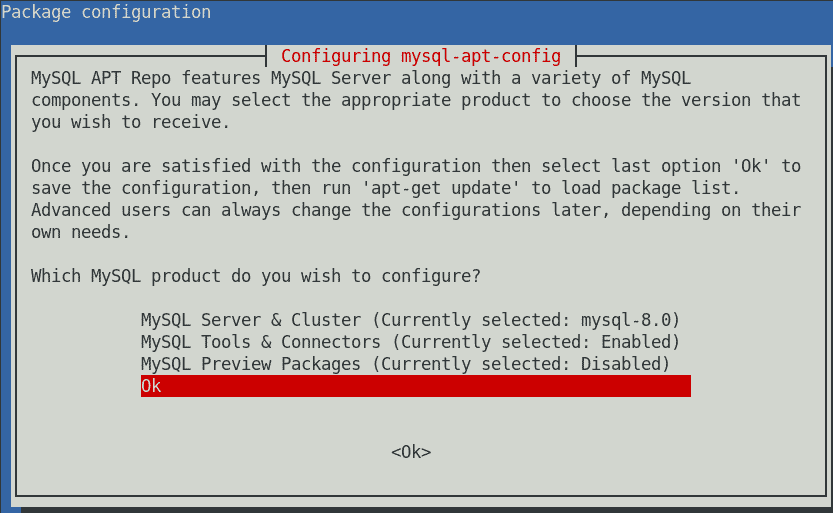
During the installation, the configuration menu will be displayed on the system where you can select the MySQL version that you want to install. Here, MySQL 8.0 is already selected. You can select other versions according to your server requirements. Now, select ‘OK’ by pressing the ‘Tab’ key and hit ‘Enter’ that is also shown in the below-displayed image:
Step 3: Update apt package list
The recommended method is to update the repository packages list before installing any new application on your system. Therefore, update apt packages by using the following command:
$ sudo apt update
Step 4: Install MySQL
After updating the Debian apt repository, you will execute the below-given command to install the MySQL server packages on Debian 10:
$ sudo apt install mysql-server
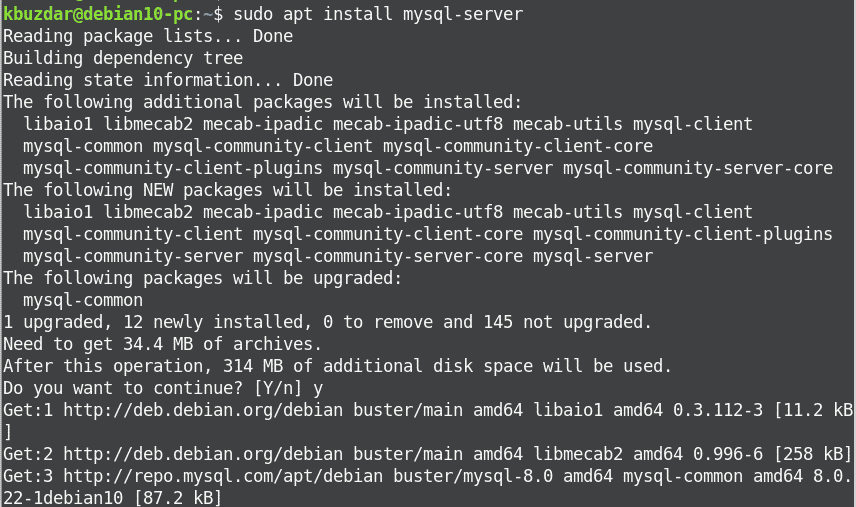
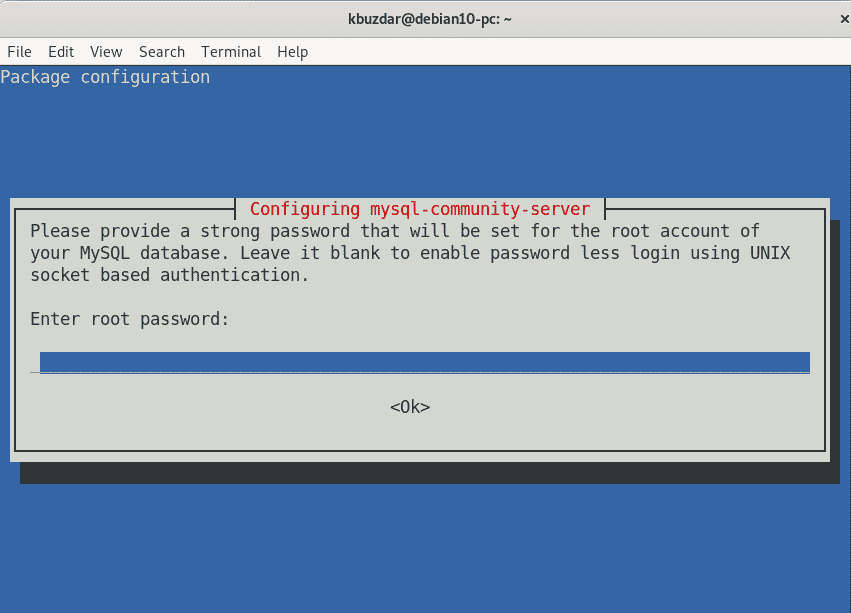
Here, you will be asked to enter the MySQL root user password. Leave it blank that will set further in this article.
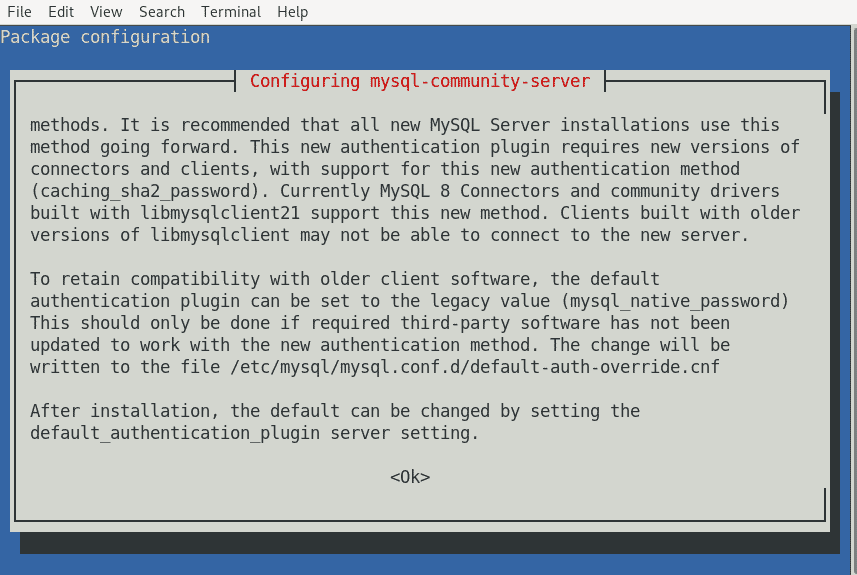
In the next dialog, a message will display on the system in order to inform you about the MySQL 8.0 authentication.
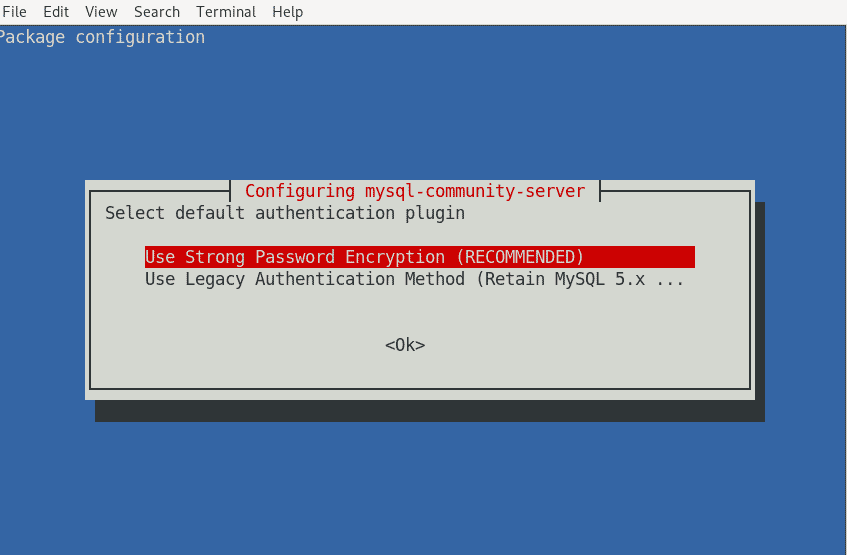
First, make sure that this authentication plugin is supported by your MySQL application, and then select the MySQL 8 authentication plugin.
Step 5: Check Status of MySQL Service
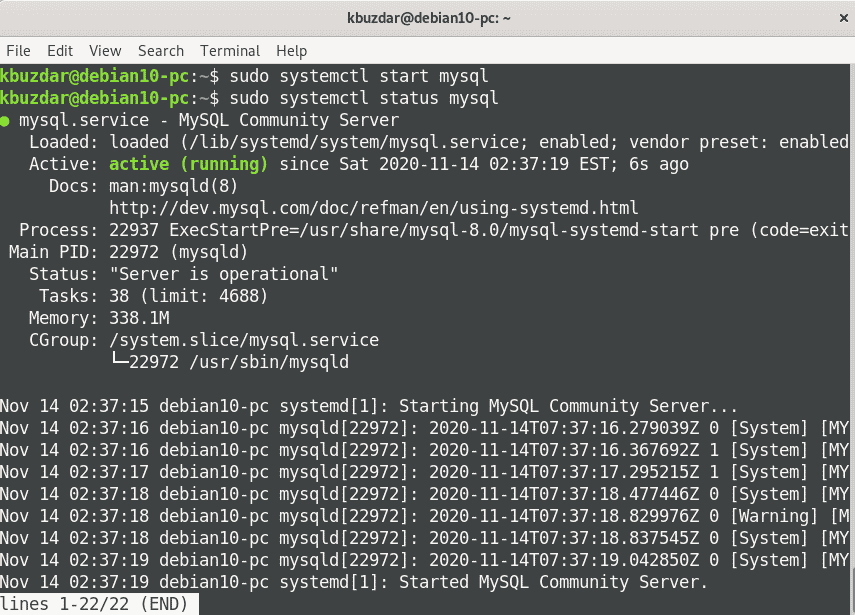
Once the installation process is completed, MySQL services will automatically start on your system. You can check service running status by typing the following command:
$ sudo systemctl status mysql
Step 6: Make secure installation of MySQL
By executing the following command you can make the installation of the MySQL server more secure. Here, you need to set the root account password as follows:
$ sudo mysql_secure_installation
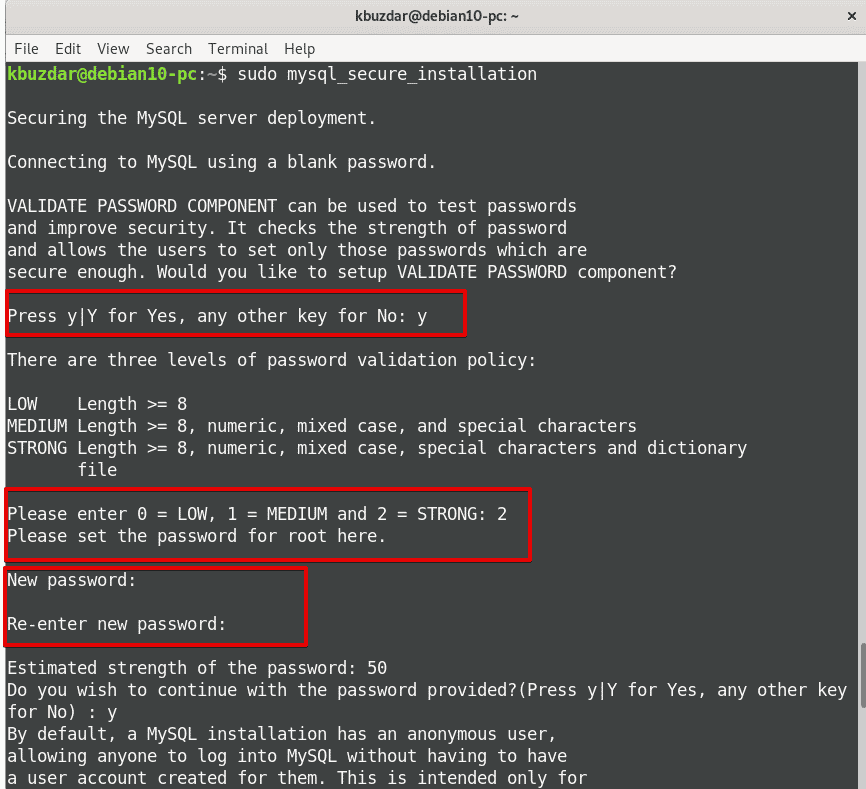
In the next step, you will be prompted to configure the ‘VALIDATE PASSWORD PLUGIN’. This plugin is usually used to test the MySQL user’s password strength. It consists of three levels for password validation: low, medium, and strong. If you don’t want to configure this plugin the hit ‘Enter’.
In the next stage, you will set the root user MySQL account password.
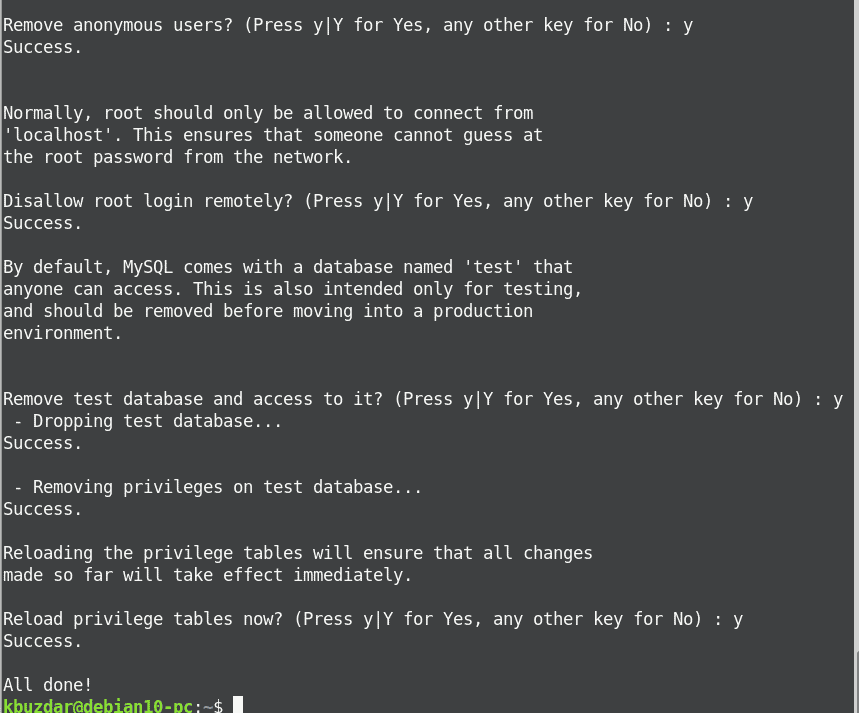
Once you have been entered the root account password, the script will ask you to answer the following questions:
- Are you want to remove the anonymous user?
- Are you want to restrict the of root user access to the local machine?
- Want to remove the test database?
You should be response (yes) press ‘y’ to all questions in order to successfully complete the secure configuration.
Step 7: Connect to the MySQL Server
To work on the MySQL database, a necessary package MySQL client is required that is pre-installed as a dependency of the MySQL server package during the installation process.
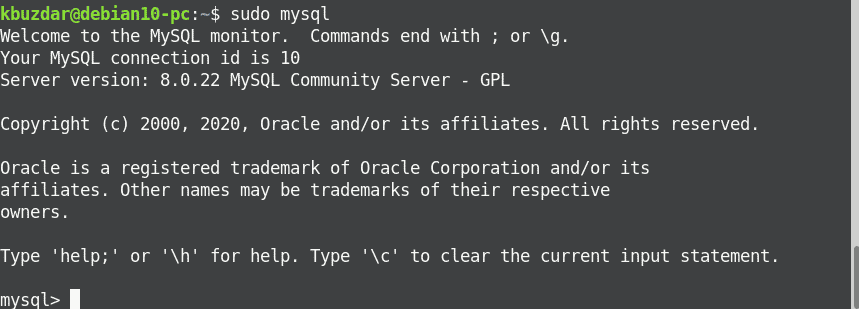
During the installation, if you have selected and installed the default authentication method for root login type then, run the following command:
$ sudo mysql
For legacy authentication method, type the following command on the terminal:
$ mysql -u root -p
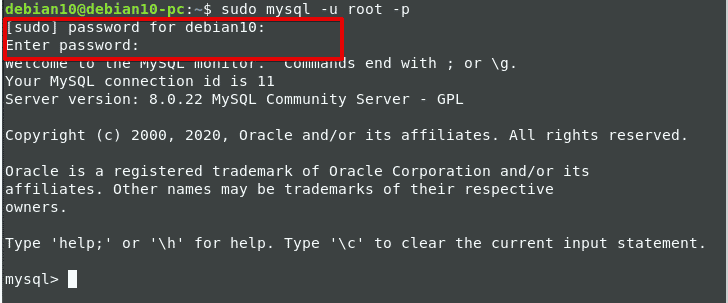
You will be asked to enter the root account password which you have set in the above step mysql_secure_installation. Once you have entered the password, MySQL shell environment will display on the terminal.
Conclusion
In this article, we have given the complete details about how to install MySQL server on Debian 10 Linux system. Moreover, we have also seen how to secure the installation and connect with the MySQL shell. Using the Validate password plugin you can make a more secure database MySQL password authentication.
This post will help you in installing PostgreSQL on Linux Mint 20.


