We all know the famous VLC which is an open-source media player and streaming software. It is developed by the VideoLAN organization and can be installed on various operating systems including Linux, Windows, MAC, Chrome, Android, and iOS. You can read more about this software on their Wiki page.
In this article, we will be focusing on various ways of installing a VLC media player on Ubuntu 20.04 LTS.
Installing VLC media player
Updating system repository
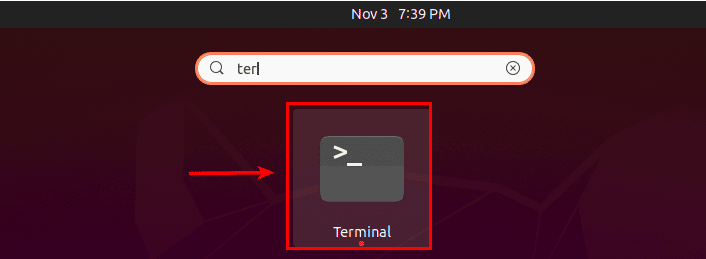
Open Terminal through ‘Applications’ or by using the keyboard shortcut ‘Ctrl+Alt+T’.
Execute the following command to update the system repository. Enter the sudo password and hit ‘y’ when prompted.
Sudo apt update
Installing VLC media player using apt package
Execute the following command on the terminal. Enter sudo password and hit ‘y’ from the keyboard when prompted.
Sudo apt install vlc

The installation may take a moment. Sit back and relax.
Once it is complete, run the following command on the terminal to launch the software.
vlc

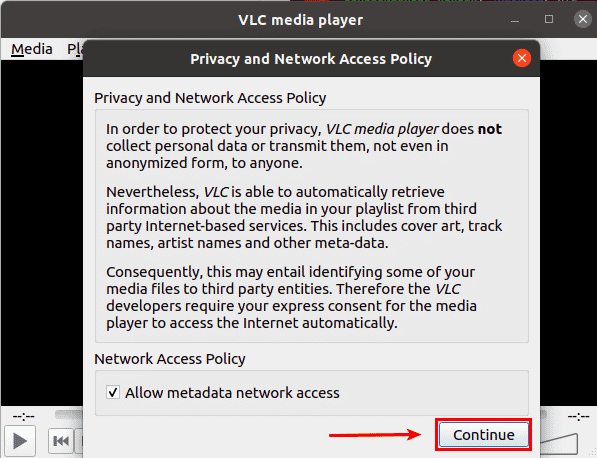
Hit the Continue to accept privacy and network access policy.
Installing VLC media player using snap package
Run the following command in the terminal to install VLC using snap packages. Enter sudo password and hit ‘y’ from the keyboard when you are prompted.
Sudo snap install vlc

The installation should start. If the installation fails, it means you do not have the snap tool installed on your system. In that case, you need to install the snap tool by using the following command and try installing the software again.
Sudo apt install snapd
Launch the software either by typing ‘vlc’ in the terminal or open it through the ‘Applications’ search bar.
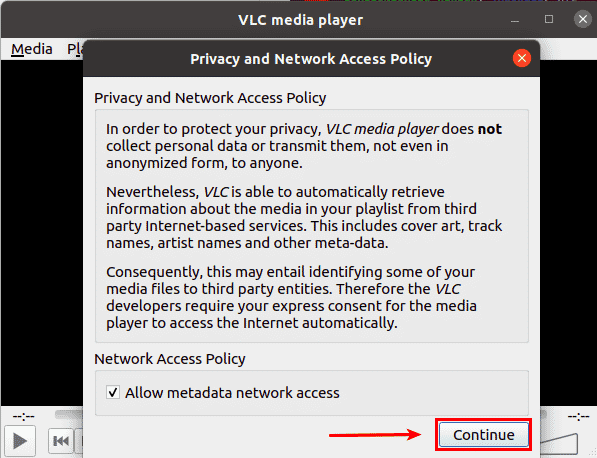
Hit the Continue to accept privacy and network access policy.
Installing VLC media player using Ubuntu software center
Launch ‘Applications’ by clicking on the bottom left icon and search for Ubuntu software in the search bar.
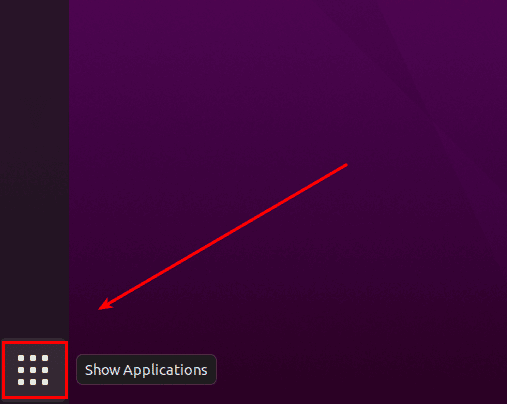
Click on the ‘Ubuntu Software’ icon to launch the Ubuntu Software Center.

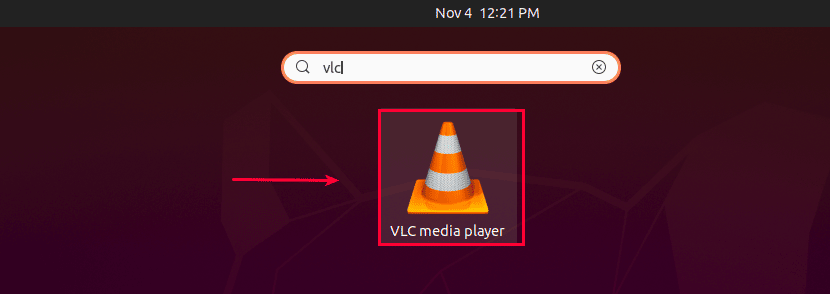
Search for VLC in the Ubuntu Software Center search bar and click its icon when it is found.

Click the install button to install the software.

When you are prompted for authentication, enter your password and click the authenticate button to proceed with the installation.
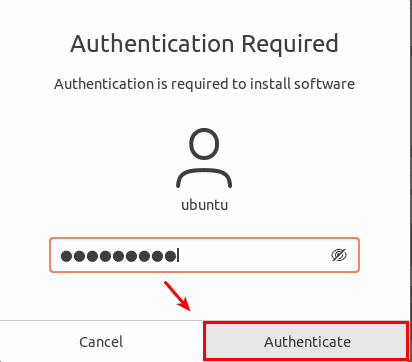
The VLC software is installed, launch it through ‘Applications’ or terminal.
Uninstalling VLC Media Player
This software can be removed from the system by using one of the following ways.
Uninstalling VLC media player using apt package tool
Run the following command on the terminal. Wait for the command to finish the uninstallation.
sudo apt remove vlc
Uninstalling VLC media player using snap package
Run the following command on the terminal. Wait for the command to finish the uninstallation.
Sudo snap remove vlc

Uninstalling VLC media player using Ubuntu software center
Launch Ubuntu Software Center from ‘Applications’. Search for VLC and press its icon when found. Click on the remove button.

You will be prompted to authenticate this removal. Enter your password and press the authenticate button to proceed with the uninstallation.

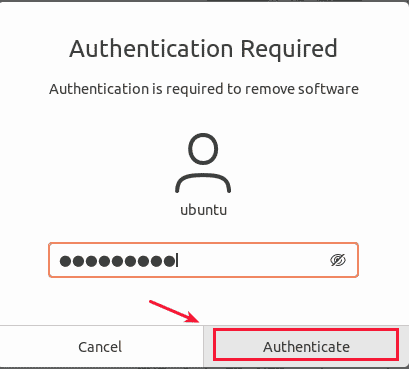
After you authenticate, VLC will start uninstalling.

When software is completely removed from your system, the ubuntu software center will again show the install button.

Conclusion
In this article, we have explained different installation methods for the VLC. We have also seen how we can uninstall this streaming software from the system when it is not needed.
Follow us here if you would like to trim a video in the VLC media player.
Good luck!!
