What is Microsoft Powershell?
Powershell is a cross-platform task automation tool that comprises a command-line shell, a scripting language, and a configuration management framework. PowerShell runs on Windows, Linux, and macOS. Previously, it was known as Windows Powershell. It was made open-source and cross-platform in 2016. Before that, it was made to be used on Windows only.
It is used to
- automate time-consuming tasks,
- automate the management of systems,
- provide network-wide workarounds,
- run a script on multiple devices,
- make the computer system more visible to the user and a lot more.
Today, we will explore how to install Microsoft PowerShell on our machine. The operating system that we have used to install the application on is Manjaro Linux which is a user-friendly, reliable, and efficient distro of the Linux family. Manjaro is an amazing OS for beginners as well as for experts because of its smooth performance and high speed.
Without any further ado, let’s begin the tutorial!
Installation Guide:
Following are the steps that we will follow to install the application on our machine:
Step 1: Clone AUR repository
The very first step is to clone the AUR repository of Snapd packet manager in our system. That can be done by running the command mentioned below:
git clone https://aur.archlinux.org/snapd.git
![]()
This is how the output will appear:

Step 2: Build the cloned package:
Now in this step, we will build the package that we just cloned in the previous step. To do that first go to snapd directory where we cloned the package. Do that by running this command:
cd snapd
![]()
After that run the following command to build the package:
makepkg -si
![]()
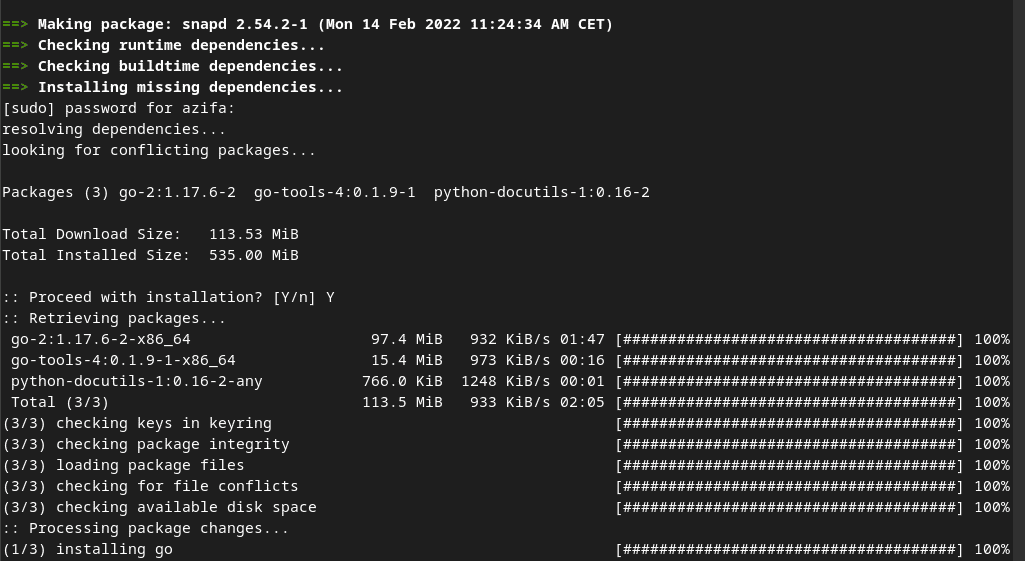
The building process will shortly begin and this is how the terminal will appear:

Step 3: Enable Snapd socket
After building the package, we will enable the snapd socket which is responsible for managing the main snap communication socket. To do that run this command:
sudo systemctl enable --now snapd.socket
![]()
Step 4: Create link between /var/lib/snapd/snap /snap
In this step, we will enable classic snap support by running the command mentioned below. This command will create a symbolic link between /var/lib/snapd/snap /snap.
sudo ln -s /var/lib/snapd/snap /snap
![]()
Step 5: Install Powershell
Now, this is the step where we will finally install Powershell on our system. It can be done by running the following command:
sudo snap install powershell --classic
![]()
The installation will begin shortly after entering the command.
![]()
Once the installation is completed, you will get an output of successful installation like this:
![]()
Step 6: Verify Installation
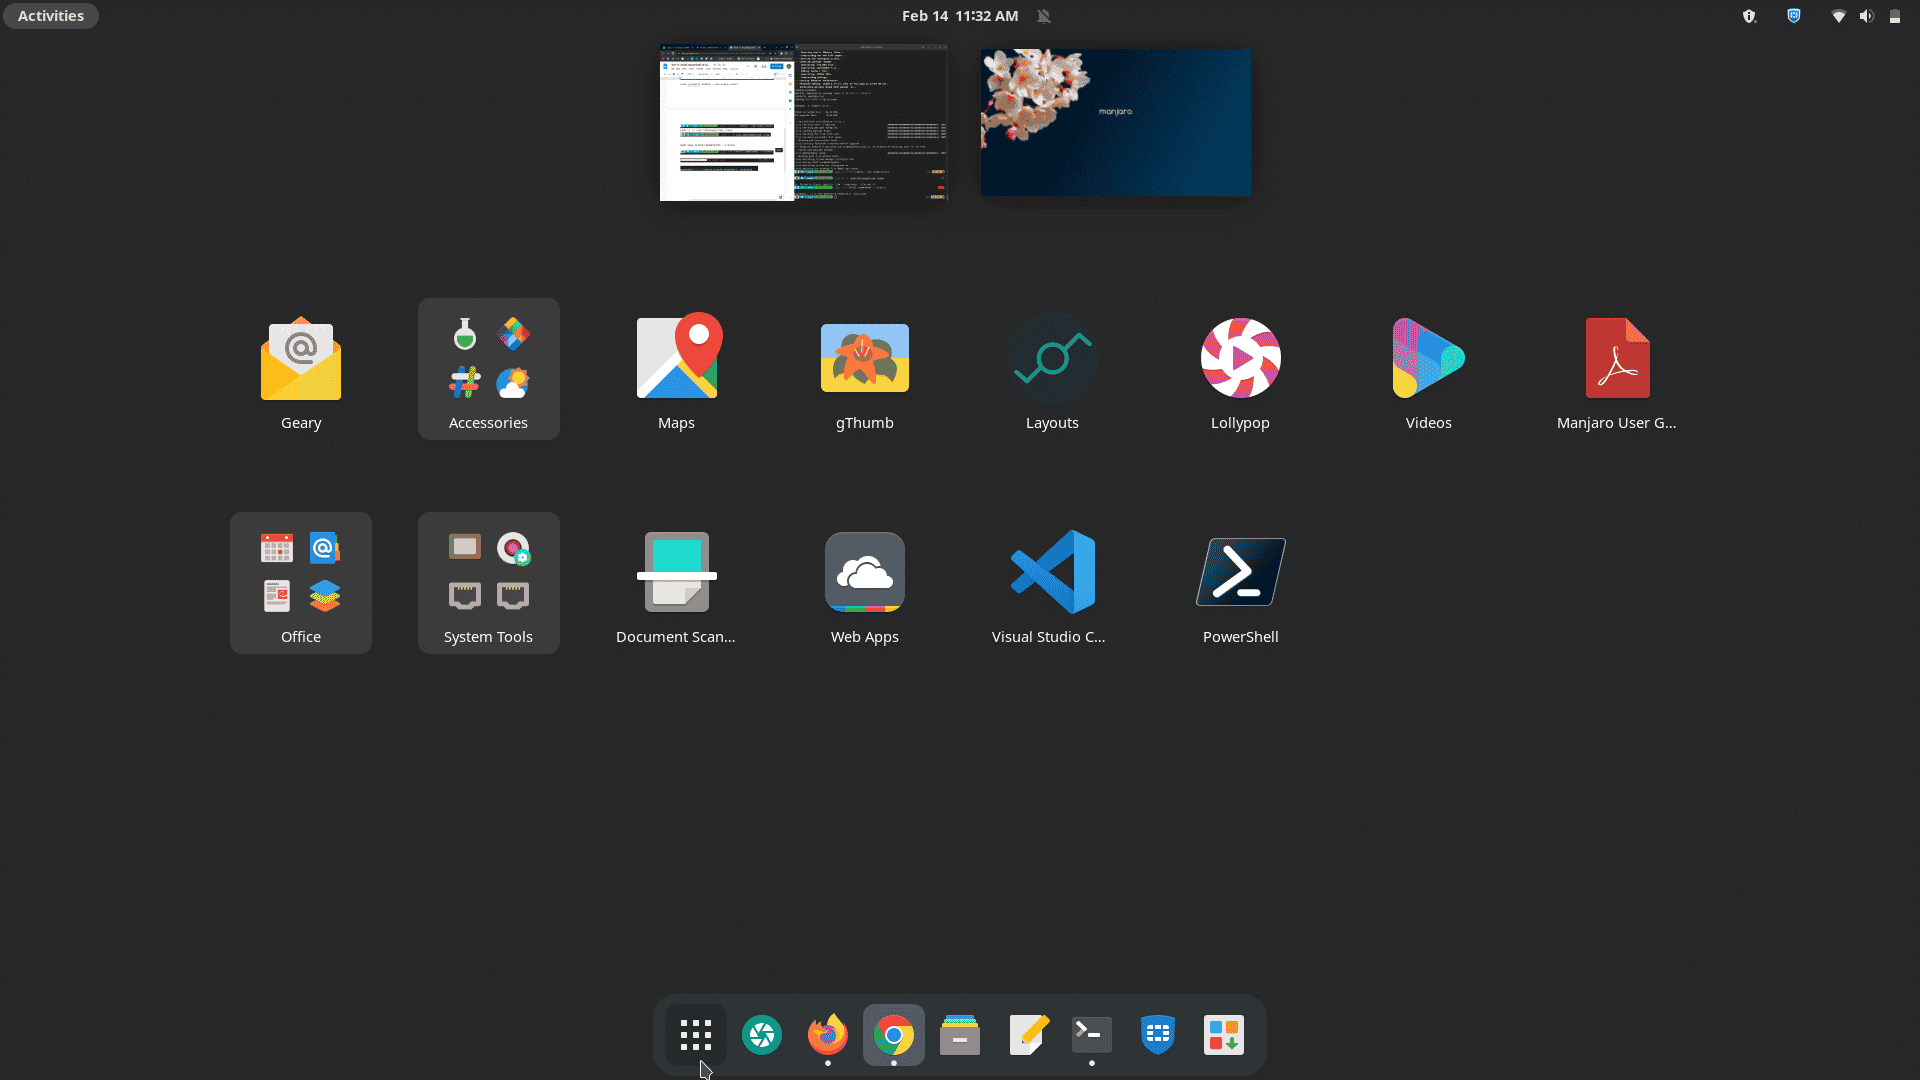
Now we have to verify whether the installation process went smoothly and the application was properly downloaded or not. To do that, we will check if the application exists on our system and are we able to use it.

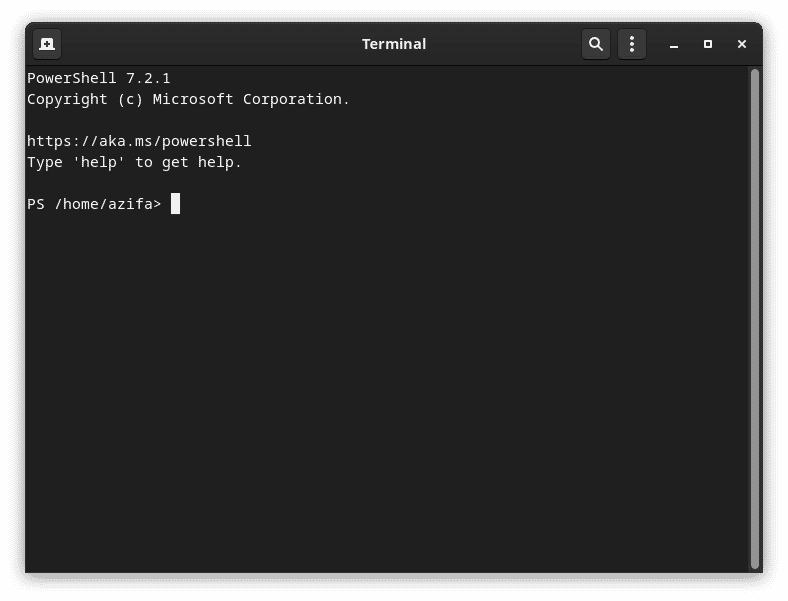
Next, open it to see if it is working fine. This is how it will appear after opening it:

How to uninstall Powershell from Manjaro Linux
Now that we have successfully installed Powershell, let’s also explore how to uninstall it from our system with the help of a simple one-line command. This is the command:
sudo snap remove powershell
![]()
Once removed, you will get a confirmation output as shown above.
In this detailed tutorial, we learned to install Microsoft Powershell on Manjaro Linux with the help of a few easy-to-follow commands. We also got to explore how can we remove the application with the help of just one command in case it is no longer needed. I hope you find this guide helpful.
To see how can you install Microsoft Powershell on Ubuntu 20.04, visit:
https://linuxways.net/ubuntu/how-to-install-microsoft-powershell-on-ubuntu-20-0/


