Visual Studio Code, also colloquially referred to as VS Code, is a free and cross-platform code editor from the Microsoft Company. It’s an extremely popular code editor thanks to its neat and user-friendly UI and a wide selection of features and numerous plugins which extend its functionality. VS Code supports a wide selection of languages such as Python, Java, C, C++, Go, Lua, PHP, JavaScript, TypeScript and so much more. It even supports frontend languages such as HTML, and CSS.
There are two main ways of installing VS Code on Mint 20. Let’s have a look at each of them.
Install Microsoft Visual Studio Code using snap
This is by far the juiciest way of installing VS Code on Mint 20. To get off the ground, launch your terminal and update the package Index on your Mint 20 installation as follows:
$ sudo apt update -y
Once the system is up to date, the next step will be to enable snap on Mint 20 since Mint 20, by default, does not come with snap enabled.
Before you do so, remove the nosnap.pref file.
$ sudo rm /etc/apt/preferences.d/nosnap.pref
Once again, refresh the package index.
$ sudo apt update -y
Next, enable snap on your system. In this case, snap is already installed.
$ sudo apt install snapd

Next, install VS Code using snap as follows.
$ sudo snap install code –classic

With a stable internet connection, this should be a matter of minutes.

To verify that VSCode is installed, check its version as shown.
$ code —-version

Install Visual Studio Code from the Microsoft repository
The second approach to installing VS Code is by enabling the Official repository for VS Code on the system.
We will start off by installing the dependencies as shown.
$ sudo apt install curl software-properties-common apt-transport-https
Next, import the GPG signing key by executing the following commands:
$ curl https://packages.microsoft.com/keys/microsoft.asc | gpg --dearmor > microsoft.gpg
Next, execute the command.
$ sudo install -o root -g root -m 644 microsoft.gpg /etc/apt/trusted.gpg.d/

Next, create a repository file and add the VS Code APT repository. Here, the repository is defined in the vscode.list file inside the /etc/apt/sources.list.d directory.
$ sudo sh -c 'echo "deb [arch=amd64] https://packages.microsoft.com/repos/vscode stable main" > /etc/apt/sources.list.d/vscode.list'

Then sync the new repository by refreshing your Mint system’s package index.
$ sudo apt update
Finally, install VSCode on Mint 20 using APT.
$ sudo apt install code

At this point, VS Code is installed on your Mint system.
Launching Visual Studio Code
Finally, to launch VS Code, execute:
$ code &
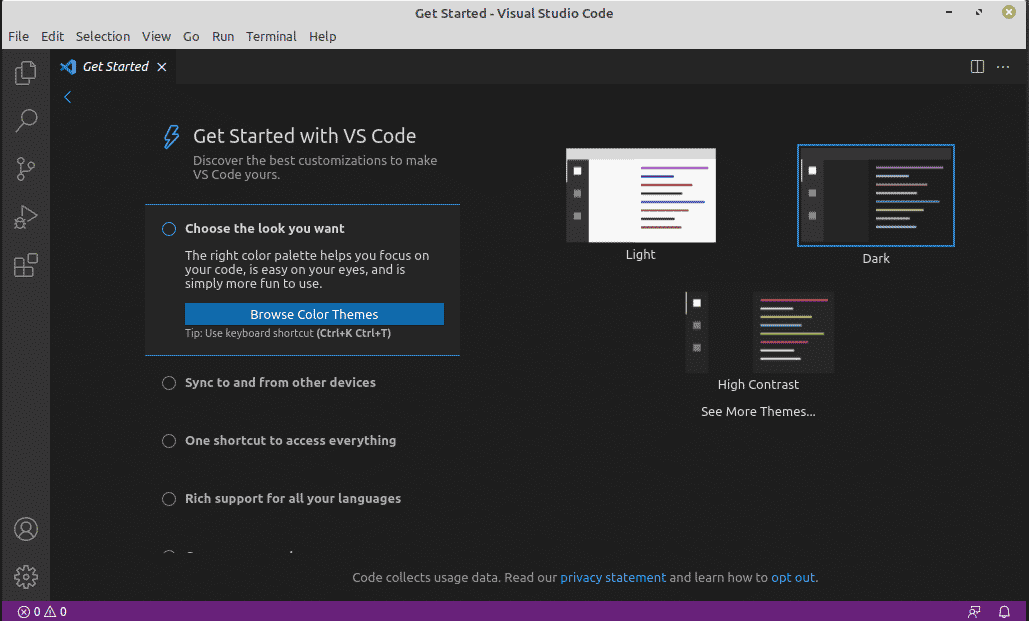
This launches VS Code in the background and still frees up your terminal. Once launched, you can now get started coding your applications or websites.

And this wraps up our guide on the installation of VS Code on Linux Mint 20.


