Introduction:
The “ls” command in Linux is used to list down the contents of the current working directory. “exa” is a replacement of the traditional “ls” command. The main functionality of “exa” is pretty much similar to that of the “ls” command, however, “exa” displays the files and directories in a much more colorful way hence making them all the more visually appealing. In this guide, we will show you the installation method of “exa” on a Linux Mint 20 system since it is not a pre-installed tool of Linux.
Installing “exa” on Linux Mint 20:
To install “exa” on a Linux Mint 20 machine, you need to go through the steps explained below:
Step # 1: Add the Relevant Dependencies to your System:
First, you have to add some relevant dependencies to your system before installing “exa” on it. These dependencies can be installed with the following command:
$ sudo apt-get install libgit2-dev cmake
![]()
Step # 2: Install Rust on your System:
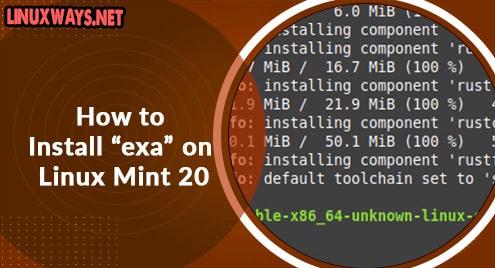
After installing these dependencies to your system, the next thing that you need to do is to install Rust on your system with the command shown below:
$ curl https://sh.rustup.rs –sSf | sh
![]()
Once Rust is successfully installed on your system, you will see the following success message on your screen:

Step # 3: Clone the Relevant Git Repository to your System:
Now, you need to clone the relevant Git repository to your system by running the command stated below:
$ git clone https://github.com/ogham/exa.git
![]()
This process will take a few minutes to complete after which the specified repository will be successfully cloned to your Linux Mint 20 system.

Step # 4: Move to the Target Directory:
Now, you need to move to the target directory so that you can install “exa” on your system. You can simply navigate to that directory by executing the following command:
$ cd exa
![]()
Step # 5: Install “exa” on your System:
After moving to the target directory, you can install “exa” on your system by running the command shown below:
$ sudo make install
![]()
Conclusion:
By following this guide, you will be able to install “exa” on your system and use it as a replacement for the “ls” command in Linux Mint 20. Using this modern tool will simply allow you to visualize your files and directories in Linux in a much better way.

Karim Buzdar holds a degree in telecommunication engineering and holds several sysadmin certifications including CCNA RS, SCP, and ACE. As an IT engineer and technical author, he writes for various websites.


