Introduction:
MariaDB is a free and open-source relational database management system (DBMS) which is considered as a successor and replacement of MySQL DBMS. This DBMS is available for all three major operating systems i.e. Linux, macOS, and Windows. However, today’s article will be focused on the installation of MariaDB on the Linux operating system.
Note: For showing you the process of installation of MariaDB, we have used Linux Mint 20.
Method of Installing MariaDB on Linux:
For having MariaDB installed on your Linux Mint 20 system, the following steps should be performed in the order specified below:
Step # 1: Updating the Linux Mint 20 System’s Cache:
Before installing MariaDB, we need to update our system’s cache which can be done as follows:
Click on the shortcut icon of the terminal present on your taskbar as highlighted in the image shown below:
![]()
The newly launched Linux Mint 20 terminal can also be seen in the following image:

Now you can update your system’s cache with the following command:
sudo apt update
![]()
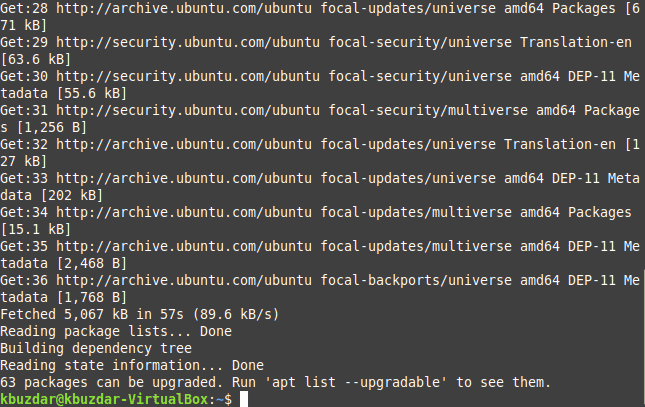
It will take a few seconds for the updating process to complete after which you will be given the control back to run the installation command as shown in the image below:
Step # 2: Installing MariaDB on Linux:
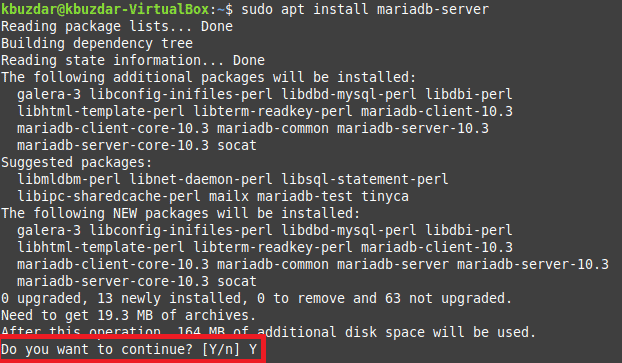
After updating your system, you can install MariaDB on it by running the command stated below:
sudo apt install mariadb-server
![]()
You will be asked to confirm if you want to continue with the installation or not. You need to type “Y” for carrying on as highlighted in the following image:
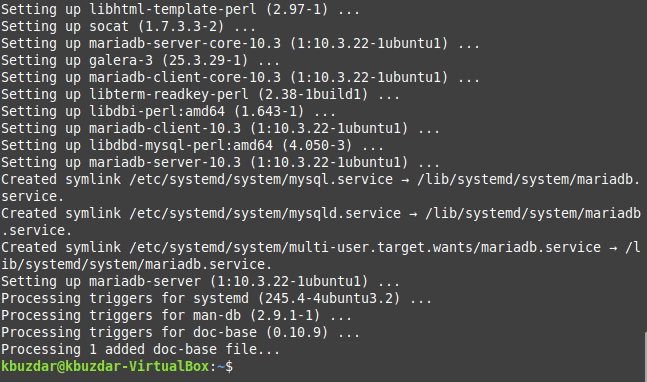
Once MariaDB has been successfully installed on your Linux Mint 20 system, you will be seeing the output shown in the image below:
Step # 3: Verifying the Status of MariaDB:
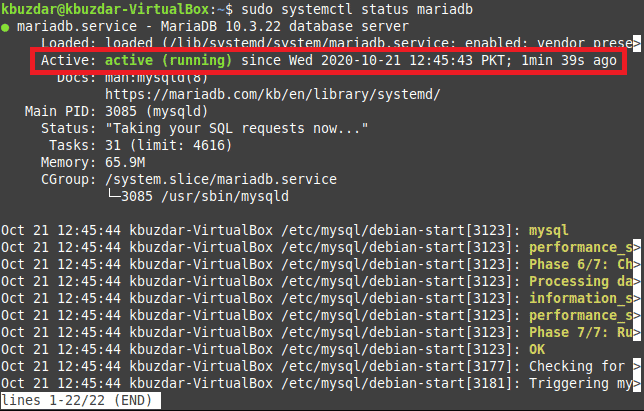
After installing MariaDB, it starts running automatically, however, you can always verify it by checking its status by running the following command:
sudo systemctl status mariadb
![]()
If MariaDB service will be currently running, then you will be able to see the “active (running)” status as highlighted in the image shown below:
Step # 4: Checking the Version of MariaDB:
Additionally, you can also confirm the installation of MariaDB by checking its version by running the following command:
sudo mysql –v
![]()
The version of MariaDB installed on our Linux Mint 20 system is highlighted in the image shown below:

Step # 5: Securing MariaDB:
Up till now, MariaDB has been successfully installed on your Linux Mint 20 system. This step is optional, however, it is recommended that you secure your MariaDB by running the following command:
sudo mysql_secure_installation
![]()
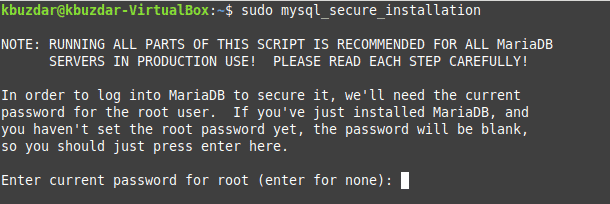
When you will run this command, you will be asked to enter the root password for MariaDB as shown in the image below. Since we have just installed MariaDB and have not set up a password for it yet, therefore, we can simply press the Enter key.
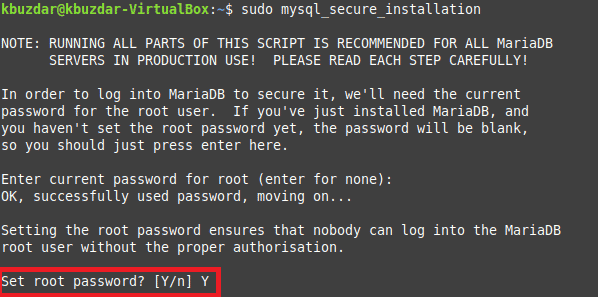
After doing this, we will be asked if we want to set up a password or not. Press “Y” over here for setting up a password as shown in the following image. Then you will be asked to enter a password of your choice.
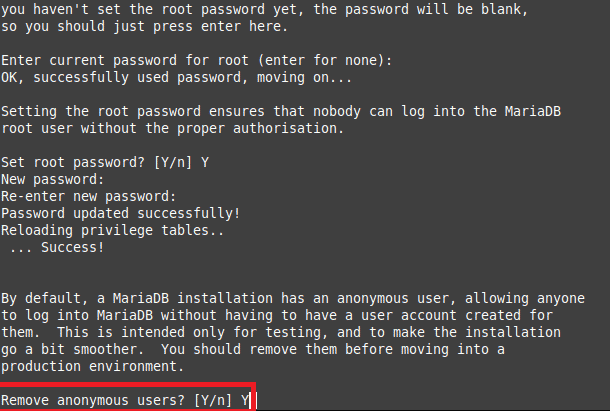
Once your password is set up, you will be asked if you want to remove the anonymous user (a user created by default) or not. It is recommended that you do so by pressing “Y” as highlighted in the image shown below:
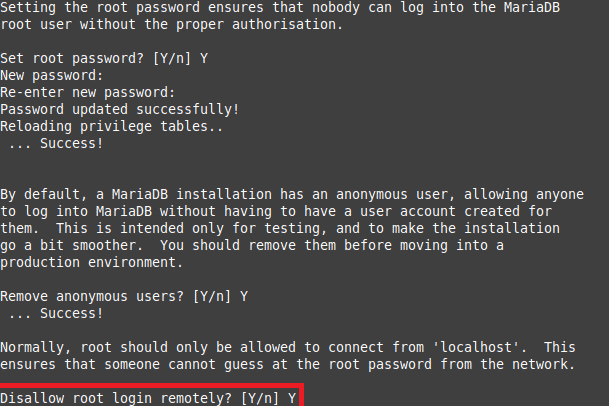
Then you will be asked if you want to disallow the access of MariaDB root remotely or not. You should press “Y” over here for blocking remote access to MariaDB root for security purposes as shown in the following image:
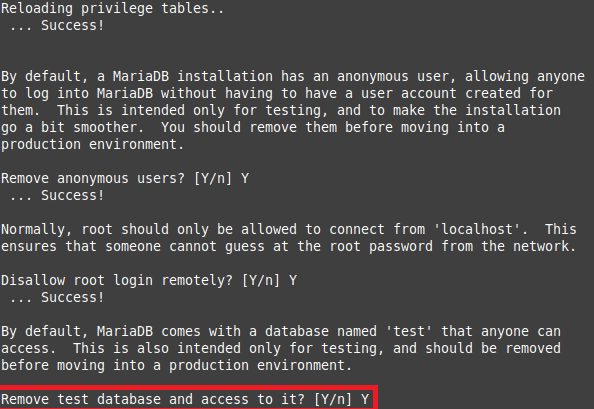
There is also a default test database created which you should remove before using MariaDB. You can remove it by pressing “Y” when asked to remove the test database as shown in the image below:
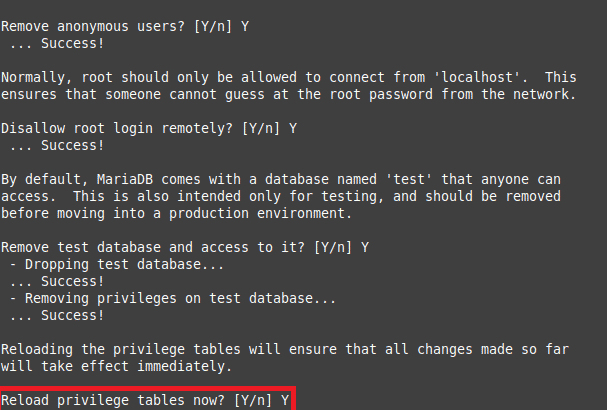
Finally, you will be asked to reload the privilege table by pressing “Y” so that all the changes that you have made so far can take effect as shown in the following image:
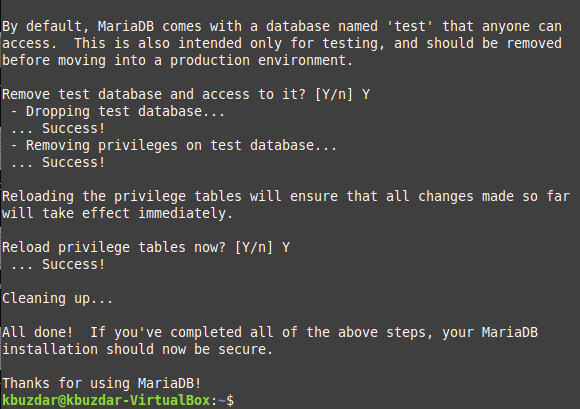
Once the process of securing MariaDB is complete, you will be able to see this output on your terminal:
Step # 6: Connecting to MariaDB:
For connecting to MariaDB, you can run the following command in your terminal:
sudo mysql –u root –p
![]()
After executing this command, you will be asked to enter the root password that you have previously set up. Once you enter that password, you will see the MariaDB shell on your terminal as shown in the image below:

Conclusion:
By following all the steps explained in this article, one can conveniently install, secure, and connect to MariaDB while using Linux Mint 20 within a few minutes. This DBMS can resultantly manage your databases very efficiently.


