Introduction:
Okular is a multi-platform document viewer having PDF editing capabilities. It can be used to visualize and modify professional level documents very conveniently. In this guide, we will learn to install the Okular document viewer on Linux Mint 20.
Method of Installing Okular on Linux Mint 20:
To install Okular on Linux Mint 20, you should follow the steps discussed below:
Step # 1: Ensure the Presence of the Snap Daemon on Linux Mint 20:
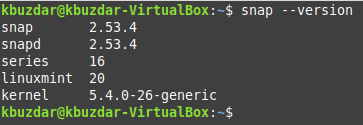
You need to have the Snap Daemon present on your system which you can confirm by executing the following command:
$ snap --version
![]()
The output shown below confirms the presence of the Snap Daemon on Linux Mint 20.

Step # 2: Install Okular on Linux Mint 20:
Now, you can install Okular by running the following command:
$ sudo snap install okular
![]()
The successful installation of Okular on Linux Mint 20 will lead to the display of the message shown in the image below:

Step # 3: Launch Okular on Linux Mint 20:
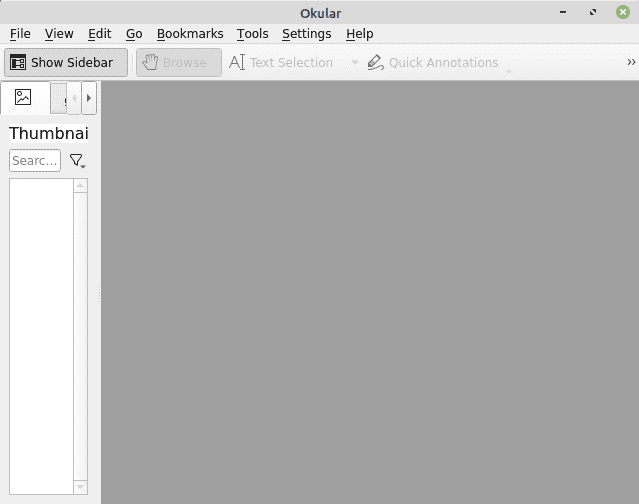
You can launch Okular from Linux the Mint 20 terminal by running the following command:
$ okular
![]()
The Okular PDF editor’s interface is shown in the image below:

Method of Removing Okular from Linux Mint 20:
For uninstalling the Okular PDF editor from Linux Mint 20, you need to execute the following command:
$ sudo snap remove okular
![]()
Conclusion:
This article mainly discussed the method of installing Okular on a Linux Mint 20 system. Moreover, we also showed you the interface of this document viewer in this article. Once you will have Okular installed on your Linux Mint 20 machine, you will be able to edit your PDFs and view any of your documents very conveniently.


