UFW stands for Uncomplicated FireWall — and as the name implies, it makes firewall management very easy. UFW was developed by Canonical and is available by default on all recent Ubuntu versions. In this guide, we are going to install UFW on Red Hat Enterprise Linux (RHEL) 8 through Snaps.
Snaps can be likened to containers for packaging applications with everything that they require to run successfully across multiple Linux distributions. To use snaps, you must install snapd.
Install Snapd
Snapd is a background process that manages snaps. To install snapd on RHEL 8, you would first need to add the Extra Packages for Enterprise Linux (EPEL) repository as follows.
$ sudo dnf install https://dl.fedoraproject.org/pub/epel/epel-release-latest-8.noarch.rpm
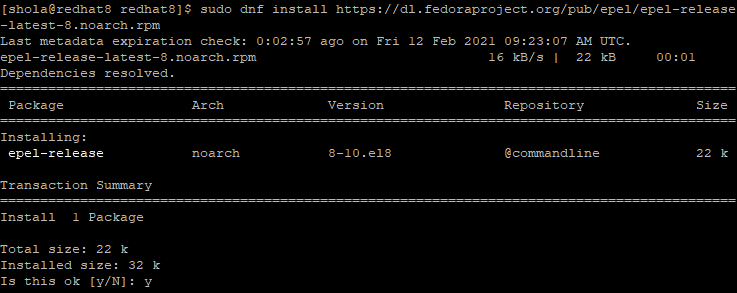
When prompted, enter y to continue. Once the EPEL installation completes successfully, run the next command to update packages to the latest version.
$ sudo dnf upgrade

You may now install snapd as follows.
$ sudo yum install snapd
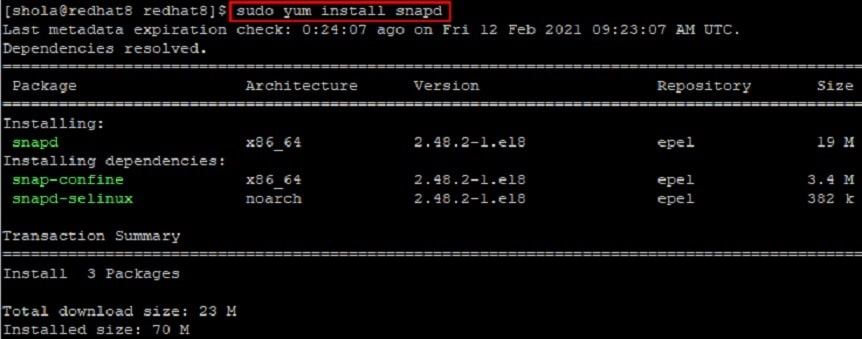
When prompted, enter y to proceed with the installation.
After the snapd installation completes successfully, run the next command to enable snapd.socket which manages snap communications.
$ sudo systemctl enable --now snapd.socket

You should see a message indicating that a symlink was created.
You may now log out and log in again so that snap’s paths can be updated.
Install UFW
The following command will install UFW on RHEL 8.
$ sudo snap install ufw

Once installed, run the next command to check the status of UFW.
$ sudo ufw status
Note: If you get an error saying, “ufw: command not found,” it may be a problem with ufw’s paths. As a workaround, run the command below to create a symbolic link to /var/lib/snapd/snap/bin/ufw from /usr/bin/ufw. After that, try to check the status of ufw again and it should work fine.
$ sudo ln -s /var/lib/snapd/snap/bin/ufw /usr/bin/ufw

To enable UFW and configure it to always start at system boot, run:
$ sudo ufw enable

If your goal is to replace the built-in firewalld in RHEL 8 with UFW, then you may want to disable firewalld by running the following commands.
$ sudo systemctl stop firewalld

$ sudo systemctl disable firewalld

By default, UFW denies all incoming traffic and allows outgoing traffic. However, you can change this default behaviour if you wish. To deny outgoing traffic for example, run:
$ sudo ufw default deny outgoing
Run the next command to list UFW application profiles.
$ sudo ufw app list
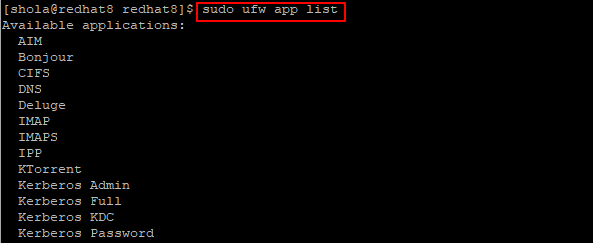
For instance, to deny access to Bonjour, the following command would suffice.
$ sudo ufw deny Bonjour

You could also specify port numbers to allow or deny traffic on as follows.
$ sudo ufw deny 25

$ sudo ufw allow 22

Here’s another example that allows traffic on TCP port 80.
$ sudo ufw allow 80/tcp

After adding your firewall rules, you may run the next command to see detailed information about the status of UFW.
$ sudo ufw status verbose
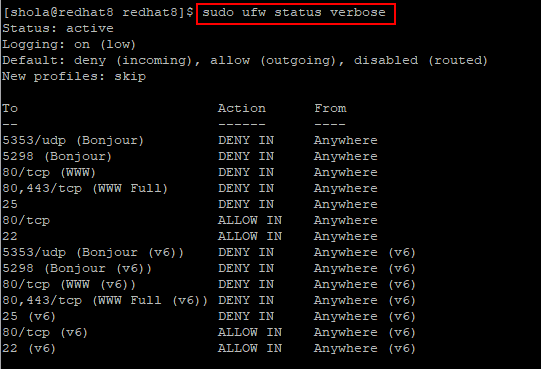
To view additional usage information for UFW, run:
$ ufw --help
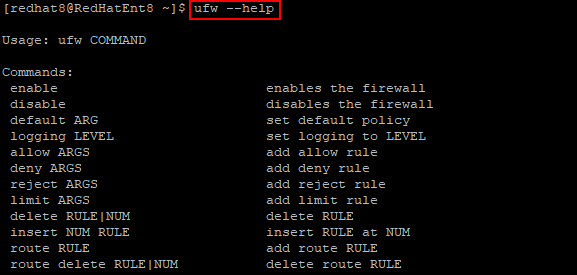
You could also review the official UFW manual pages at the following link.
http://manpages.ubuntu.com/manpages/hirsute/en/man8/ufw.8.html
Conclusion
As you have seen, getting started with UFW on Red Hat Enterprise Linux 8 is not difficult. UFW may not be intended to provide complete firewall functionality, but it does provide an easy way to create and manage simple firewall rules. Share your thoughts with us.
