In today’s world, every organization and individual has to manage a lot of passwords and other credentials. It’s not possible for anyone to remember all that confidential information. So, in order to address this problem, there are many tools available most of them are paid while some are available as an Open Source. Among all other tools, TeamPass is one of the best most useful open-source software to manage all your credentials within your Organization.
Teampass is a Collaborative Passwords Manager to organize the password items into structured way of folders. It is associated with access rights given to dedicated users and groups. Teampass can be installed on Linux as well as on Windows but in this article, we are going to show you the installation steps on Linux using Ubuntu 20.04 LTS.
Let’s follow the steps below to set up this open-source tool on your system.
Prerequisites:
Before moving to the installation steps, make your server accessible and up to date. Login with a user having sufficient rights to perform system tasks.
Step 1: LAMP (Linux, Apache, MySQL, PHP) Setup
TeamPass is a web application that requires a web server and database server to support the application setup. So, our first step is to install and setup the LAMP stack that you can do by following our detailed article on LAMP stack setup. https://linuxways.net/debian/how-to-install-linux-apache-mariadb-php-lamp-stack-on-debian-10/
Or use the commands below to install Apache, MariaDB, and PHP 7.4 on your system.
# apt-get install apache2 apache2-utils mariadb-server mariadb-client php7.4 libapache2-mod-php7.4 php7.4-mysql php-common php7.4-cli php7.4-common php7.4-json php7.4-opcache php7.4-readline php7.4-bcmath php7.4-curl php7.4-fpm php7.4-gd php7.4-xml php7.4-mbstring -y
Once the required packages are installed, make sure to start the services and enable them to auto-restart at the time of reboot.
# systemctl start apache2
# systemctl start mariadb
Step 2: Database Setup for TeamPass
After installing the apache and database packages, let us run the command below to secure your database first.
# mysql_secure_installation
Reload privilege tables and create new database using the mysql root user using commands below.
# mysql -u root -p
> create database teampass;
> grant all privileges on teampass.* to teampass@localhost identified by "admin123";

> flush privileges;

> exit;
Step 3: Apache Web Setup for TeamPass
As we already have an apache web service up and running, now we are going to configure that for the TeamPass.
First, we will get the installation package of teampass from its github repository and place that into the document root directory of our web server using the commands below.
# cd /var/www/html/
# git clone https://github.com/nilsteampassnet/TeamPass.git
After getting the teampass packages, set the ownership to www-data and update the permissions as 775 to its directory.
# chown -R www-data:www-data TeamPass/
# chmod -R 775 /var/www/html/TeamPass/

We also need to update the execution time limit of PHP in php.ini file using any editor.
# vim /etc/php/7.4/apache2/php.ini
max_execution_time = 60

:wq!
Save and quit the file.
Step 4: TeamPass Installation Setup
At this point, we are ready to start the installation process of TeamPass by accessing the FQDN or IP of server followed by the teampass folder path as shown.
http://test.com/TeamPass
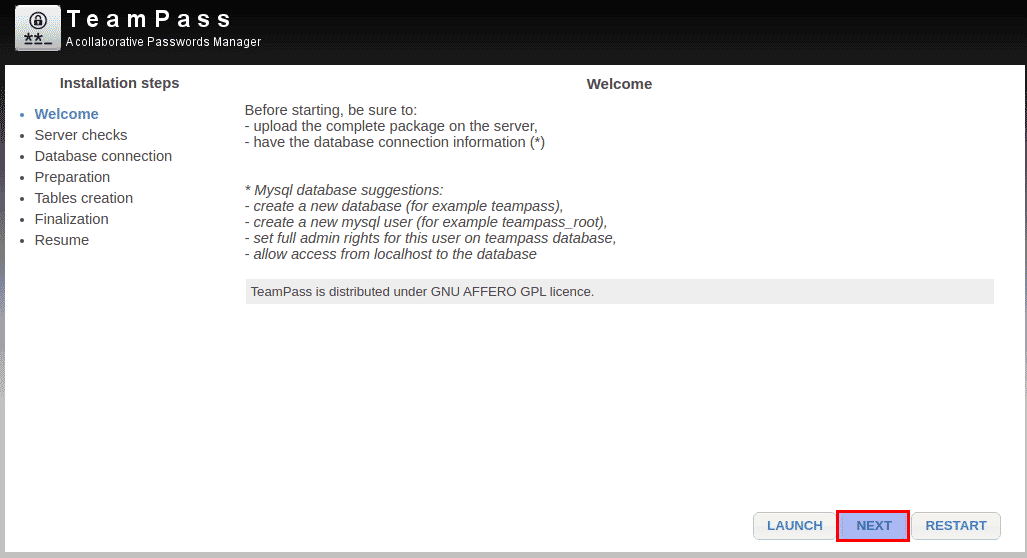
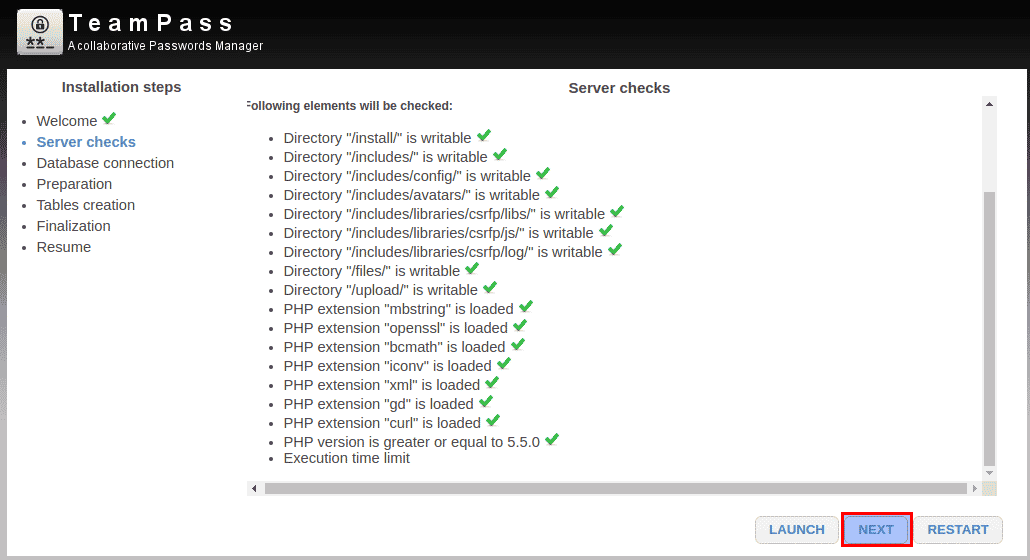
Once you get the welcome page, click Next to proceed with the Server checks option by applying the Launch button. When all the checkmarks are successful, click the next button.
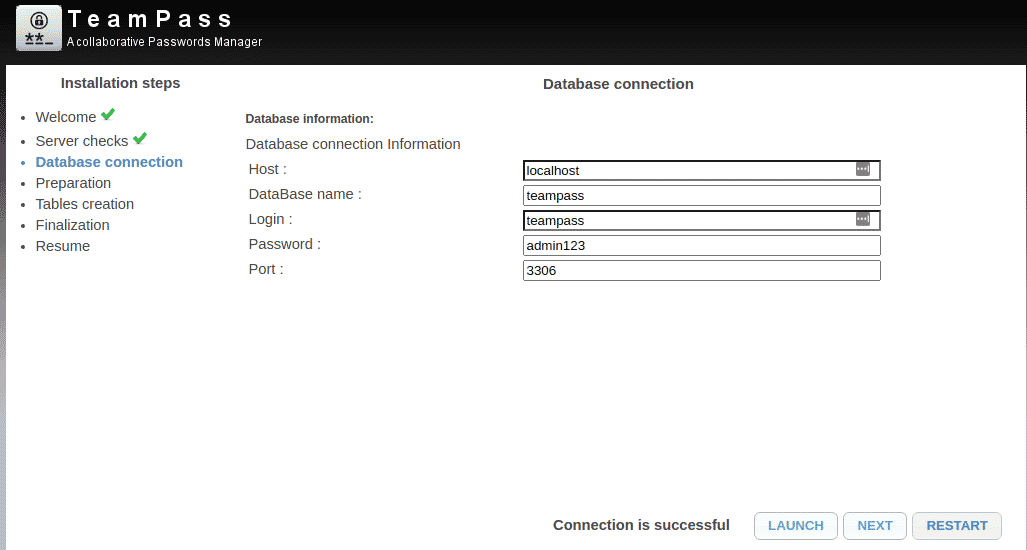
Next, we need to give the database connection details to see if it’s successful or not.
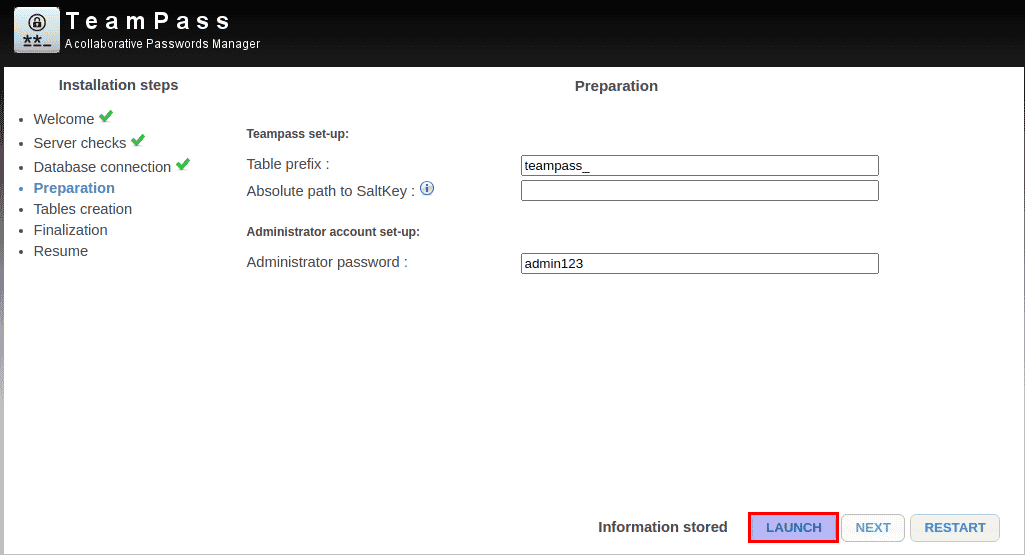
After that choose the teampass table prefix, and give the teampass administrator account password of your choice.
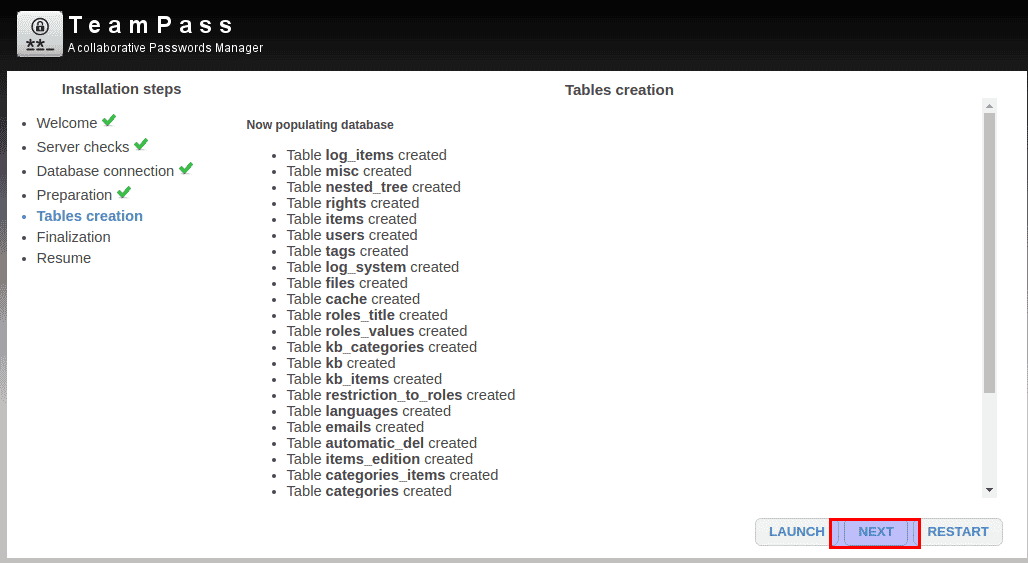
In the next next, it will populate the data into the database, as shown in the image below.
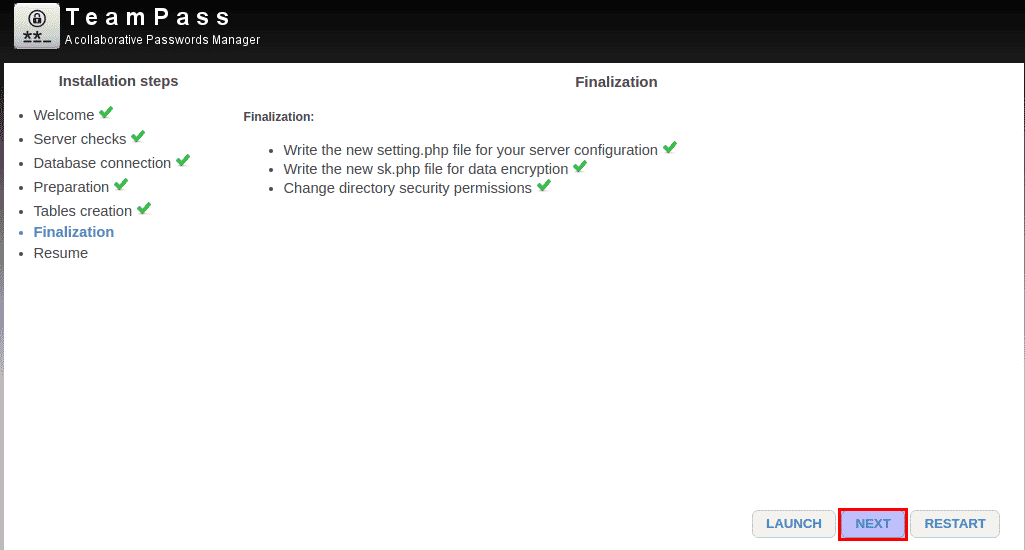
Now, we are at the finalization step to perform the following tasks.
- Write the new setting.php file for your server configuration
- Write the new sk.php file for data encryption
- Change directory security permissions
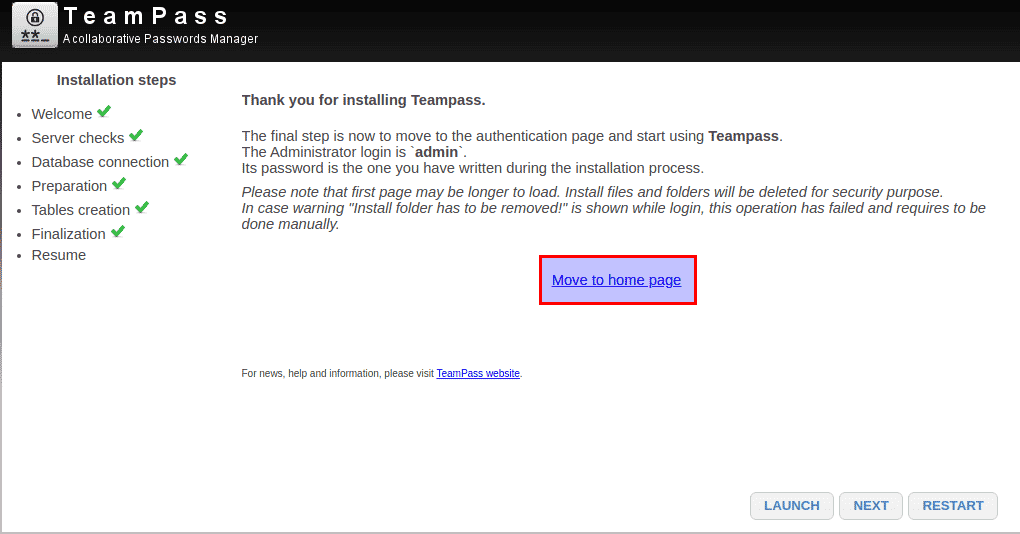
Next, the final step is the authentication to start using Teampass using the Administrator login as `admin` and the password that we have written during the installation process.
Step 5: Using TeamPass Administration Console
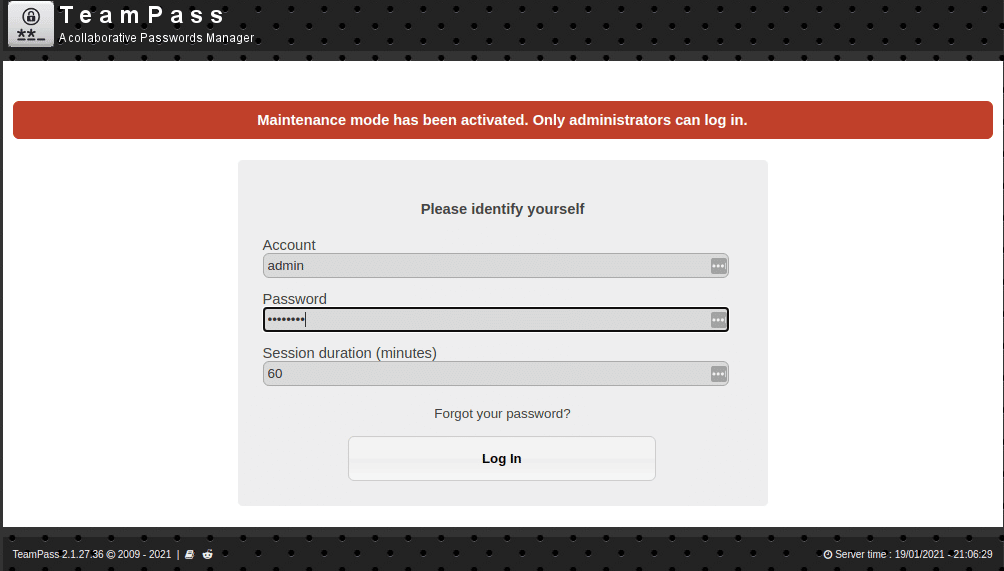
After the installation setup, we are ready to start using TeamPass. Let’s login with your admin credentials to its Administrator account.
Upon successful login attempt, you will get the administration web interface as shown below, where you will be able to create the new users, users roles, and folders.
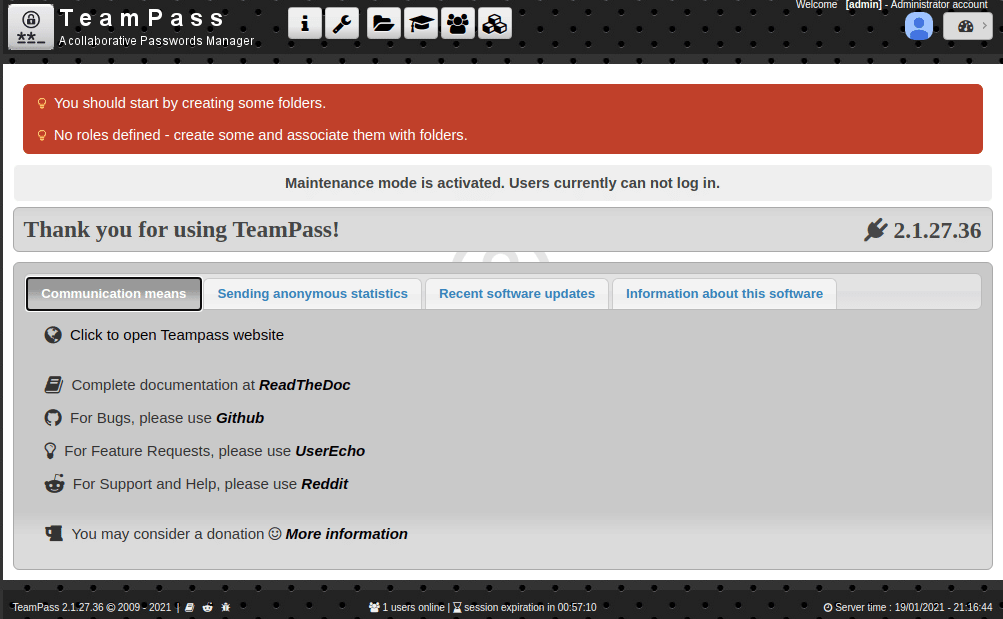
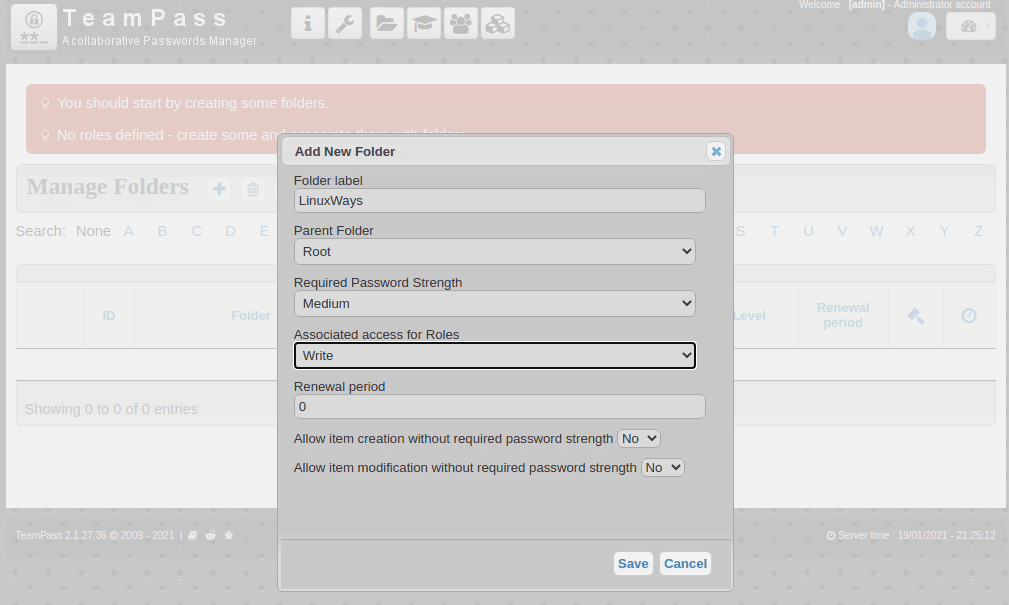
Let’s start creating a new folder from the top administration bar, give a name choose the parent folder, password strength, and access to roles.
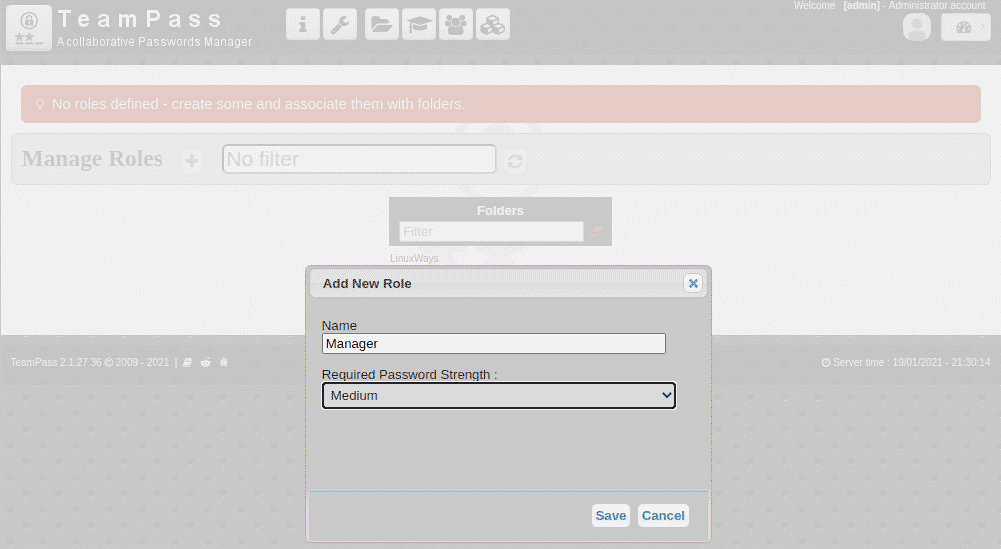
Next, you can create multiple roles as per your requirements, where you can assign specific folder rights to a particular role group of users.
Now create a new user and assign it the newly created role as shown.
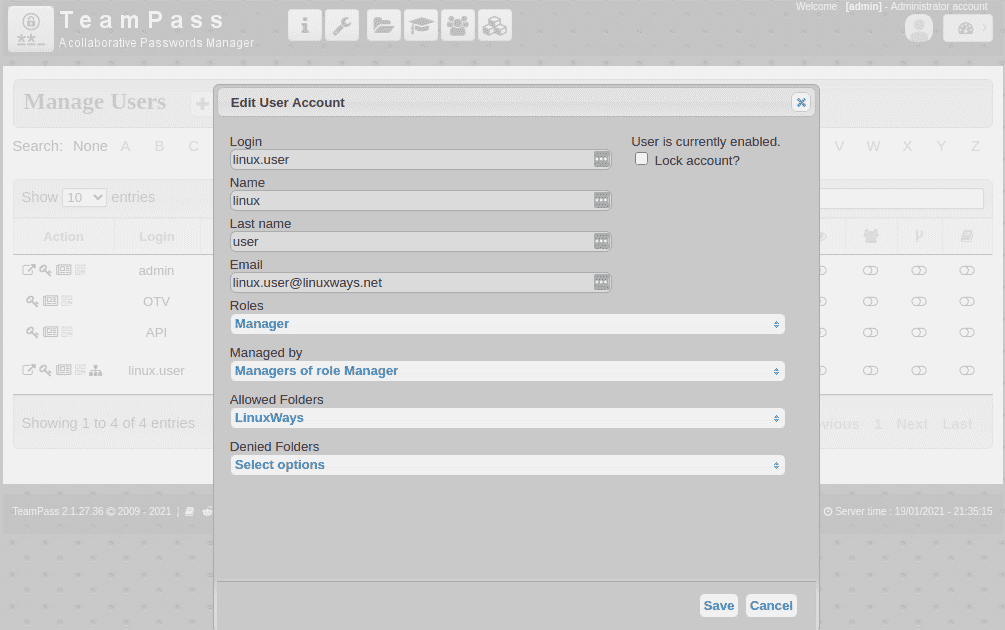
So, these are the main key features available in teampass on the basis of what we do manage the administration side of TeamPass. In order to manage and provide the desired rights, we can create multiple users roles and manage their access to specific folders.
Step 6: Using TeamPass User Console
TeamPass comes with two web interfaces, one to administer it that we have seen in the previous step and the other is its users end. So, we are going to login using the newly created user.
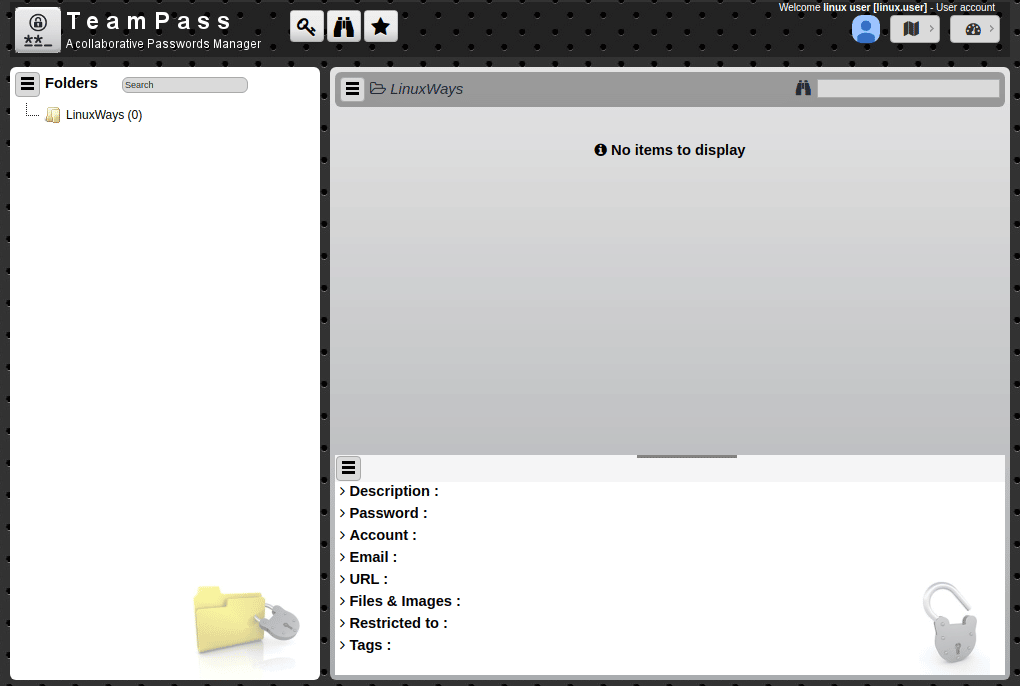
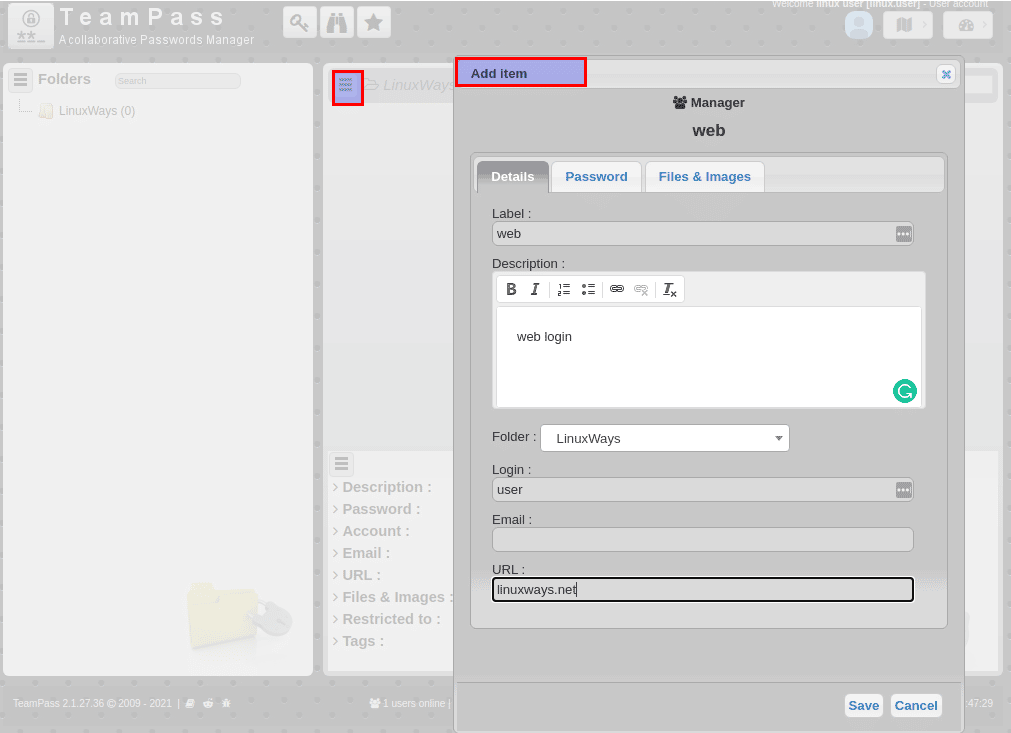
Upon successful login let’s see how we can add and manage new credentials.
In order to store any new set of credentials, click to add a new item, put the relevant information and click on the Save button.
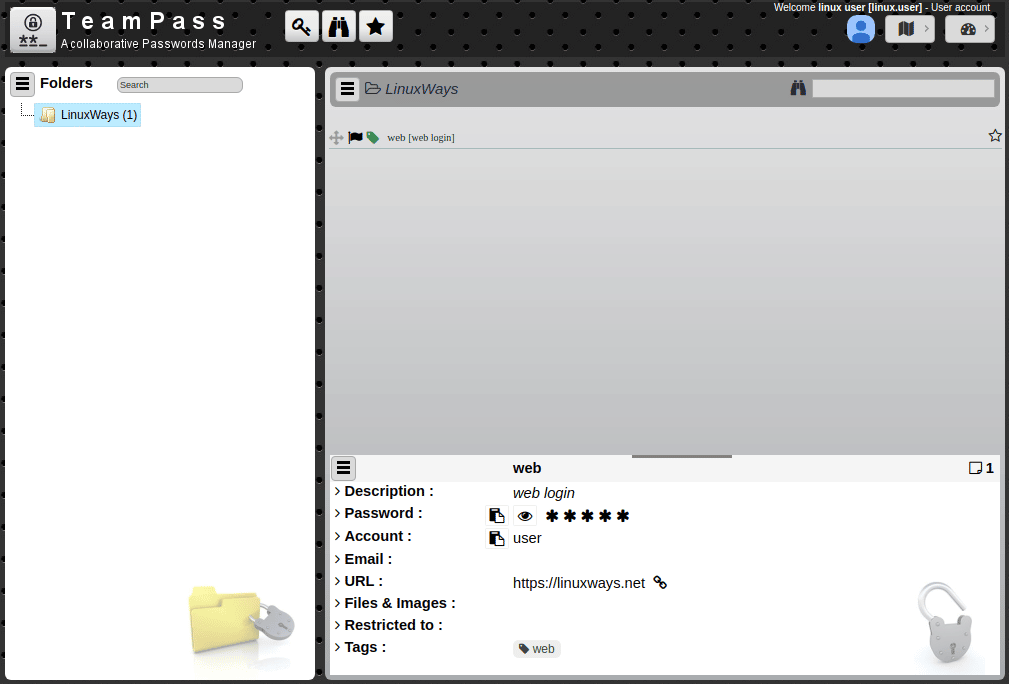
After making the saved change, you will get that listed below that folder as shown.
Conclusion:
At the end of this article, you are now familiar with the installation steps of TeamPass using the LAMP stack. We have covered the detailed steps of TeamPass installation and its administration. Now you can easily manage your credentials within your Organization to save credentials and manage access to every individual. Do not hesitate to contact us if you have any issue using the comments section below, thank you.
