Introduction
Blender is one of the best open-source 3D graphics designing software available in the world at this time. The world-famous animated movie Big Buck Bunny was produced using Blender. Several short animated movies including Sintel and Tears of Steel were also designed, developed, and produced using Blender.
In this article, you are going to learn how to install and get an up-to-date copy of your own Blender on the Ubuntu 20.04 LTS operating system or any of its variants.
Install Blender on Ubuntu System
Let’s do it step by step:
Step 1: Add PPA repository to the system
You would need to go to Ubuntu Launchpad via https://launchpad.net/~thomas-schiex/+archive/ubuntu/blender link.
Add PPA repositories to your operating system. We are using Thomas Schiex’s PPA here which is the only repository that gets continuous support.
sudo add-apt-repository ppa:thomas-schiex/blender

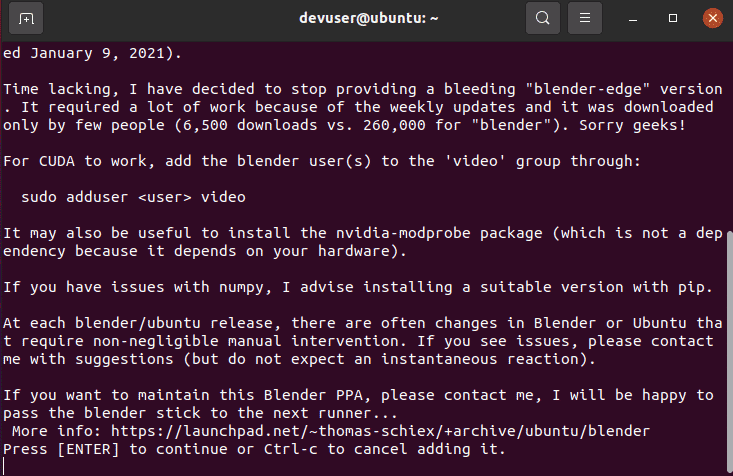
You may or may not get a message from the PPA maintainer. You only need to hit Enter and wait for the repository to be added to your system.

Step 2: Update the repository
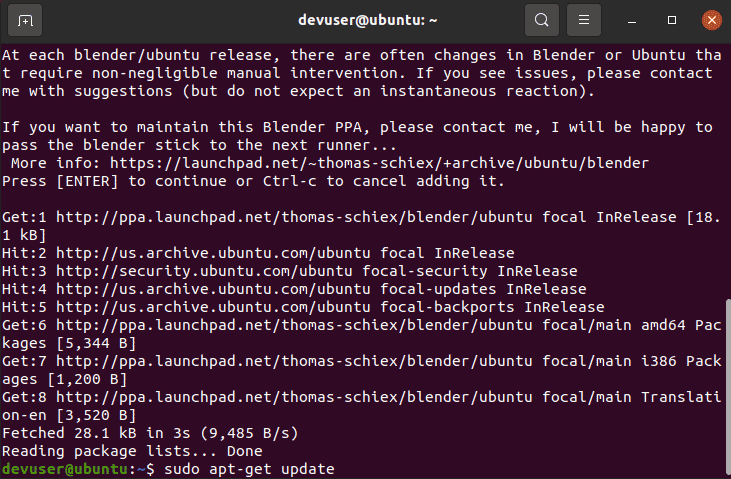
Once done, you would need to update your local apt repositories. Always Do It!

sudo apt-get update
Install Blender
Now you are ready to install the latest stable version of the Blender.
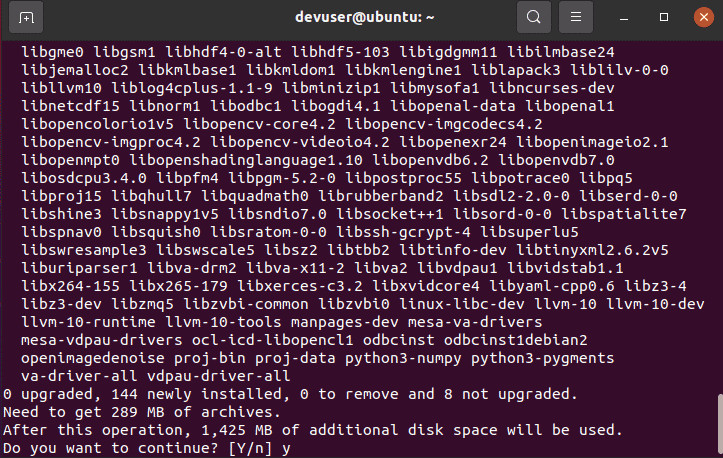
Hit the below command, accept the dependencies, and you are good to go.
sudo apt-get install blender

Launch Blender
Access the blender from the activity menu just like any other application.

Remove Blender
To remove the blender simply run
sudo apt-get remove blender
and you’ll get it updated easily.
Conclusion
I hope you enjoyed installing the latest stable release of Blender for your needs.
Got any questions?
Write into comments, and I personally reply to all comments.


