Docker is an Open source tool designed to make it easier to create, build and run applications using containers. Docker containers act as a runtime and possess all the required dependencies and libraries so that the same applications can run in other OS also. Nowadays containers based applications are being widely used. To save time and effort, to run hassle-free applications in all the OS platforms, Docker containers are widely adopted. In this article, we are going to learn how to install Docker in Ubuntu 20.04 and Run Nginx container.
Installing Docker in Ubuntu 20.04 is a simple and straightforward process. We need to update the Docker repository in Ubuntu, get the GPG key, and install docker packages and dependencies.
Prerequisites
- Freshly installed Ubuntu 20.04
- Sudo privileged accounts to install packages.
Install Docker in Ubuntu
You can install the latest version of Docker using the official docker repository in Ubuntu 20.04. For this, you need to add the GPG key for the official Docker repository to your system and add the repository configuration to the APT source.
Download Docker GPG Key
Run the following command to add GPG key.
$ curl -fsSL https://download.docker.com/linux/ubuntu/gpg | sudo apt-key add -
Add Docker GPG Key to System Repository
Add and configure the official docker repository in your system.
$ sudo add-apt-repository "deb [arch=amd64] https://download.docker.com/linux/ubuntu focal stable"
Update System Repository
Now, update the APT package to include new Docker packages using the following command:
$ sudo apt update
Install Docker
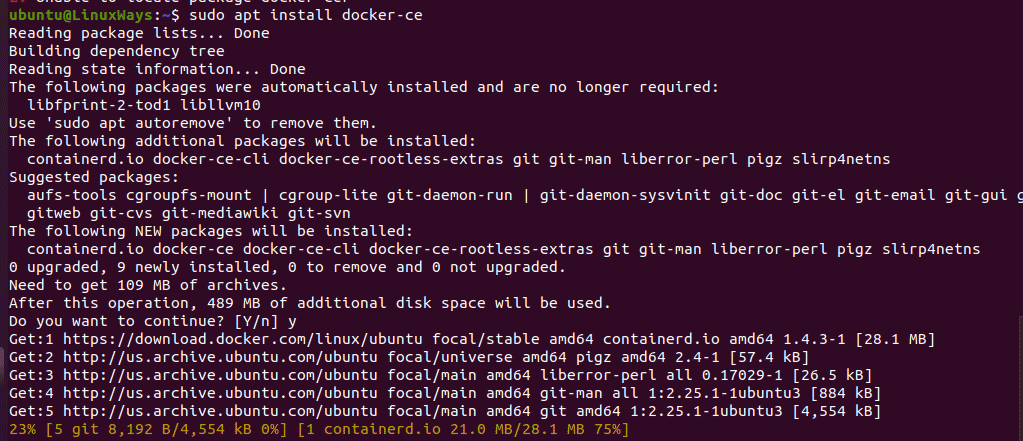
Now you can install docker packages using the following command:
$ sudo apt install docker-ce

During the docker packages installation, the installer package triggers systemd to automatically enable and start the docker server. Use the following command to check docker service status.
Check Docker Status
To check docker service is active or not, run the following command:
$ sudo systemctl is-active docker
To check if the docker service is enabled or not, run the following command.
$ sudo systemctl is-enabled docker
To check the docker service status, run the following command:
$ sudo systemctl status docker

Stop, Start or Restart Docker
There are other systemctl commands available to control the docker services which are as follows
$ sudo systemctl stop docker # stop docker service
$ sudo systemctl start docker # start docker service
$ sudo systemctl restart docker # restart docker service
Check Docker Version
To check the version of docker run the following command:
$ docker version

Run Nginx Container Using Docker
Running Nginx in docker containers is very simple and easy. You just need to pull an Nginx image from the docker hub and create an Nginx container that serves as a web server for static files. To pull the latest Nginx image, run the following command.
$ sudo docker pull nginx

To list the docker images, run the command:
$ sudo docker images

To run a container from a pulled image, run the following command:
$ sudo docker run -d --name nginx-server -p 80:80 nginx
where,
d=run the container in detached mode
name= name of the container to be created
p= port the container will be mapped with host
You will have output similar as :
$ 7ef30a6599d0a7f9618883441fdd2a683e7205287d09f92dcd3b63f4892551e7
The output shows the container id created using the Nginx image.
To list out the running container, run the command:
$ sudo docker ps -a
You can find containers with status in your terminal as:

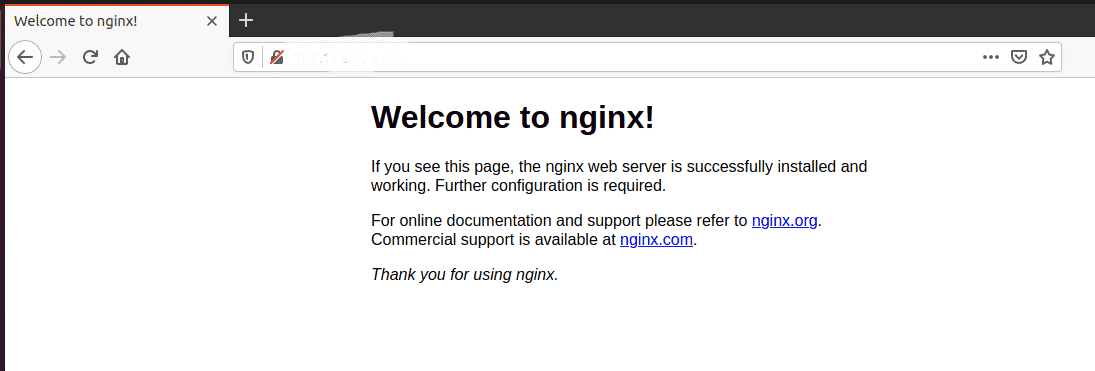
Nginx is running in docker containers with port 80. You can verify Nginx installation by navigating to the URL http://your-server-ip in your browser.

Create Docker Volume for Nginx
The containers we have just created are wrapping all the Nginx configuration and static files in the container itself. If we need to change anything or replace files, we need to access docker containers every time. Similarly in case if we delete the container, all the files and configuration files also get removed. To mitigate this issue, we need to create a docker volume in the host and map it with a container to protect configuration and web files. In this example, I have taken nginx-data as a volume name. You can have your own assumption.
To create a docker volume run the following command:
$ sudo docker volume create nginx-data
Get the docker volume information by running the command:
$ sudo docker volume inspect nginx-data
You will get the output similar as:

For easy access, you can create a symlink of the docker volume directory. To create symlink run the following command:
$ ln -s /var/lib/docker/volumes/nginx-data/_data /nginx
Now start the Nginx container with persistent data storage.
$ sudo docker run -d --name nginx-server -p 80:80 -v nginx-data:/usr/share/nginx/html nginx
Where,
d= run container in detached mode
name= name of the container to be created
p= port to be mapped with host
v= name of docker volume
Container has been started with persistent data storage. You will get container id as output as:
$ 3067684b1133a2c7e36381574ea9af3ebbb79dd2504f63ae3569bb059b74d905
Now verify the contents available in the data persistent directory.
$ ls /var/lib/docker/volumes/nginx-data/_Data
The following output will be displayed in your terminal:

Let’s change the content of index.html file located at /var/lib/docker/volumes/nginx-data/_data
$ sudo vi /var/lib/docker/volumes/nginx-data/_data/index.html
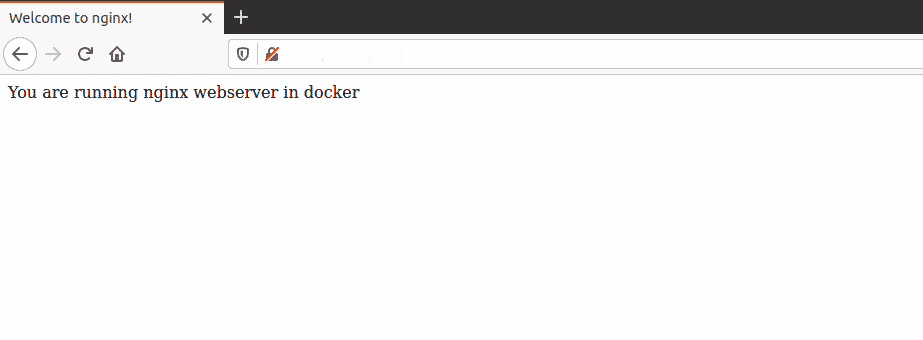
Change some HTML code and save the file. Navigate the URL in your browser and you will find your Nginx contents changed as:

Conclusion
In this article, you have learned how to install docker, pull docker images from docker hub and run an application in a container. Also, you have learned how to create persistent data storage and map with docker containers.
Pratik Gautam is a system engineer on Cloud Computing, Linux system, and Amazon Web Services. He is a certified Linux administrator and a tech enthusiast having more than three years of experience at fintech and media house of Nepal. He has Bachelor’s degree in computer science and information technology from Tribhuvan University. He always believes in sharing IT knowledge and adopting new technology.


