GoAccess is an open-source Terminal and browser-based web log analyzer with a pretty dashboard. It can read and analyze log files of nearly all web formats including Apache, NGINX, CloudFront, Amazon S3, etc. It displays real-time web server statistics by displaying summaries of different reports in a dashboard. It can also create reports in HTML, CSV, and JSON formats. Using GoAccess, you can determine the number of hits, visitors, bandwidth, and also which pages drive more traffic.
In today’s post, we will cover the installation and configuration of the GoAccess web log analyzer on the Ubuntu 20.04 LTS machine. We will also cover how to run GoAccess to view Apache logs and generate reports.
Prerequisites
On your Ubuntu machine, you will require:
- Apache installed and running
- A user having sudo privileges
Installing GoAccess on Ubuntu
You can install GoAccess using any of the following three methods:
- Installing GoAccess Using Ubuntu Repository
- Installing GoAccess from Official GoAccess Repository
- Installing GoAccess from Source Code
Method#1 Installing GoAccess Using Ubuntu Repository
The easiest way to install GoAccess is by using the package available in the Ubuntu default repository. However, this is not the latest version. Follow the below steps for installing GoAccess on Ubuntu:
1. Run the below command to update your system’s list of sources.
$ sudo apt update
2. Then install GoAccess by running the command below:
$ sudo apt install goaccess
If you are prompted with the y/n option, type the letter y and hit Enter.
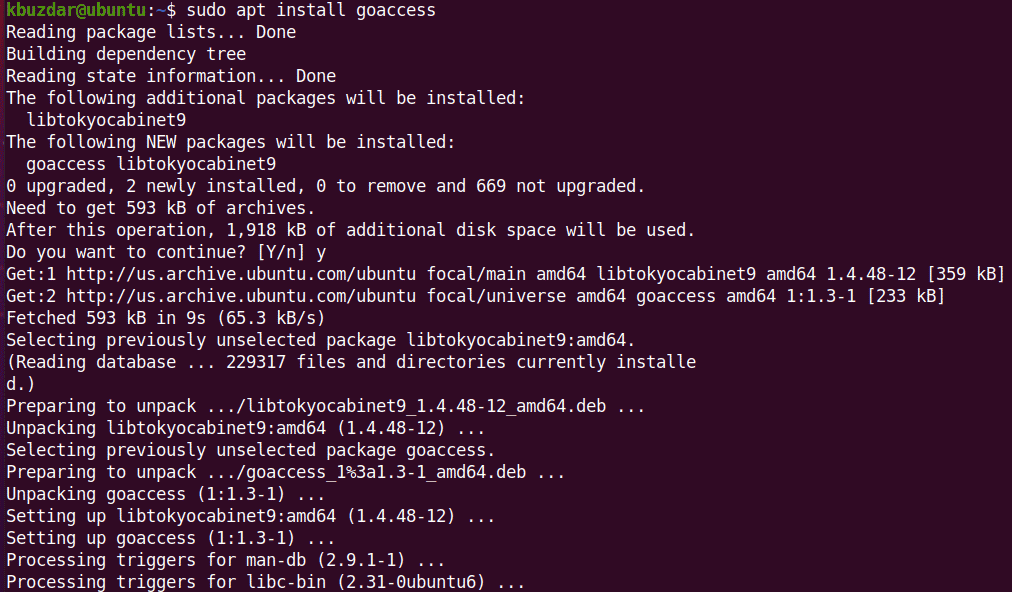 This will install GoAccess on your Ubuntu machine.
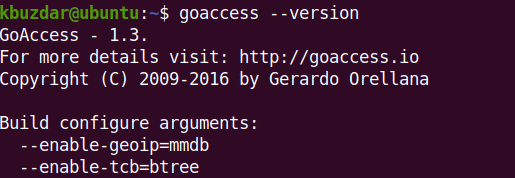
3. To verify the installation of GoAccess, run the command below:
$ goaccess --version
The output below verifies that GoAccess version 1.3 has been successfully installed on our machine.
Method#2 Installing GoAccess from Official GoAccess Repository
To install the latest stable release of GoAccess, use the GoAccess official repository. Follow the below steps for installing GoAccess latest stable release on Ubuntu:
1. Run the command below to add the GoAccess official repository to your system’s list of sources:
$ echo "deb [arch=amd64] http://deb.goaccess.io/ focal main" | sudo tee -a /etc/apt/sources.list.d/goaccess.list

This command will add the repository in a separate file named goaccess.list under the /etc/apt/sources.list.d/ directory.
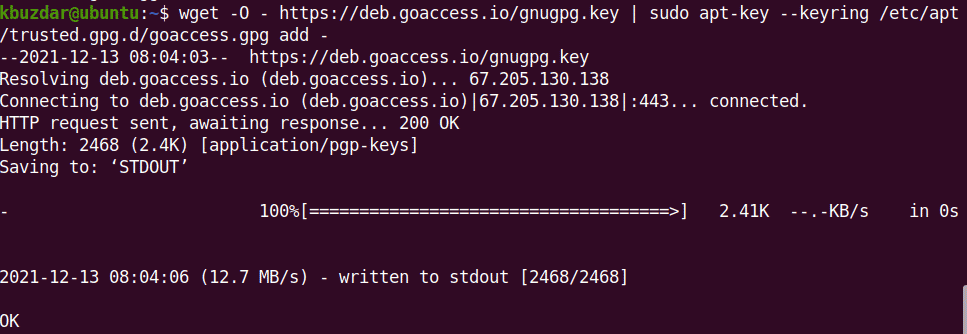
2. Download and then add the public key of the GoAccess PPA to the apt’s keyring.
$ wget -O - https://deb.goaccess.io/gnugpg.key | sudo apt-key --keyring /etc/apt/trusted.gpg.d/goaccess.gpg add -
3. Then update the apt’s list of sources:
$ sudo apt update
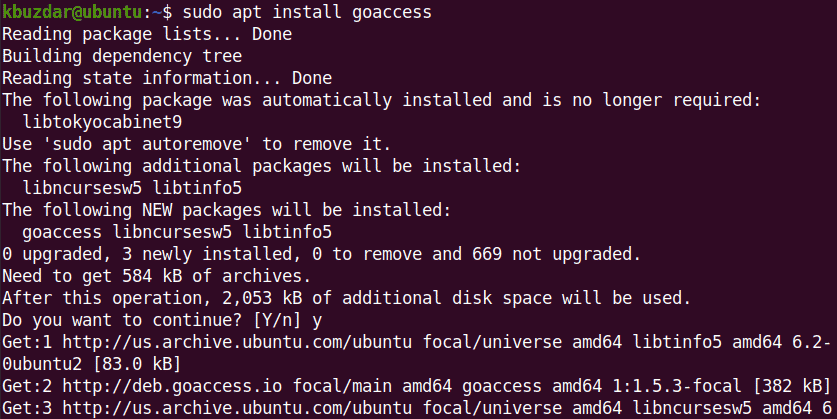
4. Then run the command below to install GoAccess:
$ sudo apt install goaccess
If you are prompted with the y/n option, type the letter y. The apt command will then install GoAccess on your system.
5. To verify the installation of GoAccess, run the command below:
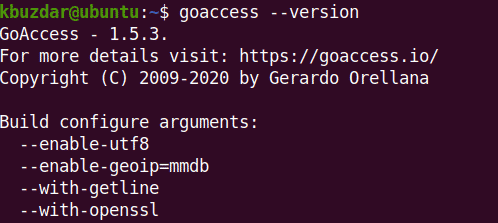
$ goaccess --version
The output below verifies that GoAccess latest stable version 1.5.3 has been successfully installed on our machine.
Method#3 Installing GoAccess from Source Code
You can also get the latest version of GoAccess by installing it from the source code. Follow the below steps for installing GoAccess latest stable release on Ubuntu:
1. First, you will need to install some software packages in order to compile GoAccess from the source.
$ sudo apt install build-essential libncursesw5-dev libtokyocabinet-dev libgeoip-dev

2. Download the GoAccess source code package from the GoAccess official website. Visit the GoAccess Downloads page and download the GoAccess latest stable version.
$ wget https://tar.goaccess.io/goaccess-1.5.3.tar.gz

The source code package will be an archive file with a tar.gz extension.
3. Extract the source code archive file using the command below:
$ tar -xzvf goaccess-1.5.3.tar.gz
This command will extract the archive into a directory named goaccess-1.5.3 (goaccess-version).
4. Enter inside the directory using the cd command:
$ cd goaccess-1.5.3
Once you are in the directory, run the command below:
$ ./configure --enable-utf8 --enable-geoip=legacy
This command will check for the dependencies required to build the application.
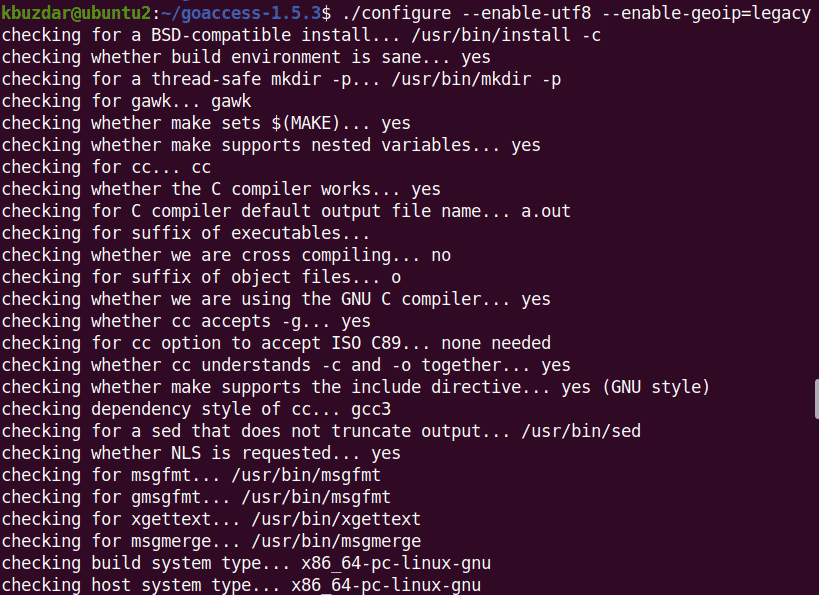
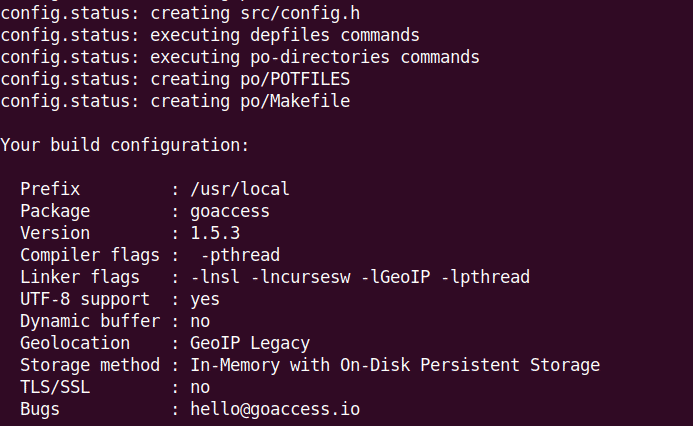
In the end, you will receive the below similar output:
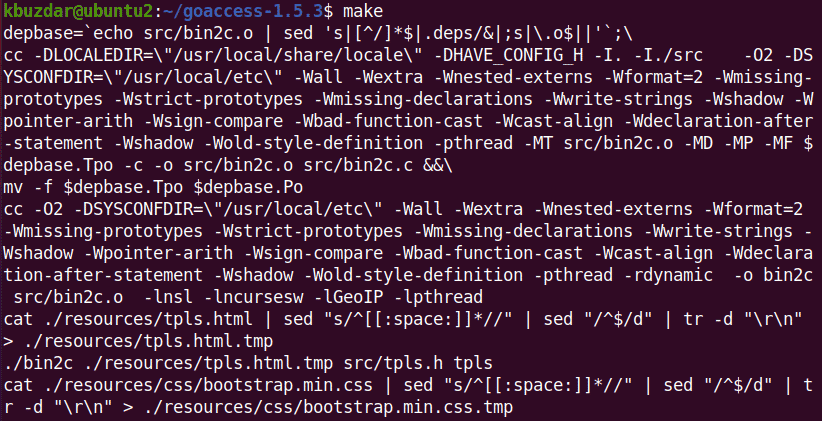
5. Now run the command below to compile the application:
$ make
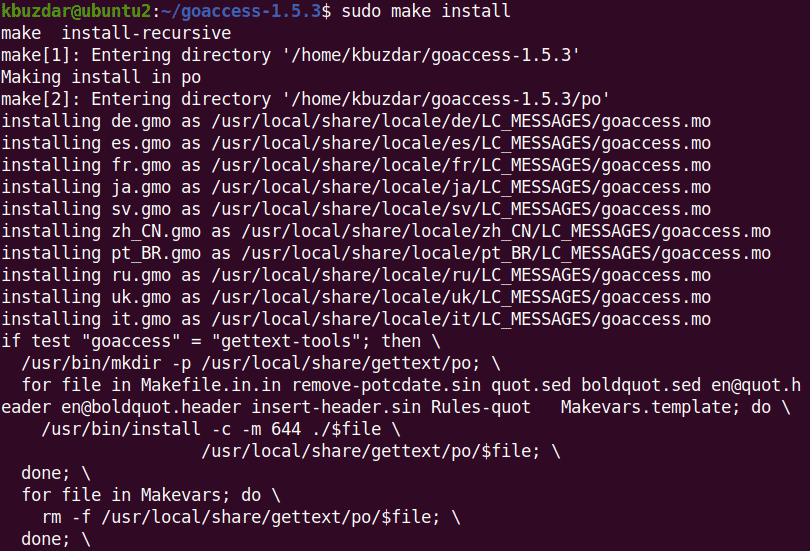
6. Now install the application using the command below:
$ sudo make install
This command will install GoAccess on your Ubuntu machine.
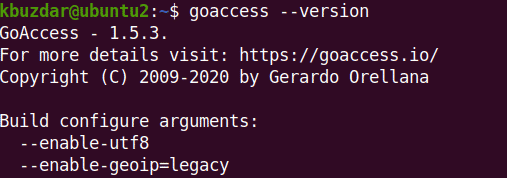
7. To verify the installation of GoAccess, run the command below:
$ goaccess --version
The output below verifies that GoAccess latest stable version 1.5.3 has been successfully installed on our machine.
Configuring GoAccess
Now we will configure GoAccess using its configuration file goaccess.conf. You can find the location of the GoAccess configuration file using the command below:
$ goaccess --dcf
The output below shows the location of the GoAccess configuration file is /usr/local/etc/goaccess/goaccess.conf. Its location can be different on your system.
![]()
Edit the GoAccess config file as follows:
$ sudo nano /usr/local/etc/goaccess/goaccess.conf
As we are going to setup GoAccess for Apache, so we will only enable the options meant for Apache/NGINX’s. To configure the time format, search for the below option in the goaccess.conf file and remove the # character from the start of the line:
time-format %H:%M:%S

To configure the date format, search for the below option in the goaccess.conf file and remove the # character from the start of the line:
date-format %d/%b/%Y

To configure the log format, search for the below option in the goaccess.conf file and remove the # character from the start of the line:
log-format %h %^[%d:%t %^] "%r" %s %b "%R" "%u"

If you have virtual hosts, then you will need to uncomment the below option instead of the above:
log-format %v:%^ %h %^[%d:%t %^] "%r" %s %b "%R" "%u"
Now save and close the GoAccess configuration file.
Running GoAccess
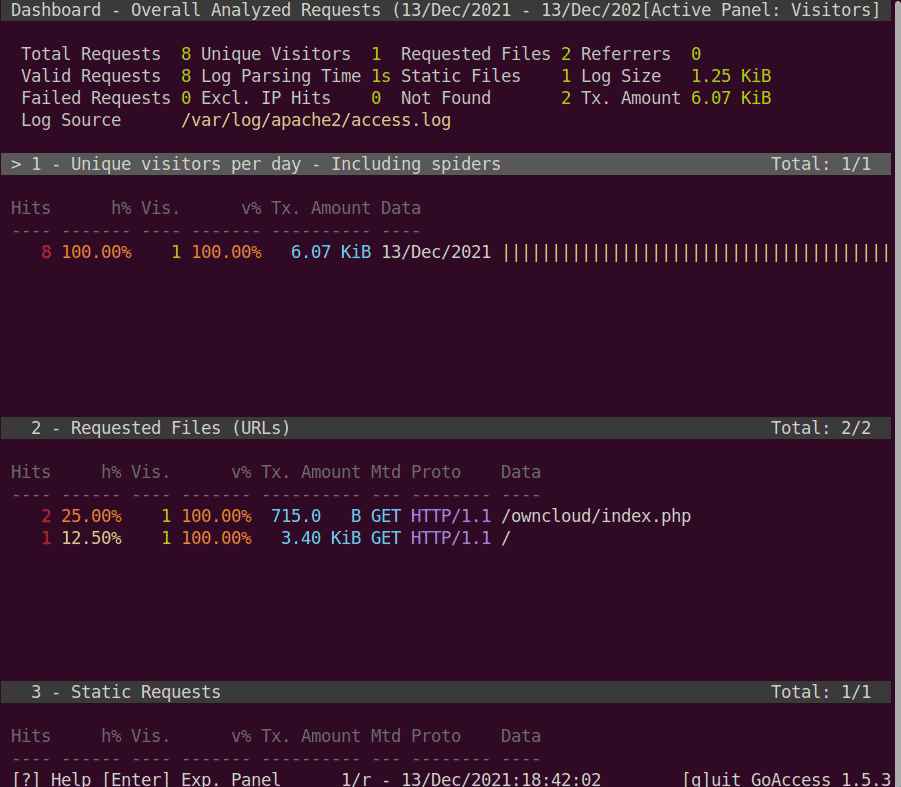
Apache writes logs to the /var/log/apache2 directory. To run GoAccess, type sudo goaccess followed by the Apache log file directory path as follows:
$ sudo goaccess /var/log/apache2/access.log
After running the above command, you will see the below similar dashboard displaying your web server logs in real-time. The display consists of various sections which you can view by scrolling through the Terminal window.
Generating Reports
GoAccess allows you to generate reports in HTML, CSV, and JSON formats.
To generate the report in HTML format, run the command below:
$ sudo goaccess /var/log/apache2/access.log -o stats.html
Note: To generate JSON or CSV report, replace stats.html with stats.json or stats.csv respectively.
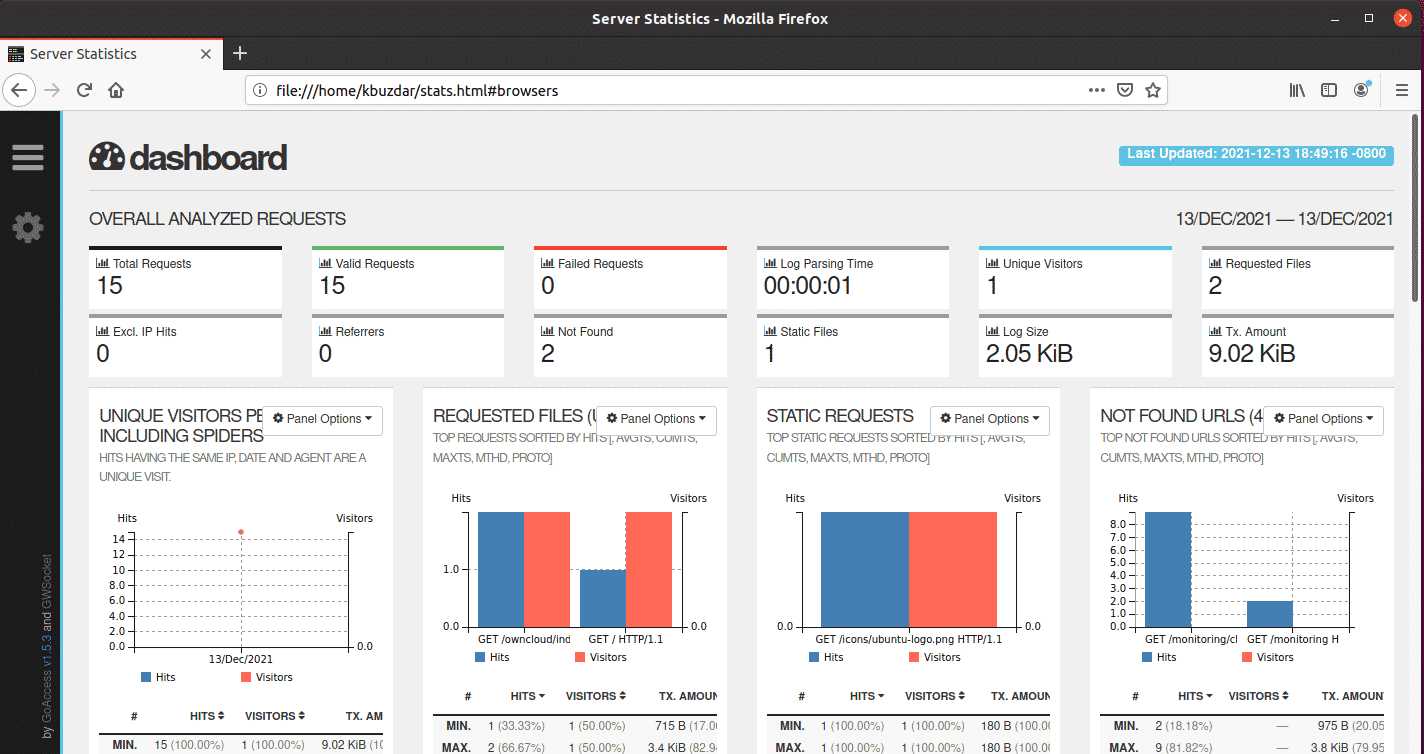
This command will generate stats.html file in the current Terminal directory. To view the HTML report, run the command below:
$ xdg-open stats.html
This will open the HTML report in your web browser.
Uninstalling GoAccess
If for any reason you want to remove GoAccess, use the method described below:
If you have installed GoAccess using either the Ubuntu repository or the GoAccess repository, run this command to uninstall it:
$ sudo apt remove goaccess
If you have installed GoAccess from the source code, run the below commands to uninstall it:
$ cd goaccess-1.5.3
$ sudo make uninstall
In today’s post, we covered the installation and configuration of the GoAccess web log analyzer on the Ubuntu 20.04 LTS machine. We have then covered how to run GoAccess to view Apache web server logs and generate reports. To know more about GoAccess, visit the GoAccess official Manual.


