You have made up your mind to switch to Linux and you have chosen Linux Mint as your distribution, which is a great move. Linux mint is deemed the easiest Linux distribution out there by the tech society, especially for those who are just beginning to explore this operating system after using Windows for ages.
Linux Mint has a somewhat similar interface as that of windows. Plus, this distro is comparatively way more protected from malware and viruses. Another advantage that Linux Mint has over windows is the fact that it is lighter in weight, faster in speed and the file system is even more well organized.
We can keep on rambling on the comparisons between the two operating systems for an hour or two, but let’s go down that road some other time. For now, we’ll just focus on creating a bootable usb for Mint 20 from windows 10 which we are here for.
So, without any further ado, let’s get started.
Step 1: Download ISO
Our first step is to get a Linux mint ISO file. To do that, go to the main page of Linux Mint and click download.
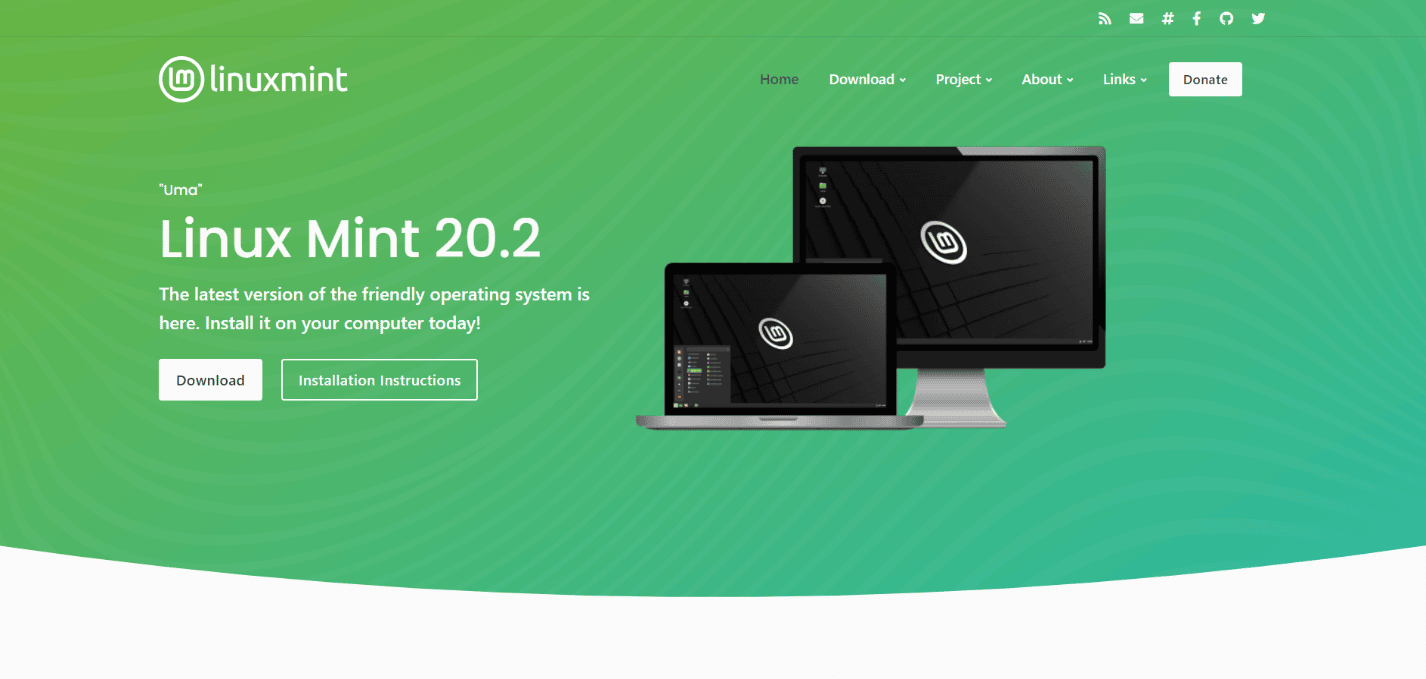
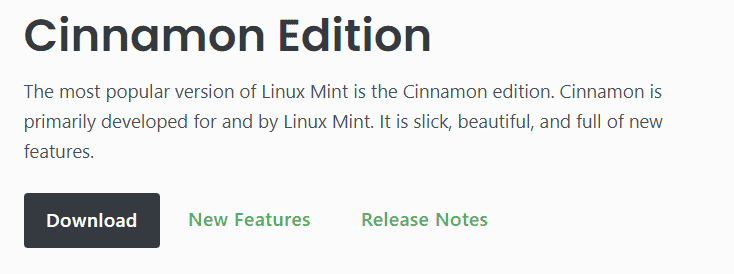
This will lead you to the page below. Now click download again.
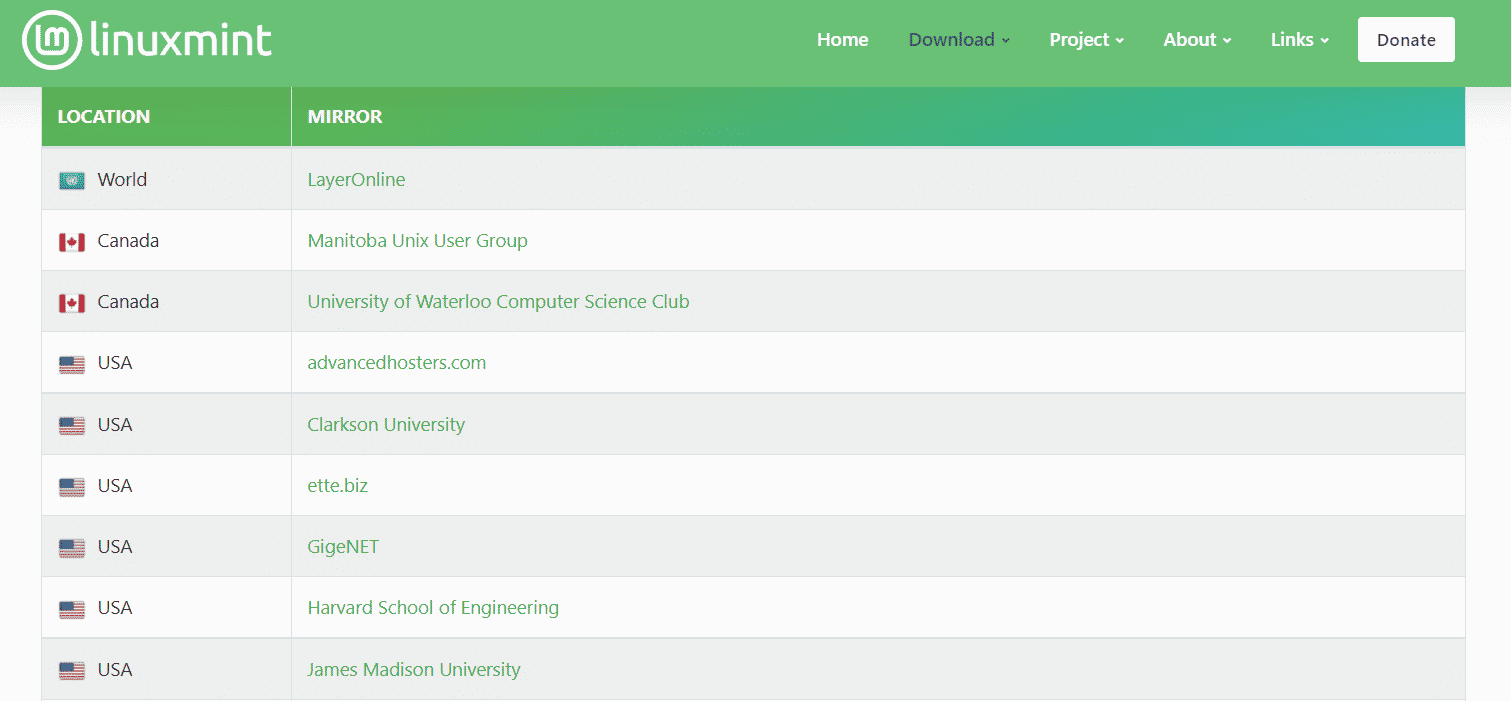
After that, you will be directed to a page that holds enough Linux Mint mirrors to download from. You can choose any of them and download it, preferably something closer to your country
The file size is 2 GB which will take around 10 to 20 minutes to download on a good internet speed.

Step 2: Download Universal USB Installer
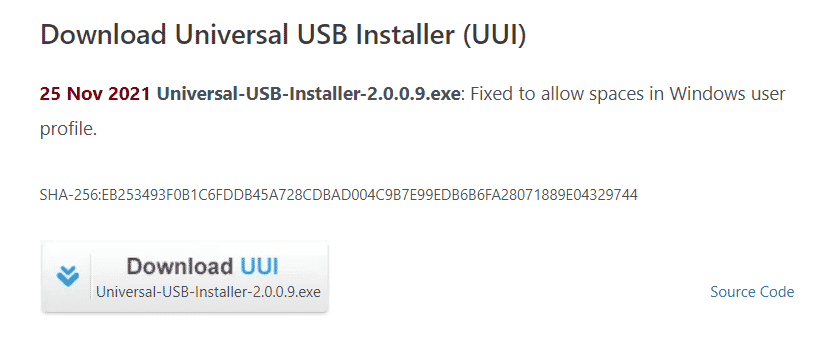
Next, go to the universal usb installer download page and download the software by clicking the Download UUI button.
This software allows you to write the Linux Mint image to your USB drive. This means that it helps in creating a live usb from the ISO mirror you downloaded in the previous step.

Step 3: Plug in USB
Once the download is complete, insert your usb device.
In this step, we will burn the Linux Mint ISO to the USB with the help of the software we downloaded in the previous step.
Step 4: Run USB Installer
Go to the folder where you downloaded Universal USB Installer and run it.
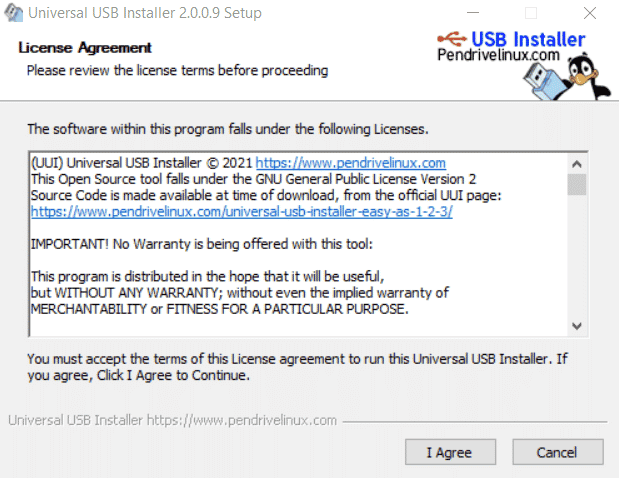
Agree to the terms and conditions by pressing I agree and proceed.
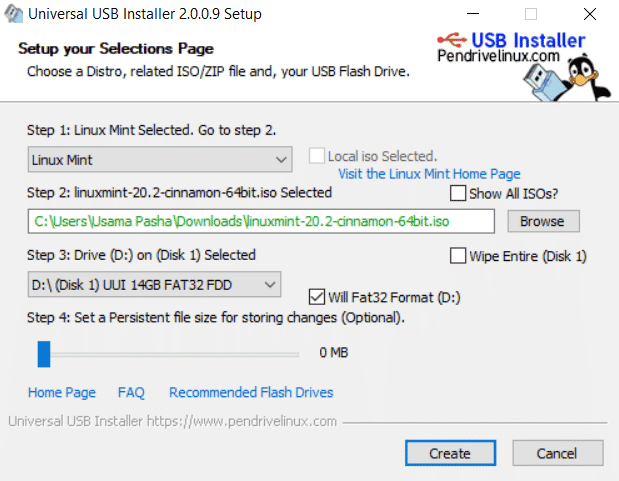
Next, configure the distribution settings.
In step 1, select Linux Mint.
In step 2, browse to the folder where you downloaded Linux Mint ISO file, and add it here.
In step 3, select your USB drive.
And lastly, check the box that says Fat 32 Format.
Now press create.
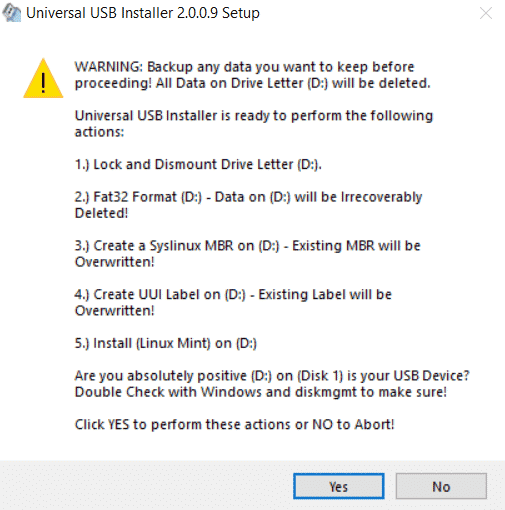
If this warning shows up, click yes and proceed.
The installation will begin instantly. It will take about 5 minutes. This is the step where the USB Installer burns the ISO image into your usb drive. After this step, your usb will be ready to boot from to create Linux Mint Operating system.
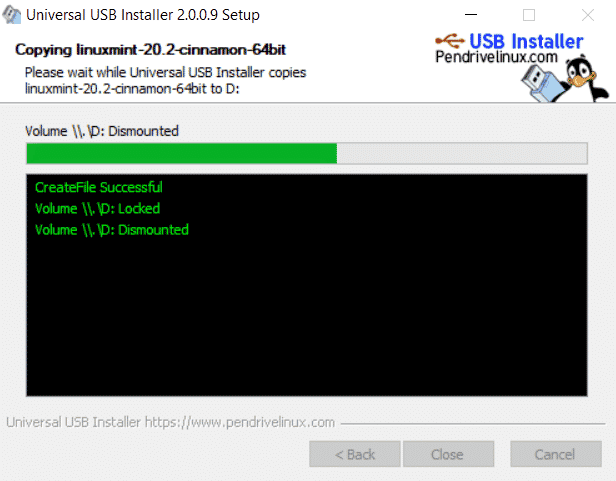
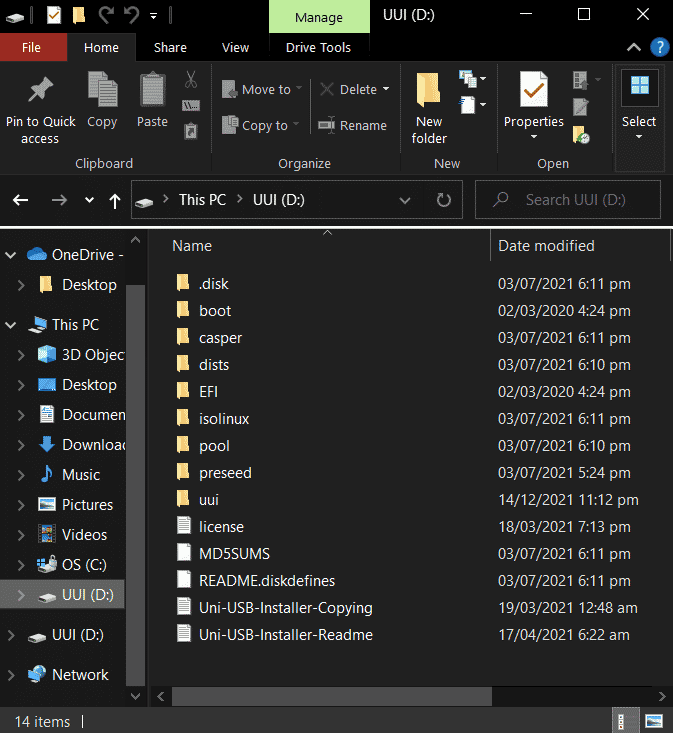
Once the installation is complete, go to the USB drive and have a look. Your USB folder will appear somewhat like the picture shown below. If it does, congratulations you have successfully made a bootable usb drive for Linux Mint using Windows 10.
In this tutorial, we saw how we can easily create a bootable usb for Linux Mint in under 30 minutes. Similarly, we can create a bootable USB for any other Operating System. All we need is an ISO image of that OS, a Universal USB Installer, and a USB drive and we are good to go.
To see how to create a bootable USB using Ventoy, visit: https://linuxways.net/centos/create-a-bootable-usb-drive-using-ventoy/
