Introduction
Jekyll is a static site generator that takes simple files and folders and converts them into a static website. It is developed in the Ruby Language. Jekyll is quite simple when compared to other static site generators. In this tutorial, I will show you how to install and launch your first static website. I am using Ubuntu 20.04. All commands and instructions are Ubuntu-specific.
Install Jekyll
Follow the instructions step by step as below:
Step 1. Setup Ruby development environment first.
$ sudo apt install ruby-full build-essential zlib1g-dev
![]()
build-essential: this will install required dependency needed to execute ruby environments.
zlib1g-dev: this package includes development files. Mostly they are header files in C and C++ languages.
Step 2. Configure Ruby gems path and install Jekyll.
In this step, I will set up my directory to install Ruby gems in a specific folder. I will also add environment paths and then source the ~/.bashrc. This is how I populated environmental variables in Debian Linux.
Step 3. Install Jekyll and Bundler
Now I will install Jekyll and its companion gem “bundler” which is very helpful to keep gems updated.

Voila! Here we are with our all-installation process.
Step 4. Now create a new folder for our static site and enter into it.
You will need the following commands to do so. Please refer to the given screenshot.

Step 5. Create a new Jekyll website in a new folder.
Process Jekyll command as shown below and create the site in our newly created folder. As shown below ~/myWebsite
![]()
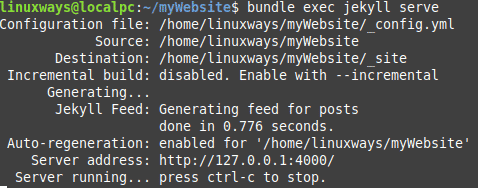
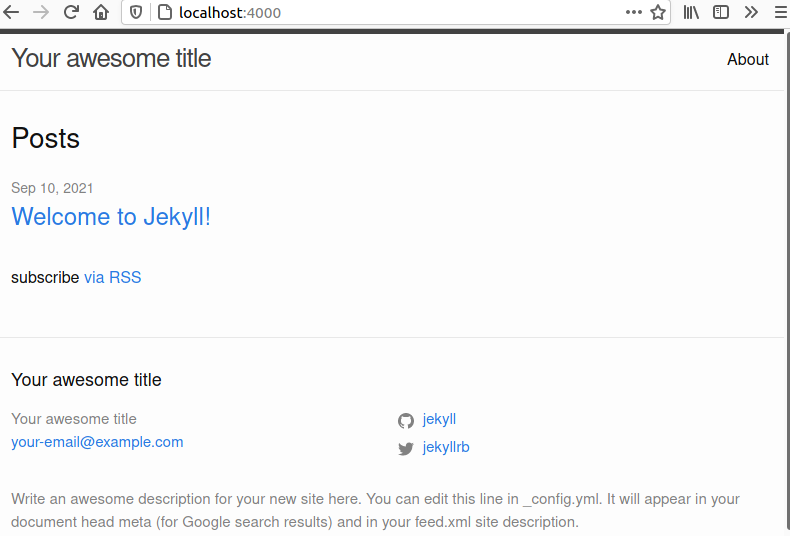
Step 6. Run the build and see your website live on http://localhost:4000/

Jekyll is now running with its full power.

Remove Jekyll
Why would you remove Jekyll? Maybe you don’t need it. Anyway, It is simple to remove Jekyll. You would need to run the following commands to remove it.
$ gem remove jekyll
Conclusion
In this tutorial, we learned how to install and publish a static website using Jekyll. I also examined how to set up the ruby environment to install gems. In the end, we learned how to remove Jekyll from our system, leaving the rest of the setup as it is. In a future post, I will discuss how you can further configure Jekyll.


