KDE Plasma is used as a graphical workspaces environment for Linux systems. It is created by KDE and till today, its 5 generations have been created. KDE Plasma is considered to be one of the famous desktops as it has become the user’s top choice.
In this tutorial, we will walk our users through the method of installation of KDE Plasma on a Ubuntu system. We will be implementing the steps on Ubuntu 20.04 system. Users can follow the same steps on their systems regardless of the version they have.
Installation of KDE Plasma on Ubuntu
To install KDE Plasma, open up the terminal window using the Ctl+Alt+T shortcut or go to the ApplicationsTerminal in your computer system, and then follow the steps given below:
Step#01: Installation of tasksel
To install the KDE plasma desktop in our computer system, we will be using the tasksel command. If you do not have tasksel command, then simply install it using the following command:
$ sudo apt install tasksel
![]()
The installation will begin and the system will prompt. Press Y from the keyboard and then hit the <enter> key to continue the process of installation.
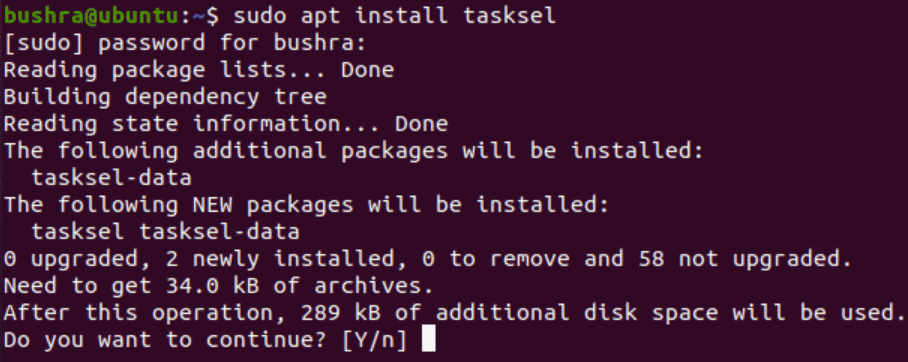
Step#02: Installation of KDE Plasma desktop
To install the KDE Plasma desktop, type the following command in the terminal window:
$ sudo tasksel install kubuntu-desktop
![]()
As soon as you press the enter key, the installation of the package will begin and a window will appear quite similar to this one.
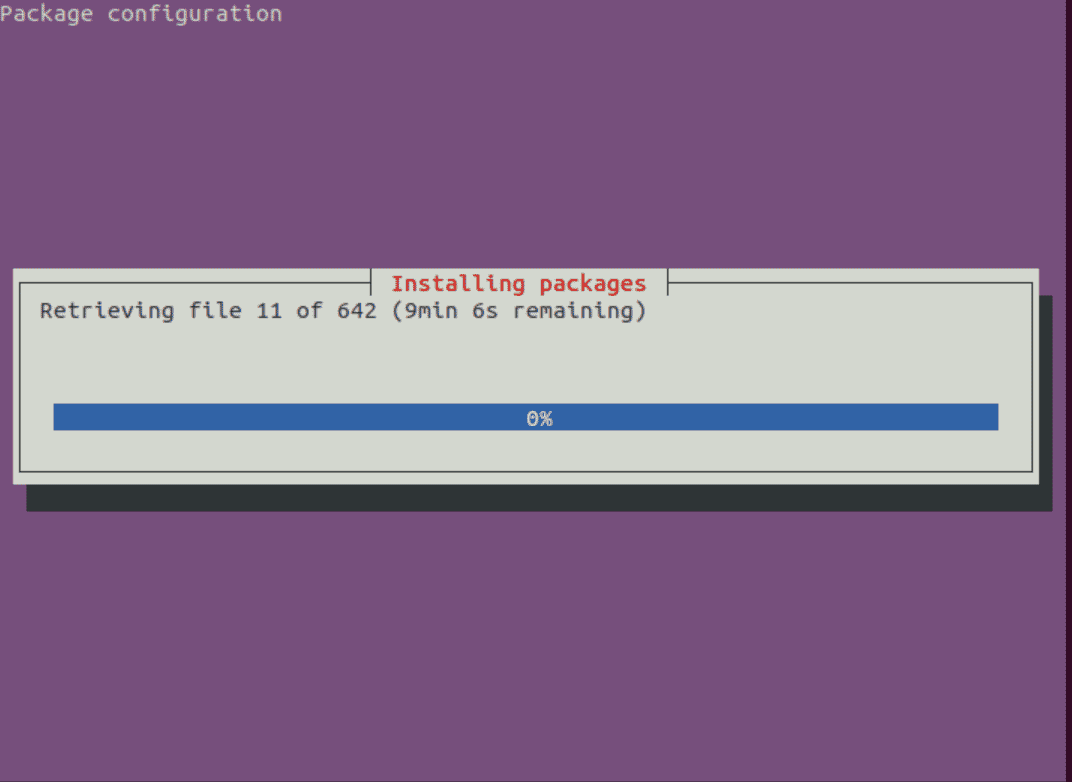
In case, if the system prompts an Encfs security information, press the <OK> option by selecting the enter button from your keyboard to proceed with the process of installation of KDE Plasma.
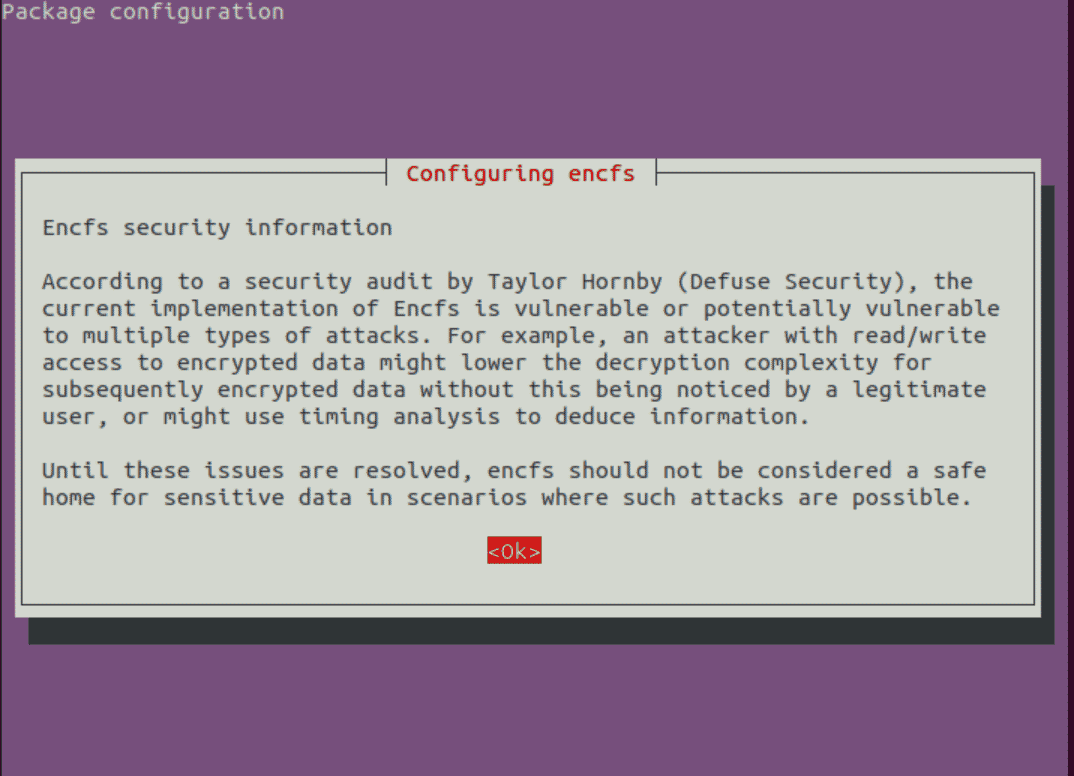
This is a time taking process so hold on and wait till its completion. Once done, you will see an output like this one.

Step#03: Rebooting Ubuntu system
The next step is to reboot the Ubuntu system, once you have completed the process of installation of the KDE Plasma desktop. Hit the Restart button.
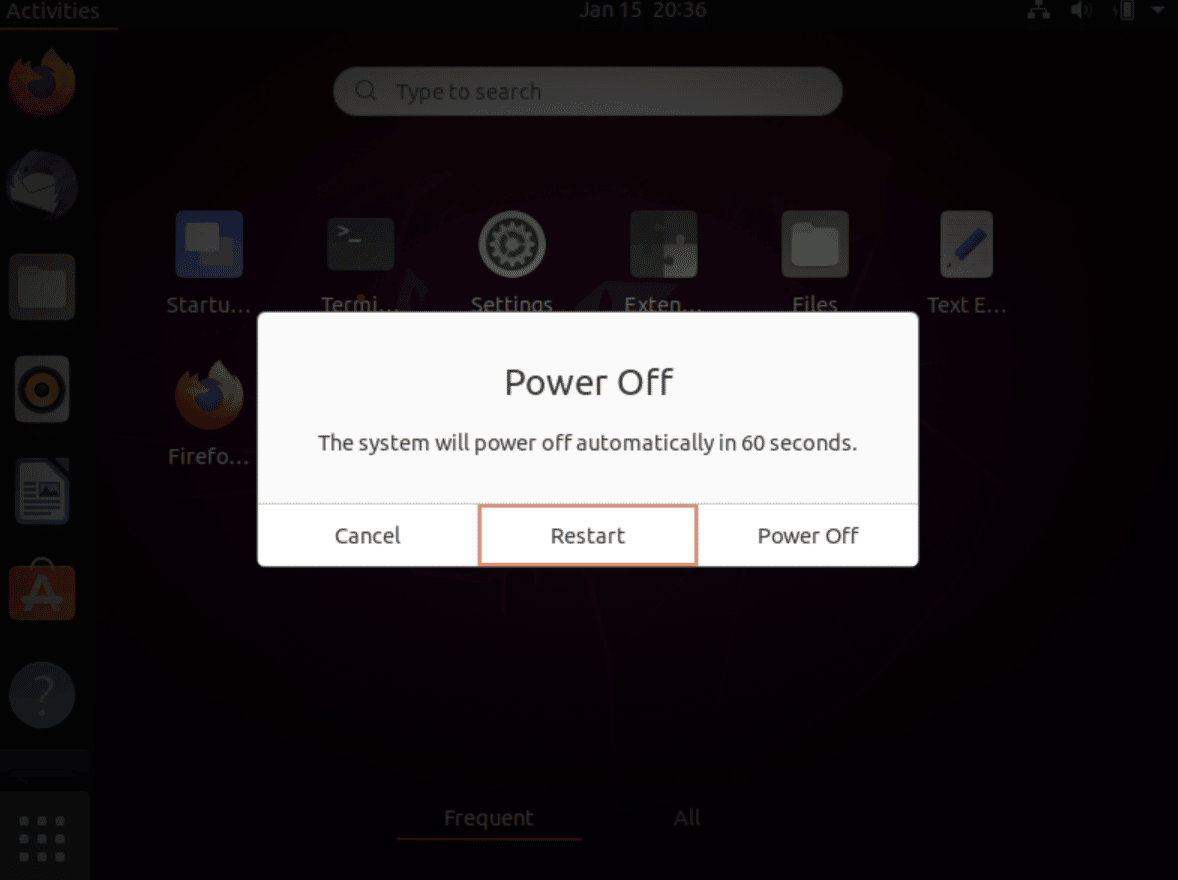
On the restart, your computer will show the following output. This is a clear method to verify the installation of the KDE desktop on Ubuntu 20.04 system.

Step#04: Selecting the Desktop session
Now, you need to set up your desktop session as Plasma. This could be easily achieved by clicking on the Settings icon available from the login screen. Here, you find multiple options, in the menu. Click on the Plasma option to keep your desktop session to KDE Plasma.

The KDE desktop will begin to become ready to use and you will see the following on your screen:

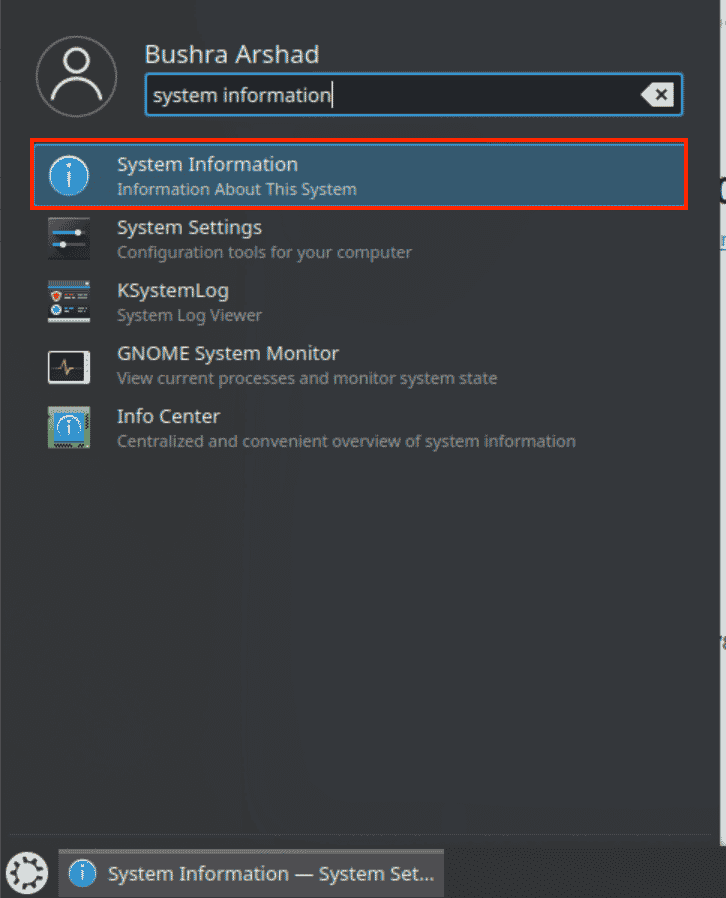
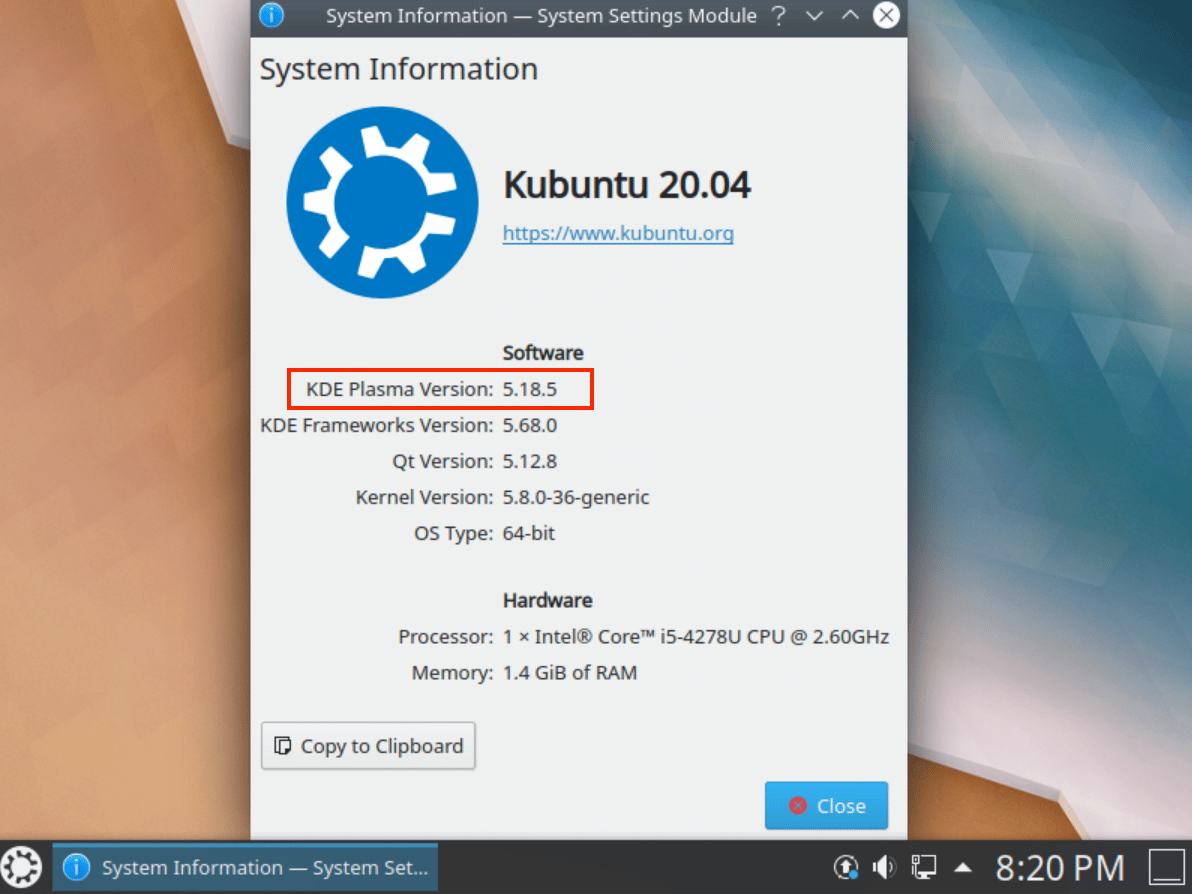
After that, the new Plasma Desktop will begin to run, you can verify the version of KDE Plasma installed by searching the System Information from the Applications.
The System Information window will open up. Here, you will see the version of KDE Plasma installed in your system in front of KDE Plasma Version field.
Uninstallation of KDE Plasma
To uninstall KDE Plasma from the computer system we need to remove the tasksel package first. To do so, type the following command in the terminal window:
$ sudo apt-get remove tasksel
![]()
Type Y and then press the enter key from the keyboard to confirm the selection.

After the completion of this process, remove the Kubuntu desktop from the computer system, by using the command:
$ sudo apt-get remove kubuntu-desktop
![]()
Again, type Y and then press the enter key from the keyboard to confirm the selection.

This way users can easily uninstall KDE Plasma from Ubuntu 20.04, whenever needed.
Conclusion
In this tutorial, we explored the method to install KDE Plasma on Ubuntu 20.04 system. The process discussed in this tutorial is pretty straight forward and easily applicable. The Plasma desktop option will be available along with the standard Ubuntu system. Users can switch between these options as discussed in the tutorial. We have also checked out the method of uninstallation of KDE Plasma from the Ubuntu system.
Bushra is a technical writer with expertise in transforming complex Linux concepts into easy-to-comprehend how-tos and tutorials. She has experience in using Sphinx, Postman, MS Office suite, Jira, Latex, Draw.io, MS Visio, Bitbucket, Sublime Text editor, and Notepad++ tools.


