osTicket is a PHP-based open-source ticketing system for the Linux platform. It can interface with LDAP/Active Directory for central authentication and supports various databases such as MySQL and PostgreSQL. It’s a straightforward and light-weight web application. You can manage, organize, and archive your support requests with OsTicket. It integrates customer support requests received by email, web forms, and phone calls into a simple, easy-to-use, multi-user web-based platform. In this article, I will show you how to install osTicket on Ubuntu 20.04, using MariaDB as a database server and PHP.
1. Update the system
Update the system with the latest release packages by the given command.
Sam@linuxways:~$ sudo apt-get update
2. Install all PHP and extensions
osTicket application needs the php extensions in order to run the application. Here, all the extensions needed are given and installed.
Sam@linuxways:~$ sudo apt install -y php-common php-fpm php-pear php-cgi php-net-socket php-bcmath php-gd php-imap php-intl php-apcu php-cli php-mbstring php-curl php-mysql php-json php-xml
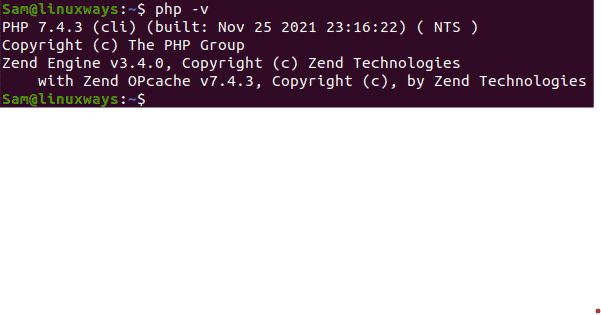
Here, the version of php is checked after the installation of all the php extensions.
Sam@linuxways:~$ php -v
3. Install Apache server
Apache web server is installed for the official apt repository.
Sam@linuxways:~$ sudo apt install apache2

To start and enable the apache server manually here are the commands listed below. (The service is started on boot by default)
Sam@linuxways:~$ sudo systemctl start apache2
Sam@linuxways:~$ sudo systemctl enable apache2
To check the status of the apache server to check whether it is running or stopped.
Sam@linuxways:~$ sudo systemctl status apache2
4. Install MariaDB database and configure
MariaDB database server is needed with a valid username, password, and hostname during the installation process. The user should be given full privileges on the database created.
Here, the command is used to install the MariaDB server.
Sam@linuxways:~$ sudo apt install mariadb-server
To secure the MariaDB server here are the following steps to be done.
Sam@linuxways:~$ sudo mysql_secure_insatallation

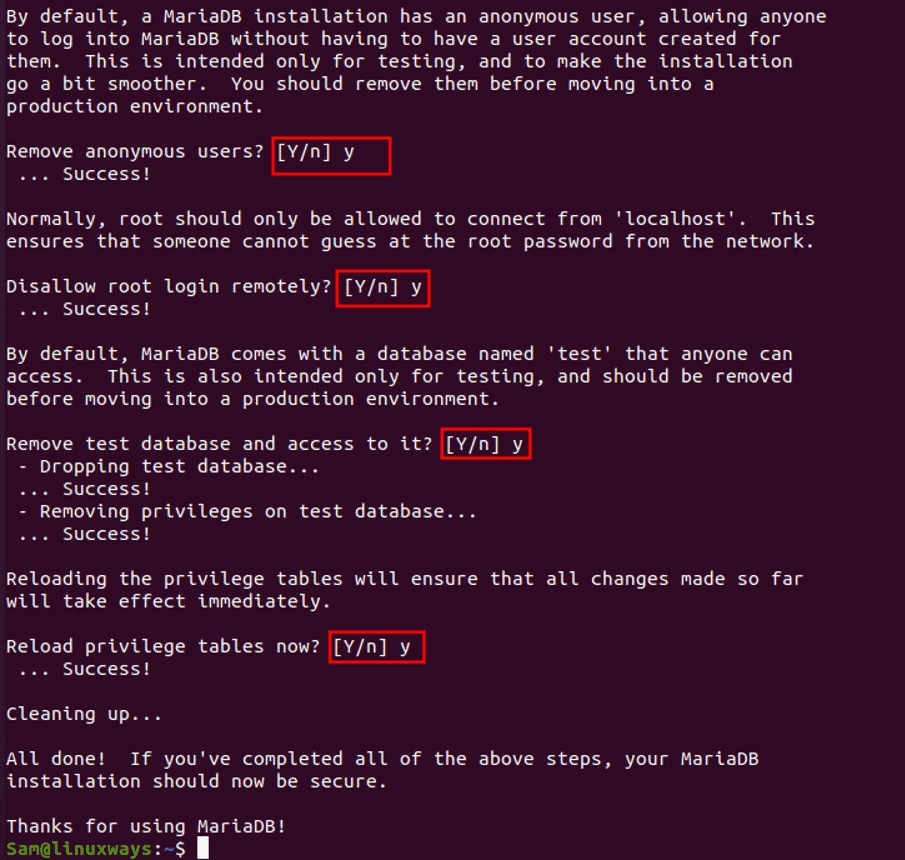
After entering the password for root some questions are asked before securing the server. We need to apply yes for all the given questions like shown in the figure below.
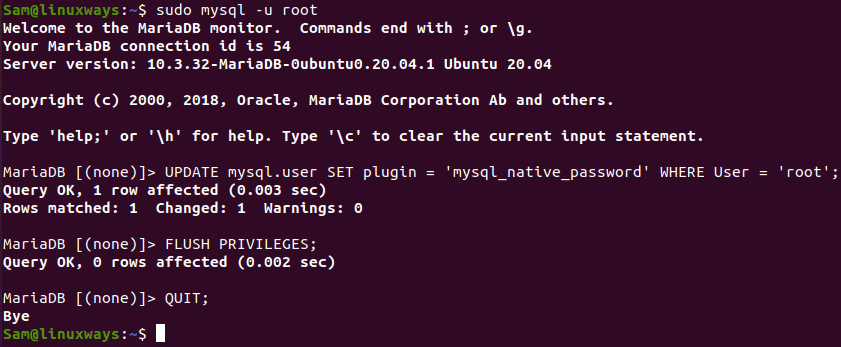
Here, the authentication plugin is changed to be able to login as the normal user.
Sam@linuxways:~$ sudo mysql -u root
MariaDB [(none)]> UPDATE mysql.user SET plugin = 'mysql_native_password' WHERE User = 'root';
MariaDB [(none)]> FLUSH PRIVILEGES;
MariaDB [(none)]> QUIT;
The confirmation of the database working with the command below.
Sam@linuxways:~$ mysql -u root -p

Here, a database is created for the osTicket application.
MariaDB [(none)]> CREATE DATABASE osTicket_database;

After the completion of the creating database, we need to create a user osTicket_user for connecting the database and grant privileges. Following queries are for creating a user and connecting it to the database with full privileges granted.
MariaDB [(none)]> CREATE USER ‘osTicket_user’@‘localhost’ IDENTIFIED BY ‘password’;
MariaDB [(none)]> GRANT ALL PRIVILEGES ON osTicket_database.* TO osTicket_user@localhost IDENTIFIED BY “password”;
MariaDB [(none)]> FLUSH PRIVILEGES;
MariaDB [(none)]> QUIT;

5. Create Directory for osTicket
The directory is created for the osTicket application giving the path where the directory is being created.
Sam@linuxways:~$ sudo mkdir -p /var/www/os_ticket
The directory ownership is changed to the Linux user for further modifications easily without any permission issues.
Sam@linuxways:~$ sudo chown -R $USER:$USER /var/www/os_ticket
Now, path to the os_ticket directory using the cd command and pull the latest osTicket installation archive from GitHub using wget command.
Sam@linuxways:~$ cd /var/www/os_ticket
Sam@linuxways:~$ wget https://github.com/osTicket/osTicket/releases/download/
v1.15.2/osTicket-v1.15.2.zip
Extract the download file using the unzip command.
Sam@linuxways:~$ unzip osTicket-v1.15.2.zip
(Here, the version must be given according to the file you have downloaded.)
After the archive file is extracted you can delete the zip file.
Sam@linuxways:~$ rm osTicket-v1.15.2.zip
osTicket has its own sample configuration file by default. We need to copy the file in the same directories and change its names.
Sam@linuxways:~$ sudo cp upload/include/ost-sampleconfig.php upload/include/ost-config.php
chown command is used to assign the owner to the apache server user – www-data and chmod command is used for the appropriate permissions required.
Sam@linuxways:~$ sudo chown -R www-data:www-data /var/www/os_ticket
Sam@linuxways:~$ sudo chmod -R 755 /var/www/os_ticket
6. Create a Virtual Host File
A configuration file should be created under the path /etc/apache2/sites-available directory in order to run osTicket with apache server.
Here, a2dissite command is used to disable the default Apache configuration file.(In my case it is already disabled).
Sam@linuxways:~$sudo a2dissite 000-default.conf

vim command is used to open the configuration file for editing the information.
Sam@linuxways:~$ sudo vim /etc/apache2/sites-enabled/os_ticket.conf
All the information is given below with the necessary permissions and directories. The server name and server alias must be replaced with your domain name and public IP address.
<VirtualHost *:80>

ServerName 192.168.120.129 #localhost

 ServerAlias www.osticket.com #Your domain name

 DocumentRoot "/var/www/os_ticket/upload"

<Directory "/var/www/os_ticket/upload">

 Require all granted

 Options Indexes FollowSymLinks

 AllowOverride All

 Order allow, deny

 Allow from all

</Directory>

 ErrorLog ${APACHE_LOG_DIR}/error.log

 CustomLog ${APACHE_LOG_DIR}/access.log combined

</VirtualHost>
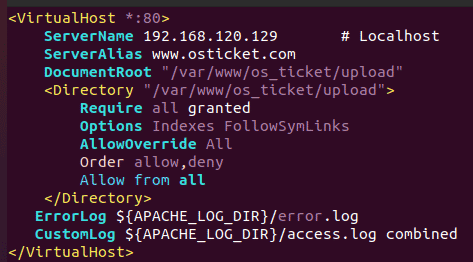
After the configuration file is done and saved, a2ensite command is used to enable the configuration file.(In my case it is already enabled).
Sam@linuxways:~$ sudo a2ensite os_ticket.conf
Finally, restart the apache service to reload the new configuration file.
Sam@linuxways:~$ sudo systemctl restart apache2
The firewall is enabled by default so, to get access to the site you can either disable the firewall with the command below or can assign the designated port for the site.
Sam@linuxways:~$ ufw disable
7. Osticket Installation
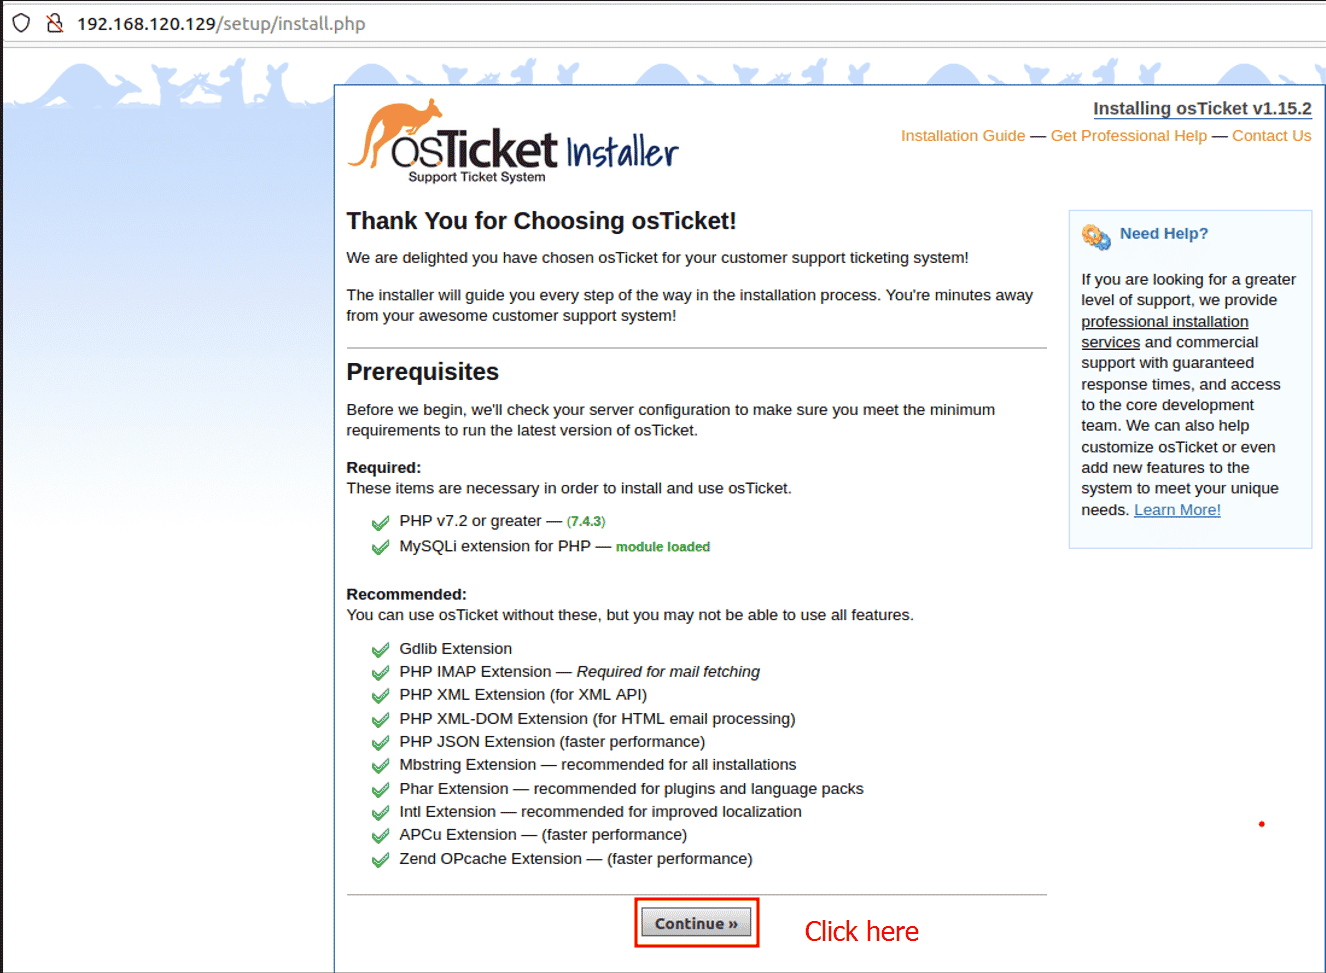
After the installation process is done, open the firefox app and visit the site using the servername. Now, the following page is opened. Click continue to proceed to the next page.
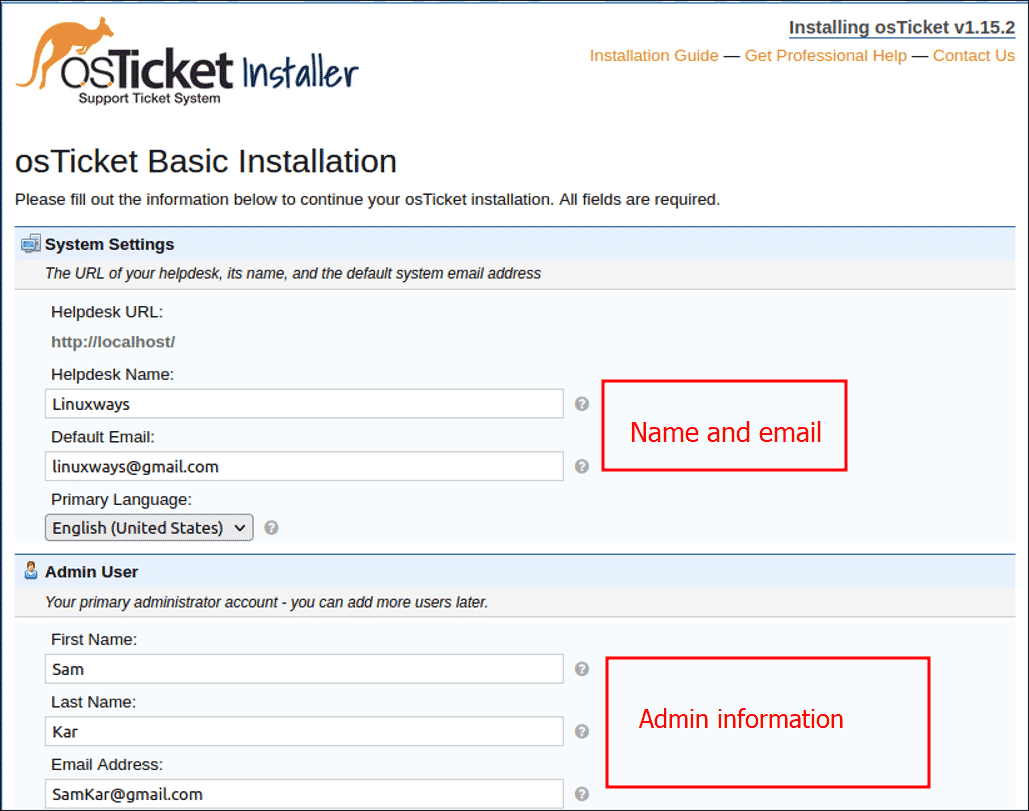
Now, enter all the credentials given and complete the form. Here, you should provide all the information as per the requirement. The database created before in the system should be written in the following form.
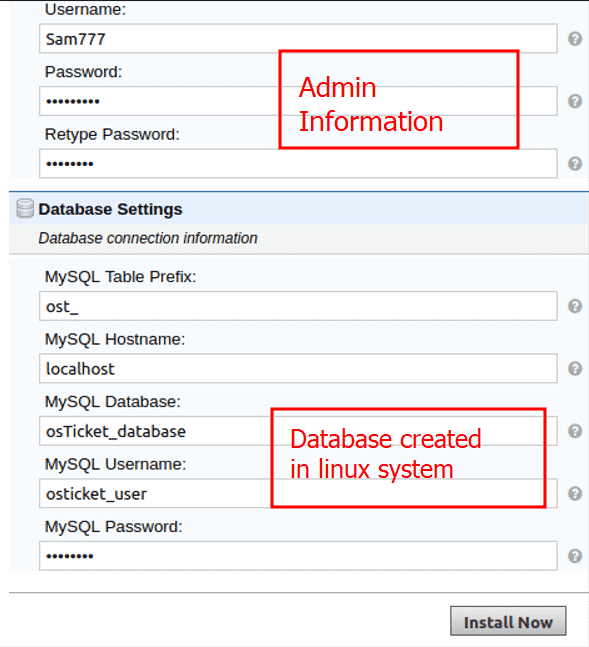
The confirmation page is opened after the form is filled with the right credentials.
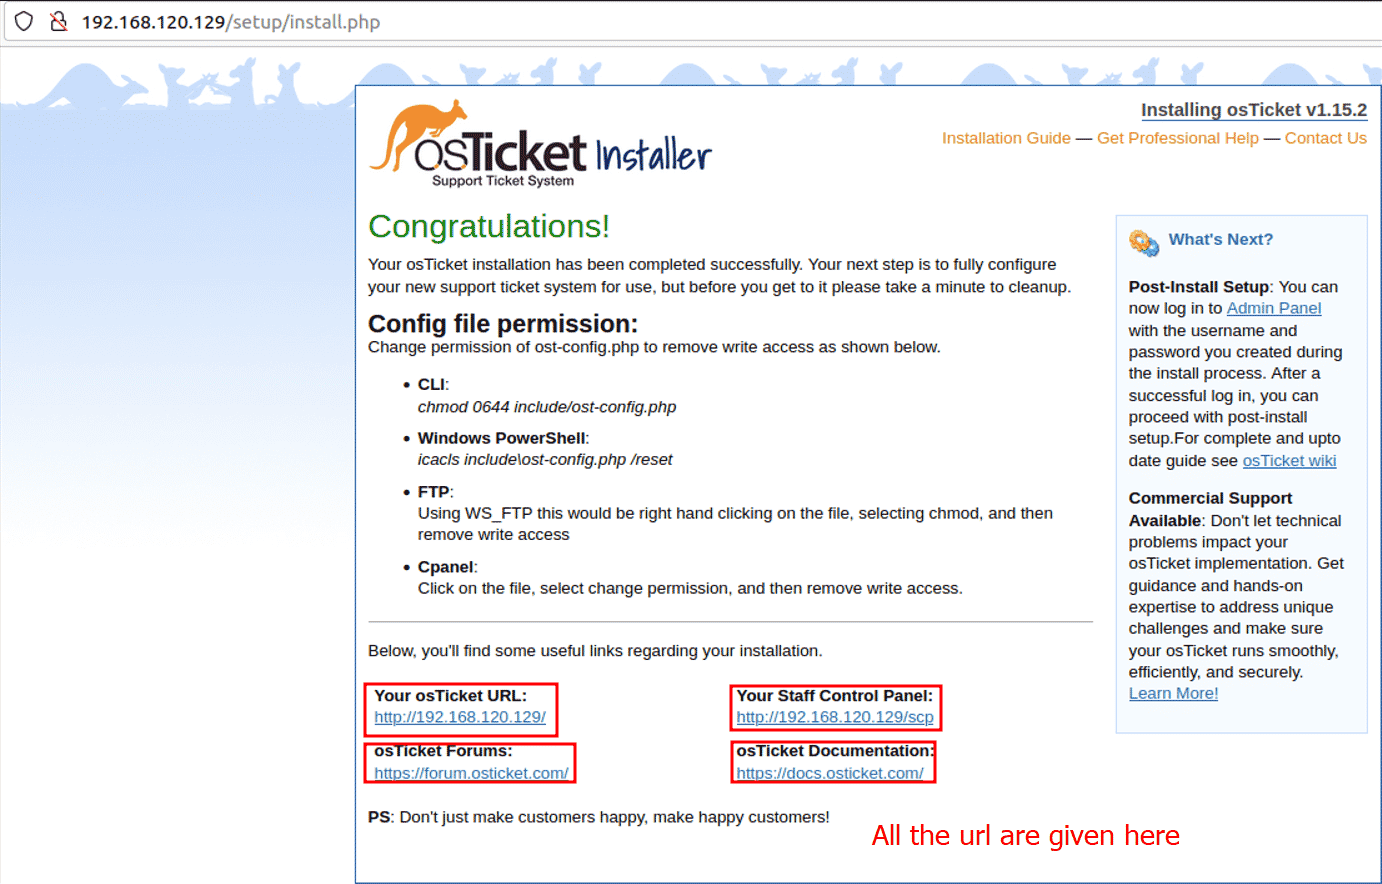
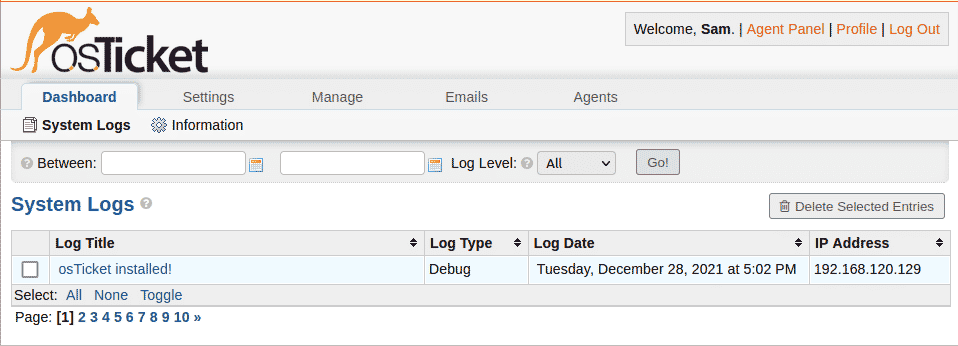
The dashboard of the admin is given below.
Conclusion
The above-given command and its example are for the installation of open-source osTicket on Ubuntu 20.04. Thank you for checking it out!

