Introduction:
If you are looking for an enterprise search platform, then Apache Solr is the name that you must have come across at some point in time. This is an open-source search platform and was developed in Java back in 2004. It provides amazing search features such as full-text search, real-time indexing, database integration, etc. Today, we will try to have a discussion with you on the installation method of Apache Solr on a Ubuntu 20.04 system.
Method of Installing Apache Solr on Ubuntu 20.04:
For installing Apache Solr on a Ubuntu 20.04 system, you will have to perform the following steps:
Step # 1: Update your Ubuntu 20.04 System before Installing Apache Solr on it:
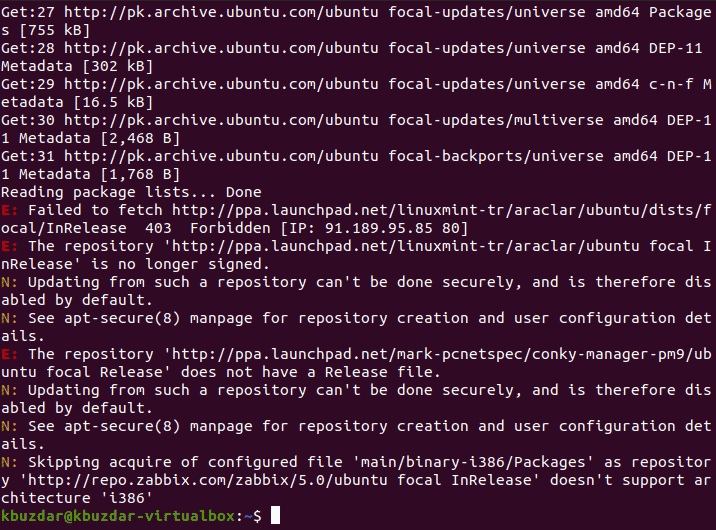
You should update your Ubuntu 20.04 system first with the command shown below:
$ sudo apt update
![]()
Once all the relevant packages and dependencies have been successfully updated, this command will display the following messages on the terminal:
Step # 2: Verify the Existence of Java on your Ubuntu 20.04 System:
You also need to have Java installed on your system before installing Apache Solr on it since this search platform is written in Java. This can be verified by executing the command shown below:
$ sudo java --version
![]()
You can see from the output shown in the following image that Java is installed on our Ubuntu 20.04 system and its version is 11.0.9.1.

Step # 3: Download Apache Solr on your Ubuntu 20.04 System:
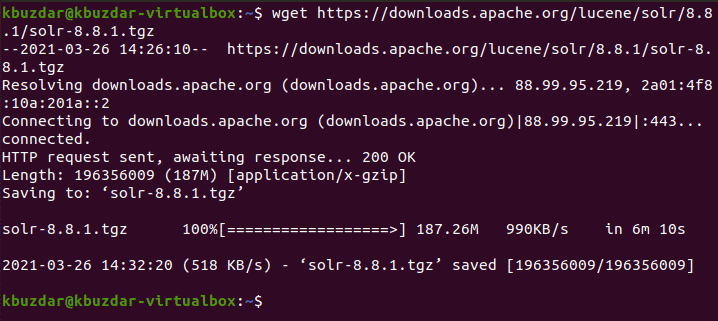
Now, you can download Apache Solr on your Ubuntu 20.04 system by running the command shown below:
$ wget https://downloads.apache.org/lucene/solr/8.8.1/solr-8.8.1.tgz
![]()
Once the Apache Solr has been successfully downloaded on your system, you will see similar messages on your terminal as shown in the following image:
Step # 4: Extract the Apache Solr Archive on your Ubuntu 20.04 System:
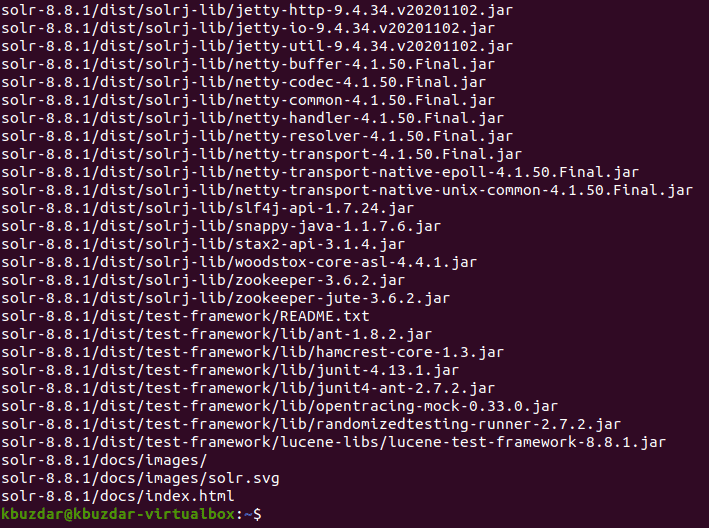
After downloading Apache Solr on your system, you need to extract it with the help of the command shown below:
$ sudo tar –xvf solr-8.8.1.tgz
![]()
It will take a few seconds for the extraction process to complete after which you will be able to install Apache Solr on your Ubuntu 20.04 system.
Step # 5: Install Apache Solr on your Ubuntu 20.04 System:
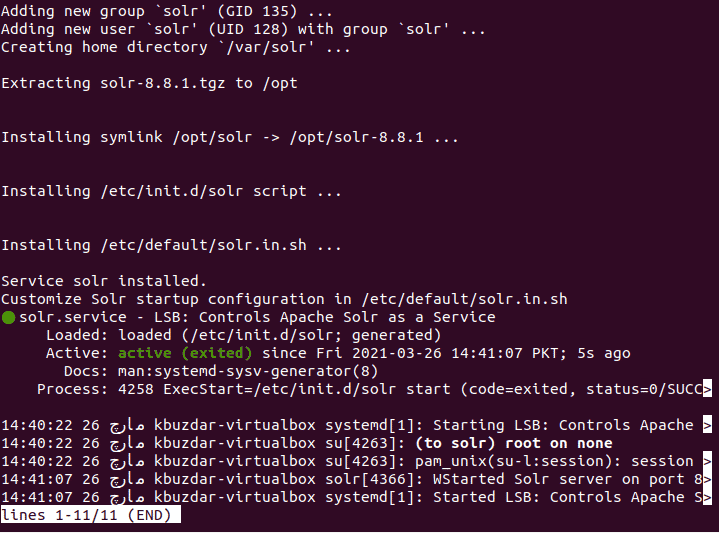
For installing Apache Solr on your Ubuntu 20.04 system, you will have to execute the following terminal command:
$ sudo bash solr-8.8.1/bin/install_solr_service.sh solr-8.8.1.tgz
![]()
This command will install Apache Solr on your Ubuntu 20.04 system after which you will see these messages on your system’s terminal:
Step # 6: Enable Apache Solr on your Ubuntu 20.04 System:
Now, you need to enable Apache Solr on your system with the command shown below:
$ sudo systemctl enable solr
![]()
If Apache Solr has been successfully installed on your Ubuntu 20.04 system, you will be able to see the following success message on your terminal:

Step # 7: Access the Apache Solr Dashboard on your Ubuntu 20.04 System:
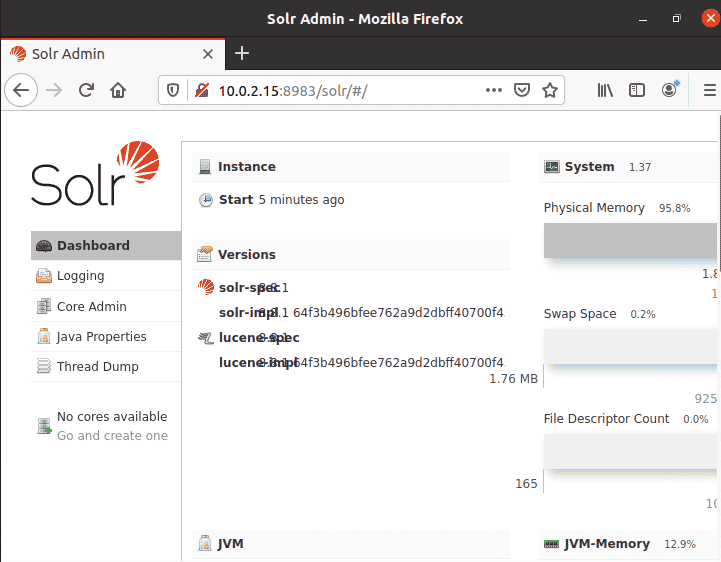
Finally, you can access the Apache Solr dashboard on your Ubuntu 20.04 system by opening any web browser of your choice. In the address bar of your browser, you need to provide the IP address of your system followed by a colon “:” and 8983” port number as highlighted in the image shown below and then press the Enter key:

As soon as you will do this, you will be able to see the Apache Solr dashboard on your browser as shown in the following image:
Conclusion:
By following today’s useful guide, you will be able to install Apache Solr on a Ubuntu 20.04 system. Once this search platform is installed on your Ubuntu 20.04 system, it will facilitate you with its exceptional search features.


