Google Chrome is a search engine and it is an application of GOOGLE as its name expresses. It is a user-friendly application and is free to use. Earlier, it was built only for Microsoft Windows, but later on, this browser was also used for the other operating systems like Linux, Android, etc. Its composition includes C, C++, HTML, and JavaScript.
In this guide, Google Chrome will be installed in the Linux operating system. To install the Chrome browser in Ubuntu 22.04, we have two basic approaches:
- Install the Google Chrome browser via Ubuntu terminal (CLI)
- Download Google Chrome from the website (GUI)
We will throw a light on these two methodologies one by one. But first, we need to cover some milestones as prerequisites for the installation process. You need to have a running active user account in Ubuntu 22.04 that has privileges to change the software by accessing the terminal and other applications.
Install the Google Chrome Browser via the Ubuntu Terminal
This type of installation is through the commands which is also known as the command line interface method. Through the Ubuntu terminal, open the console through the menu. Here, you will see the domain name of the user that you are currently logged in. Apply all the commands here.
The first step is to update all the existing repositories so that our system is capable of adding some additional repositories later on. The update command is accompanied by the “sudo” keyword that is responsible for update.
$ Sudo apt update

Once you enter the command, the system verifies the user by demanding a password. This step is for the security credentials. After that, the updating process continues. It takes a while for the completion.
Sometimes, some applications are installed directly through a single command after the update query. But in this case, the repository that is needed to install the Chrome browser which is not present by default in the existing repositories. To overcome this issue, we make use of a “wget” command. This feature is used to fetch the Google chrome address from the web. Then, it installs the application to the system.
$ sudo apt install wget

After the installation of the “wget” feature, your system is now ready to download the latest version of Google Chrome in it. This file is in “.deb” format.
$ wget https: //dl.google.com/linux/direct/google-chrome-stable_current_amd64.deb
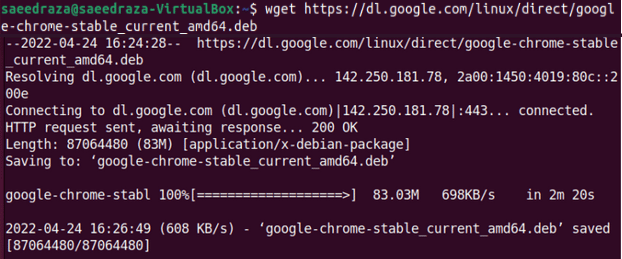
In a few minutes, the Chrome package gets downloaded through the wget feature. Now, the following command is used to install and configure the Google Chrome browser to Linux. This installation takes place again through the “Sudo” command.
$ sudo dpkg -i google-chrome-stable_current_amd64.deb
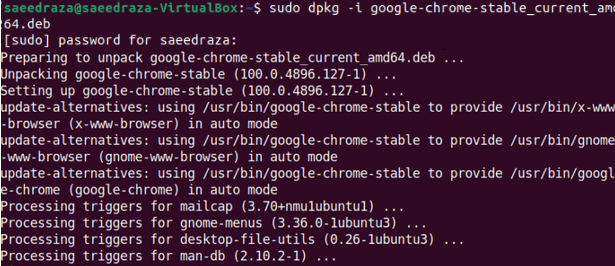
This command works in such a way that the downloaded package is searched through the address of the package via dpkg and is incorporated with the Sudo command. After some time, the package is installed. You can now open the installed browser through the terminal command.
$ google-chrome

After using the previous command, you will see that an interface is opened which is the first home page of Google Chrome.

In this way, Google Chrome is downloaded to Ubuntu 22.04 through the terminal. Now, we use the second approach which is downloading the Google Chrome through the graphical user interface.
Download Google Chrome From the Website
This sort of installation directly involves the interaction of the user through the application software; no need for command is acknowledged. It is also known as the graphical user interface method.
- The first step in the installation is to open any already installed browser which is, by default, is the “Mozilla firefox” in Ubuntu. Then, visit the official website of Google Chrome. The address of which is given in the following:
https://www.google.com/chrome/
You will come across the home page of the Google official website. Select the “Download” option to proceed forward.
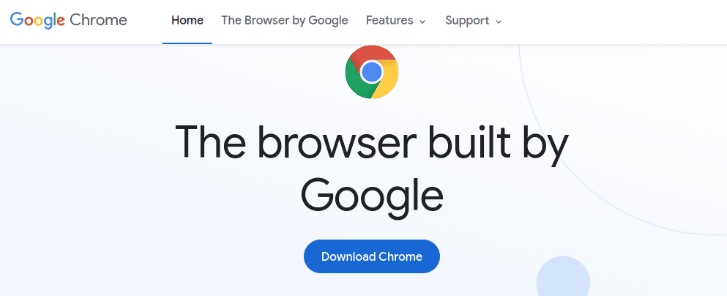
- When you select the “download” button, a window is opened. It shows two options that contain different flavors of Linux. Select only one according to the requirement of the system. We go with the first option, which is in a “.deb” extension.
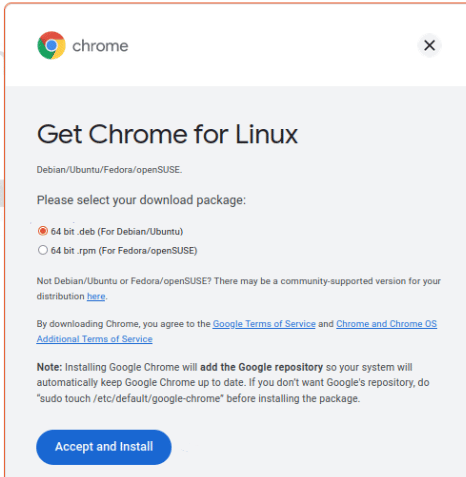
Select the option and then press the “Accept and install” button to proceed with the further installation process. After the installation is done, you can see the downloaded folder in the “download” directory of the Home folder.

- Now, click on the installed package setup. This displays a new window that is the interface of the Software Center. Select the “install” button to configure this Chrome package to the system.
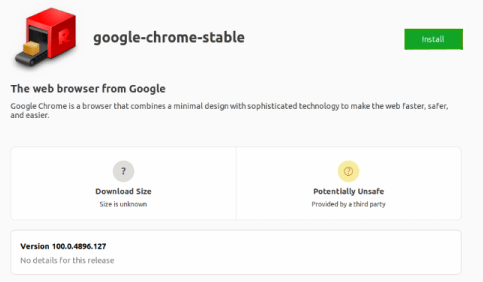
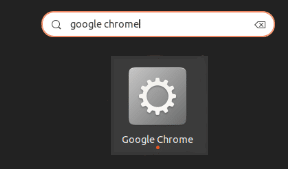
The download status is shown in the download bar of the software center. After the complete installation, you will be able to search the installed browser in the menu of all the applications.
Upgrade the Installed Chrome
Once you installed it, you can also upgrade this browser to the new version at any time, so that this application can provide you with the latest features. First, use the same update command as we previously described.
$ sudo update apt
This updates all the repositories of the installed application. After that, the upgrade command along with the “Sudo” command is applied to renew the already installed packages.
$ sudo apt upgrade

Uninstall the Google Chrome from Ubuntu
To remove the Google chrome from the system, we need to use a “purge” command in the terminal. This command automatically deletes the Chrome packages.
$ sudo apt purge google-chrome-stable

Conclusion
This article aims to describe the two basic and easy-to-use approaches for the download of the most commonly used browser – Google Chrome. Google Chrome is user-friendly. One can easily understand its working if he used any Google product earlier. In this tutorial, we explained the installation process through the Ubuntu terminal which is quite time-consuming, but the second approach is through the graphical interface which is easier to implement as compared to the first method. In addition, we also mentioned a command to upgrade the software and the removal approach is also added.


