Linux distributions are loved and used by the majority of the users in the world. Because of the security, customization, and other sleek features, people prefer to use it for servers, networking, and other things.
From time to time, we see new releases from different distributions, Debian 12 is one of them. It is the latest release in the Debian family. As per Debian’s official announcement, this version has over 11089 packages that add value to this release.
There are several ways we can follow to install Debian into our systems and virtual machines. One of them is through the GUI and the other is through commands without the usage of GUI. This article will explore how we can install it without the GUI.
For the sake of this article, we are going to install it in VMware and we will start directly with Debian installation and not the VMware setup.
How to Download Debian 12?
To download Debian 12, head to its official website and click on the download button.

After that, click on the Debian 12 version as below.
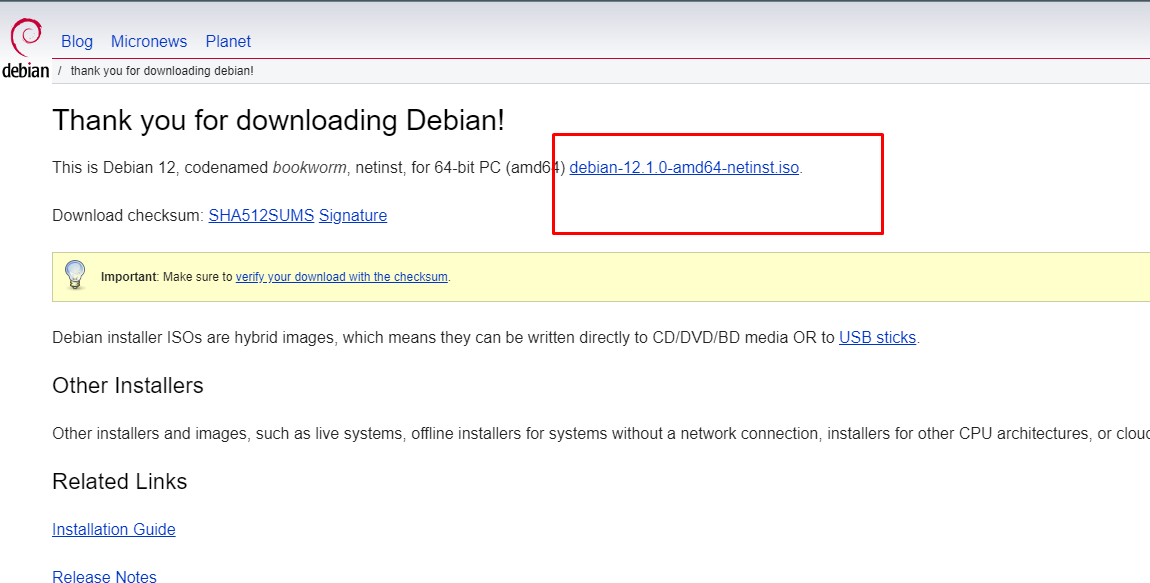
Our Download process will start now.
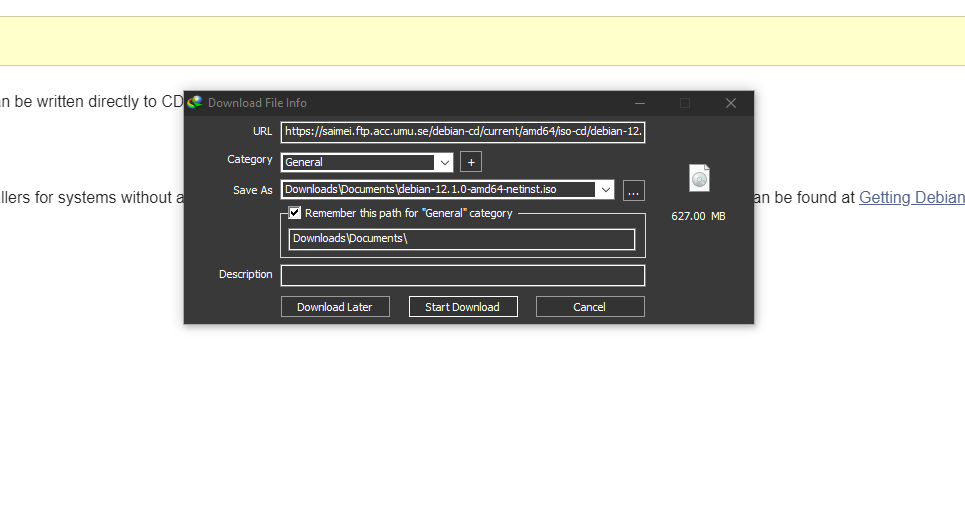
Just wait for the download process to get completed.
Create Virtual Machine
Now open VMware, and create a new Virtual Machine. For that, we will go to file, and click on New Virtual Machine. 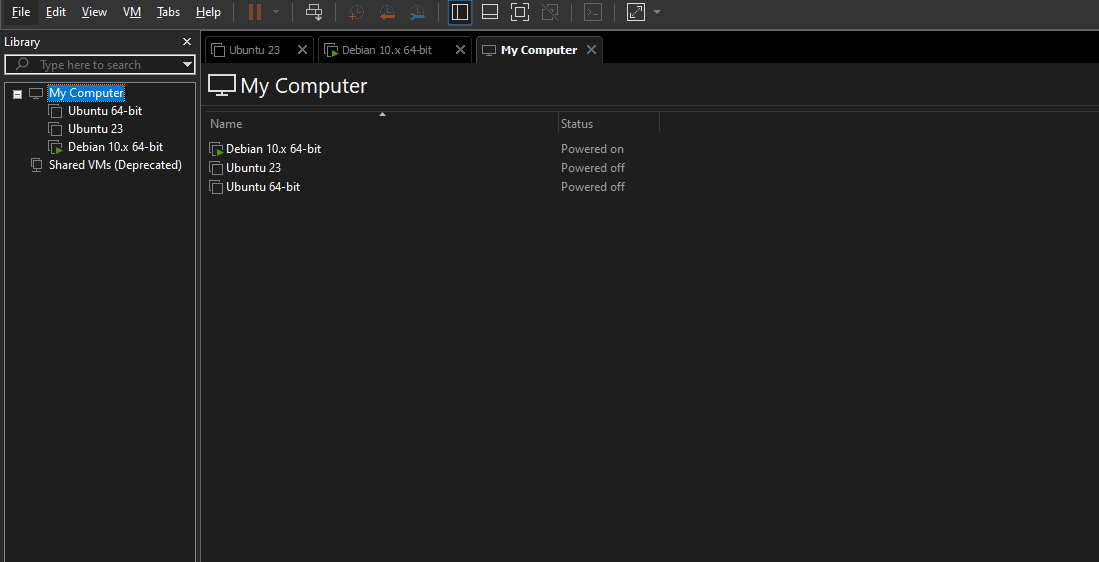
Click on Next.

Go for the second option and click on next like the following.

Under the guest operating system, select Linux and under the Version, select the latest available version of Debian. In our case, Debian 10 is available. After that, click on next.

The next thing we need to do is to give a name to our Virtual Machine and select the directory where we want to install it. Click on next.

Here, assign the disk size. We will go for 20 GB. again click on next after that.
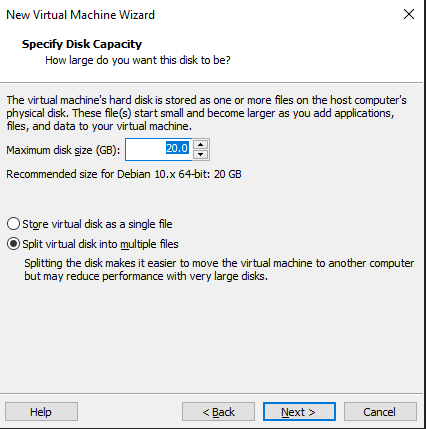
Now click on Customize Hardware.

For the RAM, assign the values per your hardware resources.We will go for slightly over 4GB.
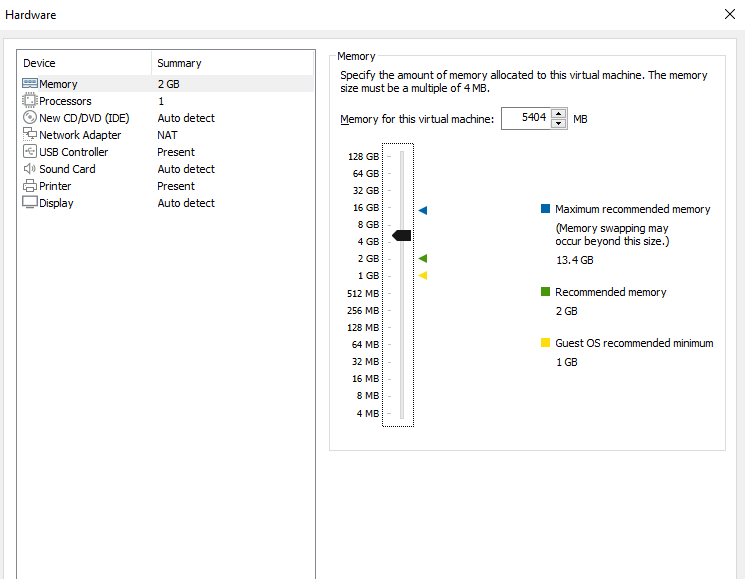
Do the same for a number of processors. We will go for 2 as follows.

Now we need to attach the ISO image we have downloaded. For that, click on the third option, and from the right-hand side window, click on Use ISO Image File and click on Browse.
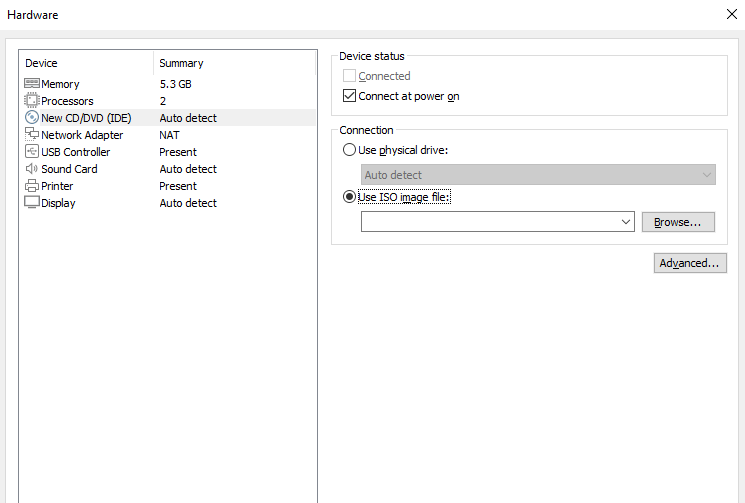
Now we need to open the directory where we have the ISO file downloaded.

After that, click on close and click on finish.
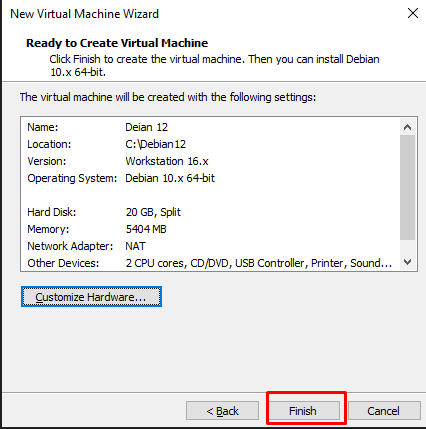
We are done with setting up our Virtual Machine, and now it’s time to start the installation process.
Install Debian 12 (Without GUI)
Now we need to click on the Virtual machine we have created and then click on the play button at the top.
 .
.
From the new window, go for the second option and hit enter.

After starting the installation process, we need to select the language from the list, we can go for any language here.

Now, Select the country here. 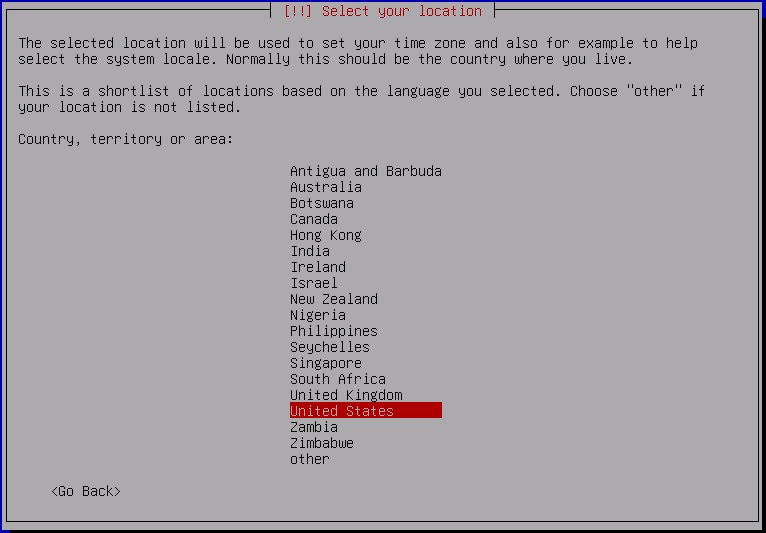
Then, we need to go for the keyboard selection. We will stick with American English.
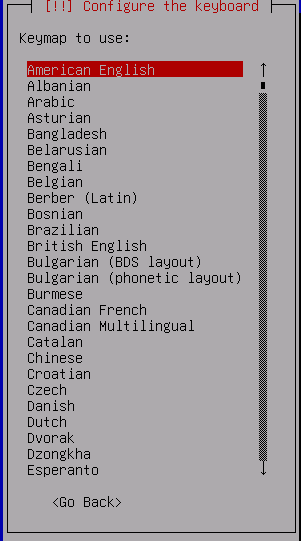
After that, Debian will perform some hardware and other checks.

Here, we will give a hostname, the default one here is Debian. We will keep that and hit enter.
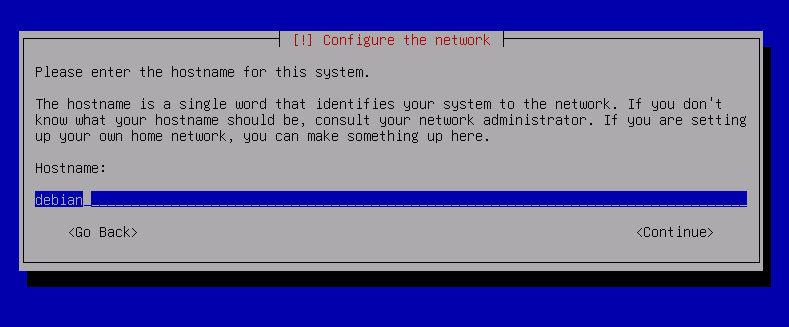
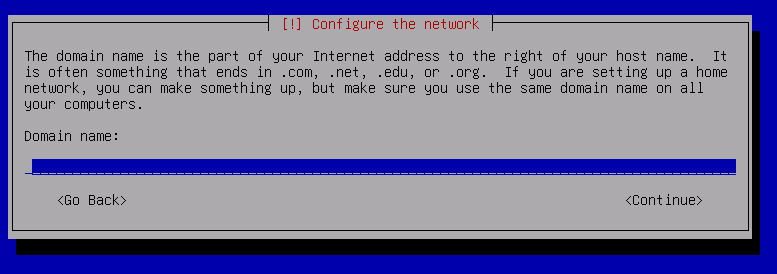
For the domain name, leave everything as it is and hit enter once again.
Let’s set up the root password. Again, we will hit enter after entering the password.

We have to re-type the password for the confirmation here.

In the next step, we will create a new user and we have to give a name to this new user.

After the username, we need to set up the password here.


Then, select the time zone. By default, it will be based on the location we have chosen in the previous step.

After that, it will start working on the partitions for our Debian. Wait for it to get completed.

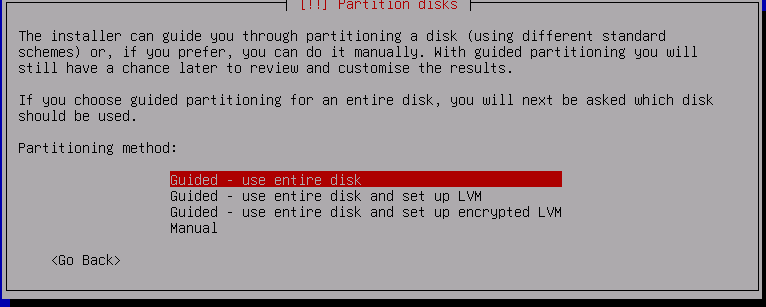
In the next step, it will ask us to select the partition method, we will go for the entire disk here.
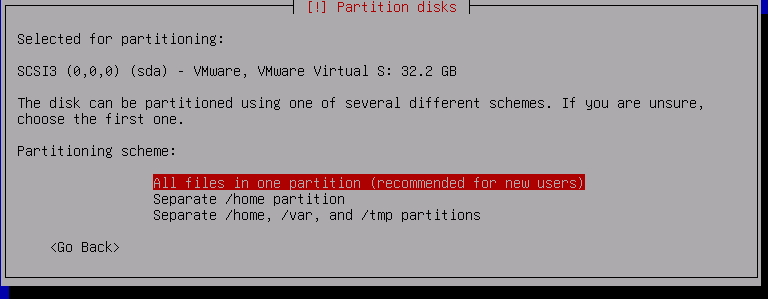
Then we need to choose the disk from which we want the partitions. In our case, it is the one we created in our Virtual Machine.

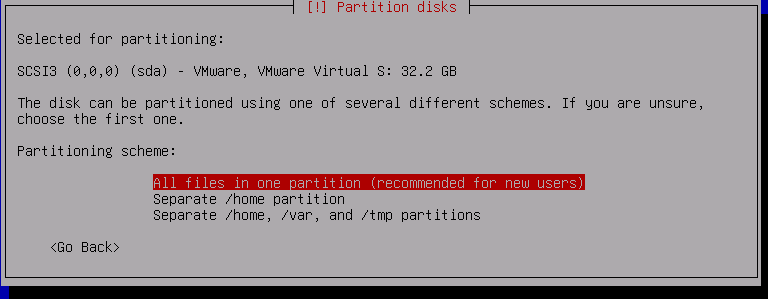
Here, select the partitioning scheme. We will go for the default option as we want to keep all files in a single partition.
In the next step, Debian will ask for confirmation, select yes and hit enter.

The installation process will begin after the confirmation.

During the installation, it will ask if we want to configure the package manager, go with no, and hit enter.
Then choose the closest mirror and hit enter again.
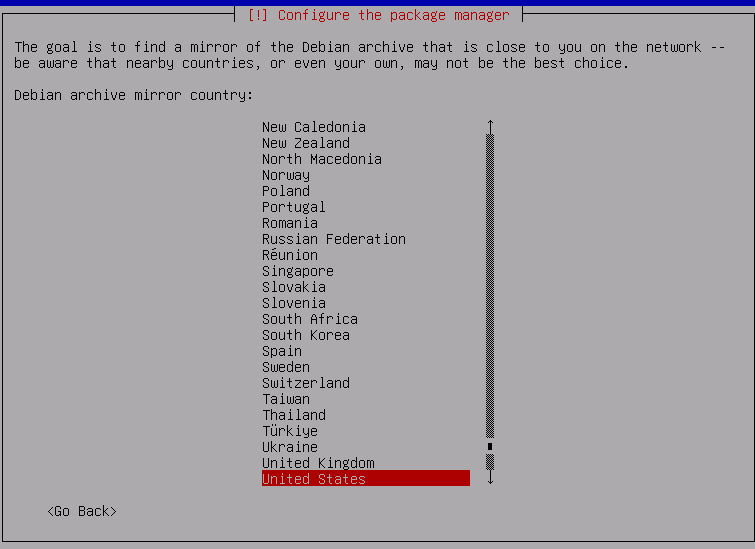
Then, it will ask us to provide the HTTP proxy information. Leave it blank and hit enter.

After that, Debian will start the software installation.
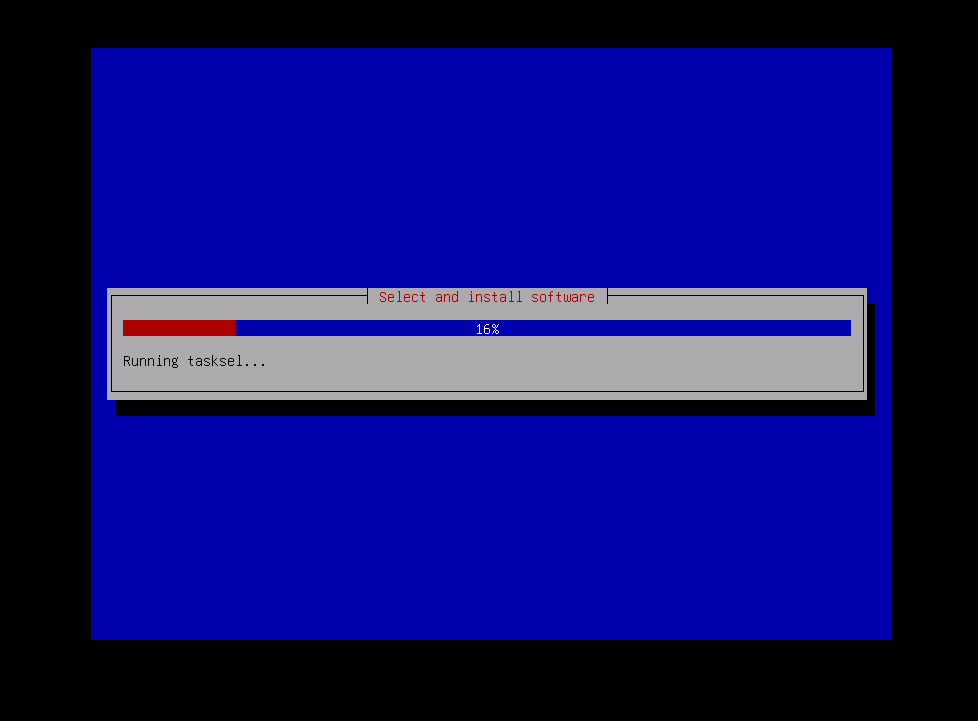
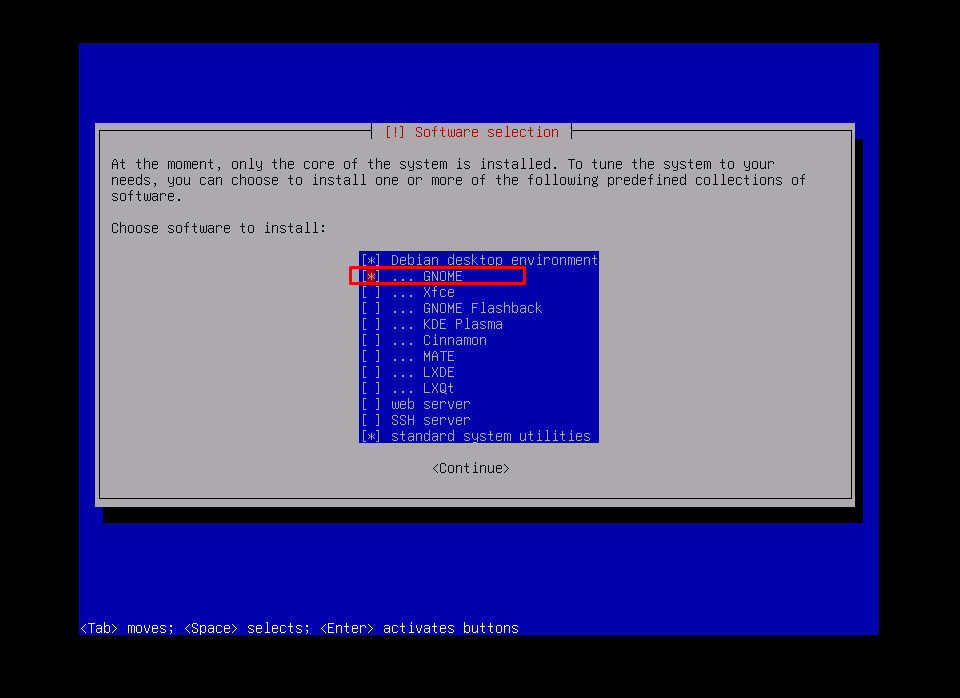
Then, we have to select the desktop environment we want to have in our Debian. We will go for Gnome.
Again the installation process will resume. 
After that, we will install the GRUB bootloader. It is better to select yes here.

After the installation process is completed, select continue, and hit enter.
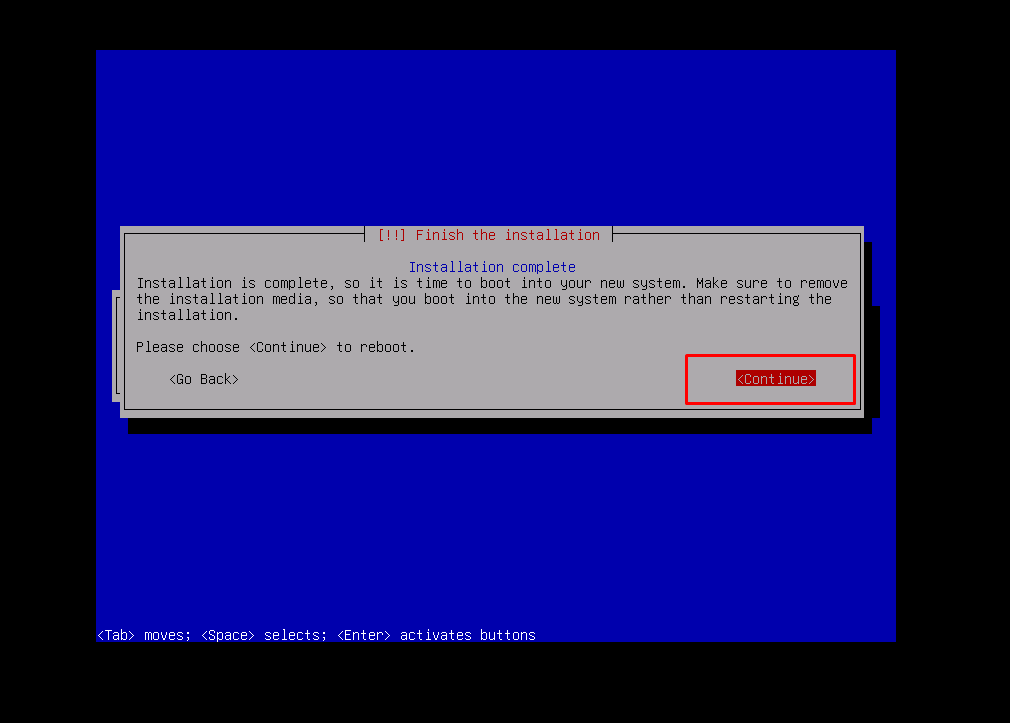
After this, Debian will restart. Then the login screen will appear.

Just enter the password, and we are good to go.
Conclusion
Debian 12 is the latest release from the Debian family and they have promised to offer users with extra security and features. To install Debian 12 on any machine, the server, or even on a Virtual Machine, we can install it by using the GUI and without GUI. This article was all about how we can install it without the GUI.

