Introduction:
Motrix is a download manager tool for the Linux, macOS, and Windows operating systems. It allows you to download up to 10 files simultaneously. It also displays the progress of the ongoing download. Moreover, it even supports the features such as dark mode, download completion notification, etc. In this guide, we will show you the procedure of installing Motrix on a Linux Mint 20 system.
Installation of Motrix on Linux Mint 20:
For installing Motrix on your Linux Mint 20 machine, you need to perform the following steps:
Step # 1: Download Motrix Deb File on your System:
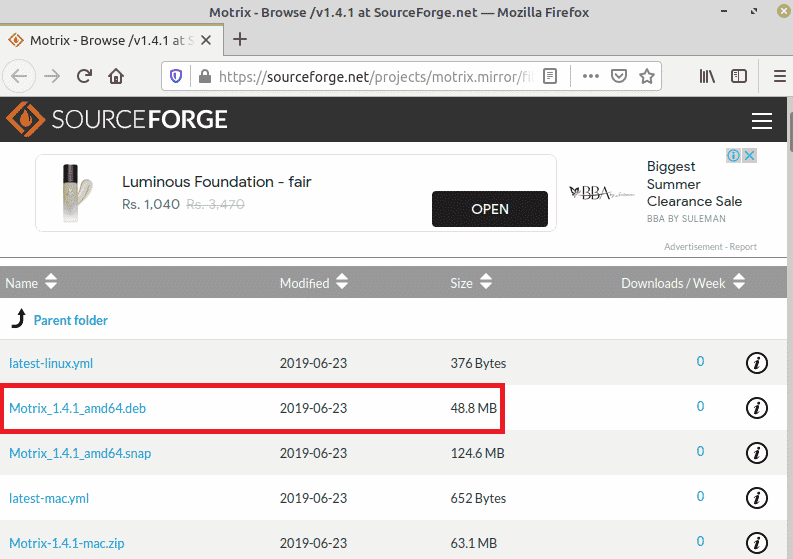
Visit the link shown below to download the Motrix .deb file on your system:
https://sourceforge.net/projects/motrix.mirror/files/v1.4.1/
Now click on the highlighted link shown in the following image to download it on your system:

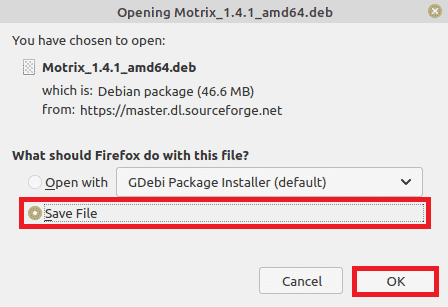
You need to choose the “Save File” option to start downloading the file.

Step # 2: Move to the “Downloads” Directory on your System:
After downloading the .deb file, you need to navigate to the “Downloads” directory of your system by executing the command shown below:
$ cd Downloads
![]()
Step # 3: Unpack the Motrix Deb File:
Once you are inside the “Downloads” directory of your system, you need to unpack the Motrix .deb file with the help of the following command:
$ sudo dpkg –i Motrix_1.4.1_amd64.deb
![]()
Step # 4: Install Motrix on your System:
Finally, you can install Motrix on your Linux Mint 20 system by executing the command shown below:
$ sudo apt-get install –f
![]()
Conclusion:
This article depicted the method of installing the Motrix download manager on a Linux Mint 20 machine. Once you have this download manager installed on your target system, you can enjoy its friendly and intuitive user interface while downloading your desired files.


